

Today we have a very special guest tutorial from the fabulous Meaghan of the decorated cookie. She is the master of all things sweet (and the author of the amazing book, Sugarlicious).
We decided to swap our craft hats this week with Meaghan doing a fabric craft and me doing a treat that will be make the perfect project pair. You've seen my treat, so now see Meaghan's sweet felt idea:
Hello dear Sew Can Do readers!! Thank you to Cheryl for letting me visit again. I'm usually all about sweets over at my blog. Needles prick me and thread gets tangled in my house, so it's a rare day I go for a piece of fabric. But Cheryl's clever, sculptable frosting figures--a perfect fit for my blog, by the way-- inspired these woodland cupcakes, and her crazy sewing skills push me to take tiny steps into the crafty world of sewing.
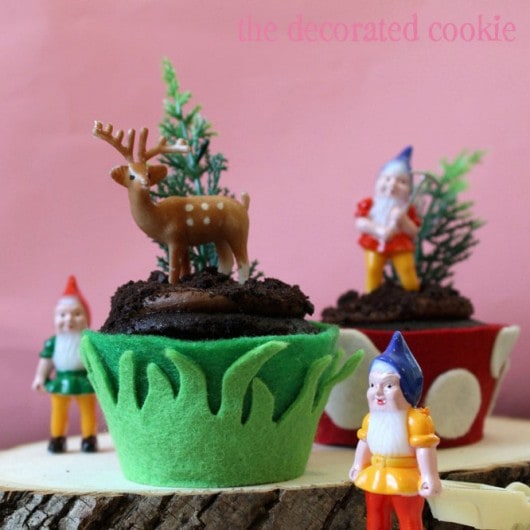
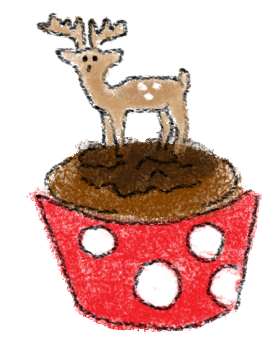
Like many, I find magic in fairies and gnomes and toadstools and forests. When I spotted Cheryl's frosting figures, I immediately pictured a cupcake woodland with her sculptable frosting as toppers. So I pulled out some felt, some glue and scissors and made some wrappers for my woodsy cupcakes. As a stand-in for the edible version, I bought these gnome, deer and evergreen tree cupcake toppers from the Layer Cake Shop. I made chocolate cupcakes, topped with chocolate buttercream and crumbled, chocolate cookies, and popped them in the wrappers.
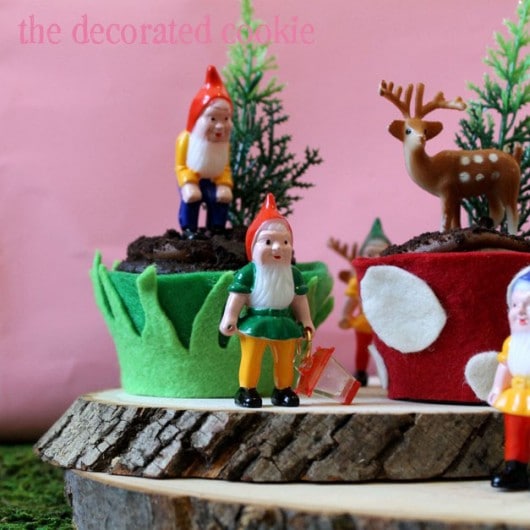

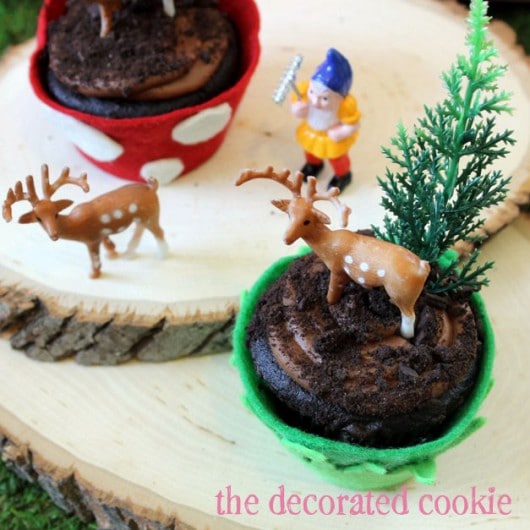
to make woodland cupcake wrappers
you will need*
felt (two shades of green, red and white)cupcake wrapper template
paper
sharp scissors
glue
cupcake toppers (or, Cheryl's toppers)
*A good quality, sturdy felt is best for wrappers. I got mine from Wool Felt Central. Because felt can be a pain to glue, a tacky glue is best. For the cupcake wrapper template, there are plenty online (such as HERE at Skip to My Lou), or just copy the one found at the back of Sugarlicious, since I'm assuming you own Sugarlicious.

step one: cut out the felt
Print or trace the cupcake wrapper template on a piece of paper, cut out and use as a template to cut out felt. Either pin the template to the felt, or use a pencil or sewing pen to trace on the felt. For each grass wrapper, cut out one dark and one light green. For each toadstool wrapper, cut out one red.

step two: cut out the embellishments
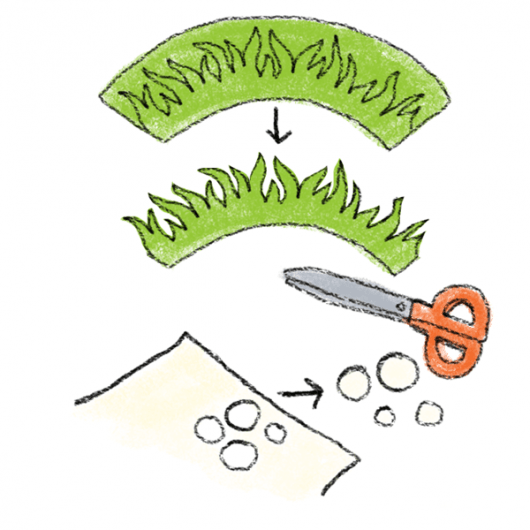
For the grass wrappers, take one of the shades of green and cut out grass as shown. For the toadstools, cut out circles in various sizes from white felt.
step three: glue it all together
Overturn the grass felt and dab glue all over the bottom and each of the blades. Carefully layer over the other shade of green cut-out wrapper and press. Let dry. Glue the white dots on the red cut-out wrapper, and let dry. When dry, dab glue along one end of the wrapper, overlap the other end, press to seal, and let dry completely.

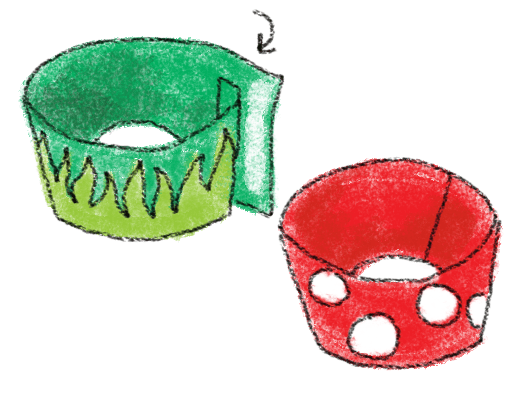
step four: add your cupcakes
Pop in a frosted cupcake and add your toppers. To make the edible, sculptable frosting toppers, check out Cheryl's guest post from Tuesday or visit Sew Can Do.
Thank you, Cheryl, for letting me visit today!!
meaghan
Thanks for sharing this super sweet idea Meaghan:)


That looks delicious. Those instructional drawings are fantastic! That's a pretty simple and reusable idea. Love it. Now to play out some cupcake fairy tales!
ReplyDelete