Saturday, August 31, 2013

What I Love/Don't Love With Custom Printing: A Review of CafePress


Earlier this summer I was asked if I'd like to try out CafePress and do a review by making some custom printed stuff for myself.  CafePress is a custom printing company that offers regular people & small businesses the opportunity to print their own one-of-a-kind designs on hundreds of different products.  

I loved the assortment of items they offered.   Besides the usual shirts, hats & phone cases, they had yoga mats, drinking glasses, clocks, even cloth napkins.   


It was a bit frustrating trying to find some items I wanted to make in the Create section though. For instance there are canvas shoes showcased on the homepage and I'd love to make my own shoes, but if you go to the Create section to upload a own design, shoes aren't listed as a product you can choose. Obviously other people had been able to make them since you could buy someone else's shoe designs, but (unless I'm just totally missing something) there's no apparent way to choose the custom create option on some of the products you can see in the Sell section.  


I really wanted to make some things for my newly updated kitchen, so I decided on a set of ceramic mugs & ceramic cookie jar.  Getting both put me a bit above the dollar amount I was allotted, but I knew I'd use the mugs (and really wanted the cookie jar), so I paid the difference, which was an extra $10.

Making my own designs was pretty easy.  They have a tool where you can build some when you select your product, but since I wanted specific colors, fonts & shapes I used some software I already had, called MyMemories, to build mine exactly how I wanted them. They have templates for each of the products so you can size your files just right (and help avoid pixelating or stretching).  I made sure to size mine properly, uploaded my files, selected my products and checked out.


I was pleased when my package arrived pretty quickly and my mugs looked amazing.


I kind of couldn't believe this was my own design - it looked just like something from a swanky store and the colors were perfect!  The quality was really nice too.  My design is actually under the glaze, not just printed on top so it won't wear off with washing.


The cookie jar was not so perfect though.  There was a crack in the wood lid:


And even though I'd followed all the directions and the file was sized right, the image was fuzzy & a bit off center even though I'd been careful to center it in the preview. 


So I contacted CafePress customer service.  They told me to upload a new file and they'd send out a new jar, so no need to return the damaged one.  I uploaded my file again, this time I made the colors a little darker to make sure they'd look as crisp as possible, sent the new link and a week later a new jar arrived and the image was perfect. Except there was a new problem:


It was printed upside down.  So I contacted customer service again and a different rep apologized for the error and said to keep that jar too, upload the file again and a new one would be made.  Weeks went by, no jar came and I followed up to see what was going on. Another rep responded right away that the third one was damaged in transit and couldn't be delivered, but that a new jar was now being sent asap.  And it arrived a few days later. Except....


Yeah, just like the first, the image was fuzzy and off center.  By this time I was too frustrated to try a 5th time, so I let my review contact know the status.  He was very apologetic & said this product was going to be discontinued so maybe there was an general issue with that item. Even though I'd partially paid, it wasn't possible to get a refund since this was review-related, so I was offered a gift certificate to try something else instead.  This sounded fine and since I'd had good luck with the mugs, maybe another product would work out better. But it never came, even though I emailed a few times over a month, so I just gave up.


I really wanted to love CafePress and I do love the way my mugs turned out, but the issues with the jars never working out does make me pause on trying other items.  I'd just wanted these to spruce up my kitchen, but if I'd ordered the jar as a gift or needed it by a certain date I would have been pretty stressed with all the issues I had (and the fact my $10 kind of went down the drain). But I'm going to look on the bright side as a crafter.  Since I have three jars & two lids that are functional, albeit misprinted, maybe I can paint or decal over the goofs and then make them display worthy:)


I was not financially compensated for this post.  I received a CafePress gift certificate to create my own custom printed items to review and paid an additional $10 in order to obtain several items.  The opinions are completely my own based on my experience.  For my complete disclosure policy, click here. 

Thursday, August 29, 2013

Rosie's Doll Clothes Patterns Bundle Giveaway!


It's time for our last giveaway of Sewing Pattern Month here at Sew Can Do and this one's extra special because it's a....

Winner's choice of pattern bundle from:


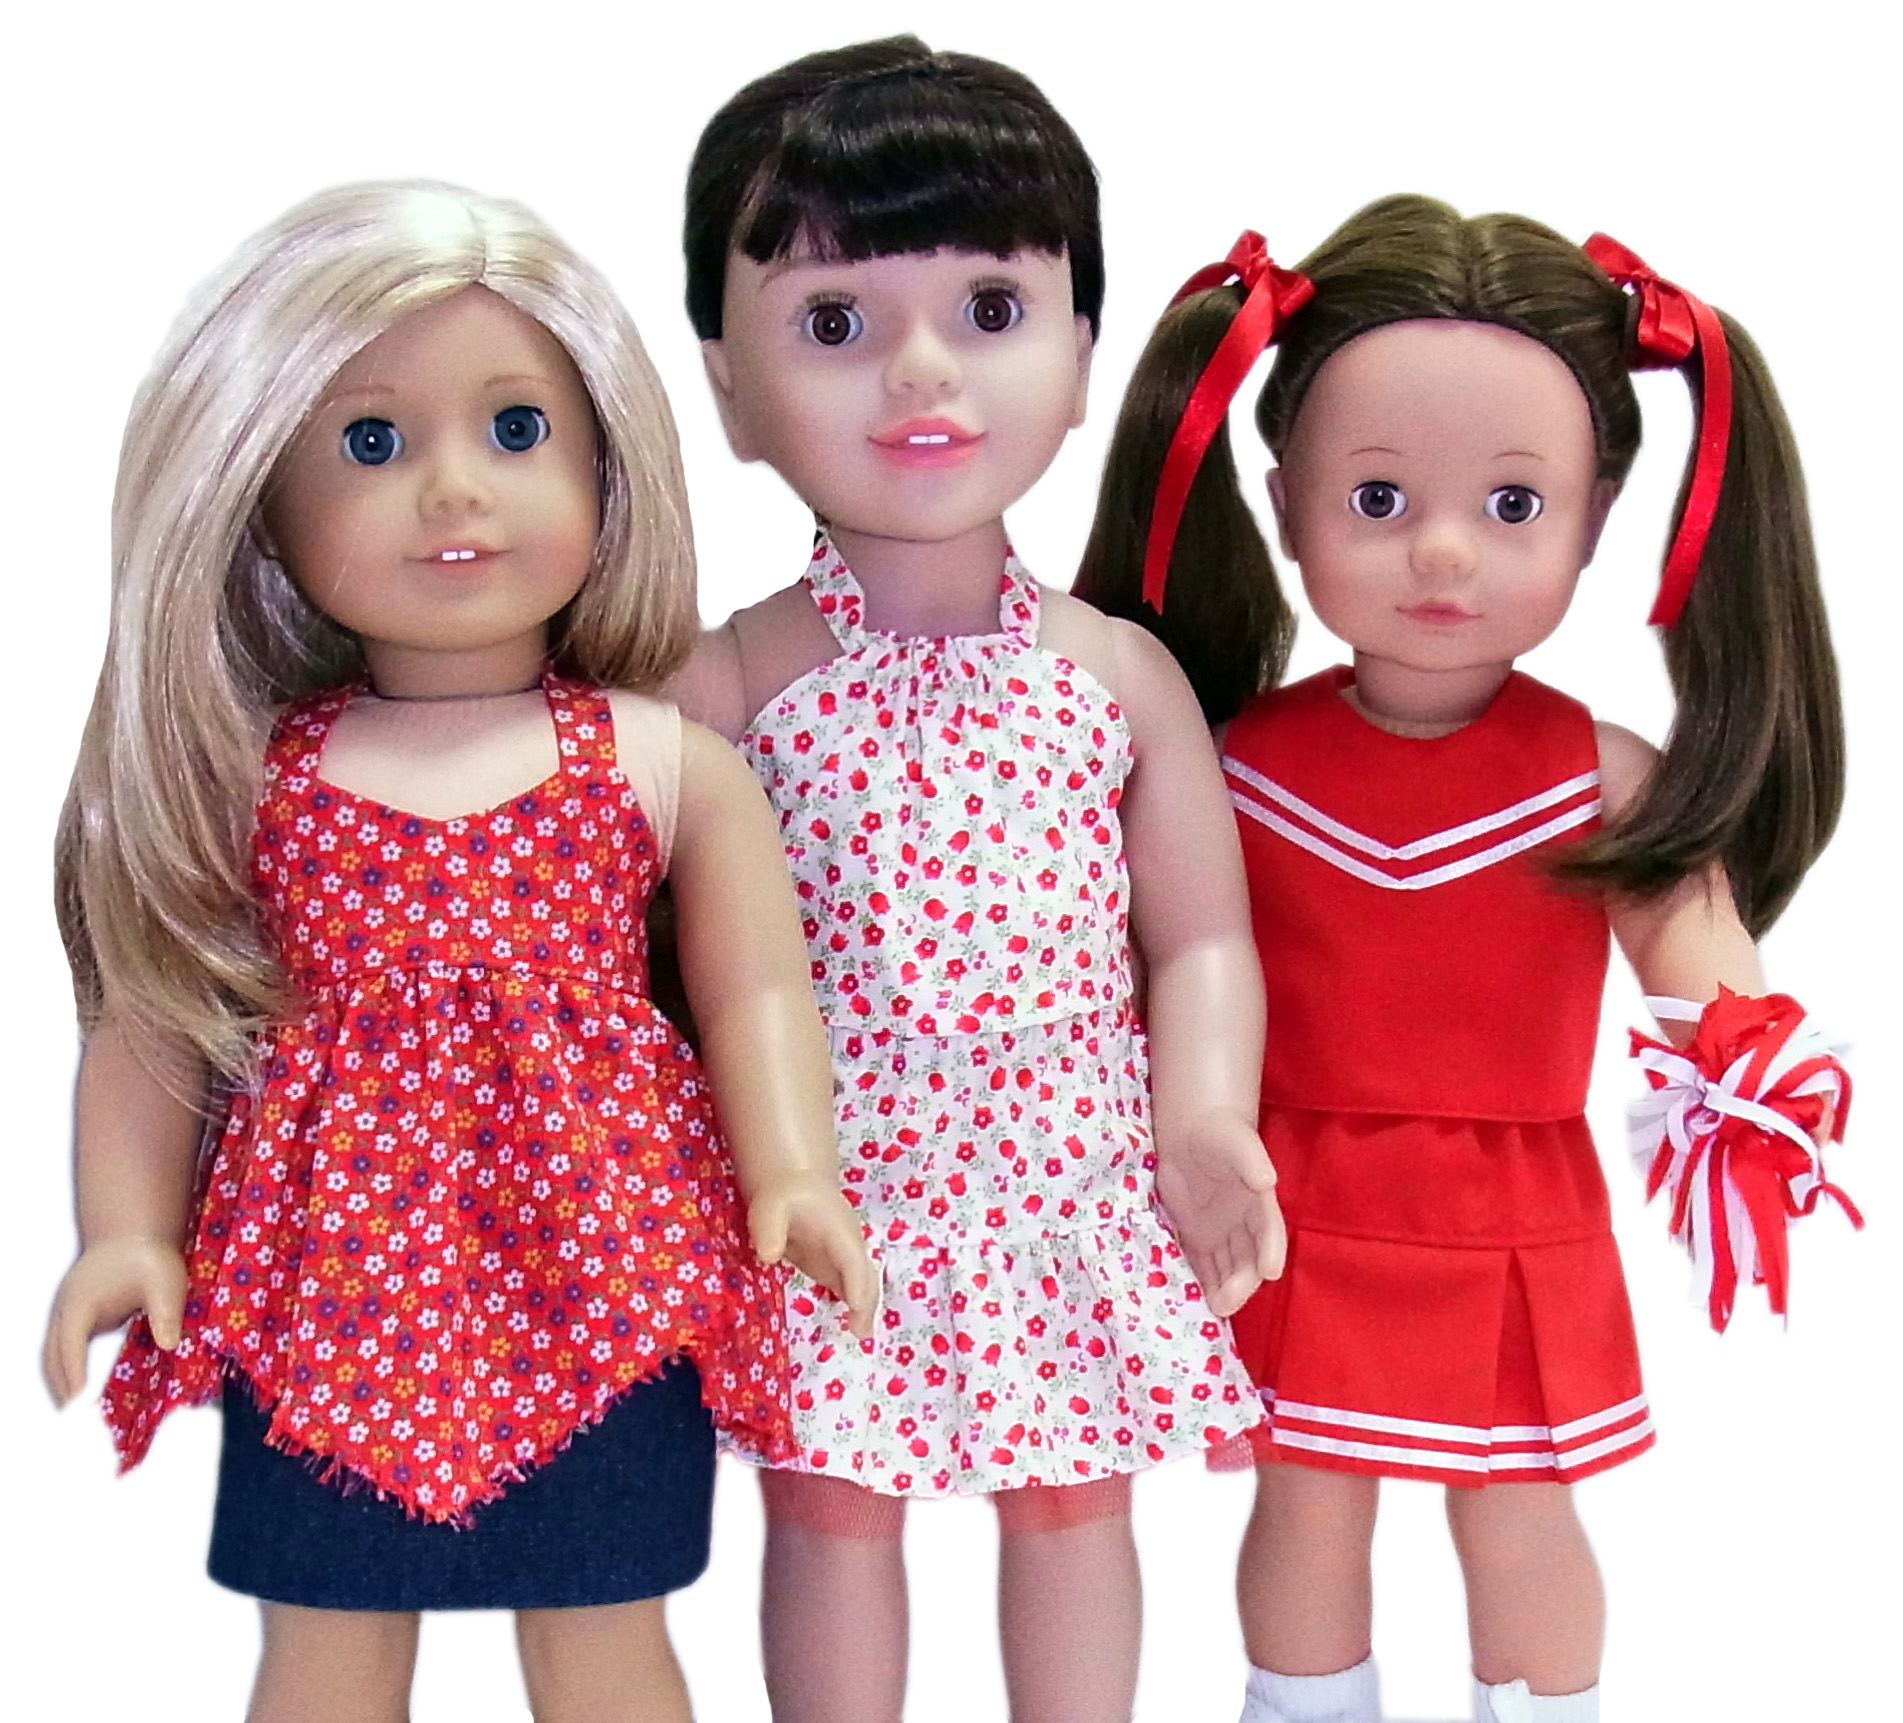
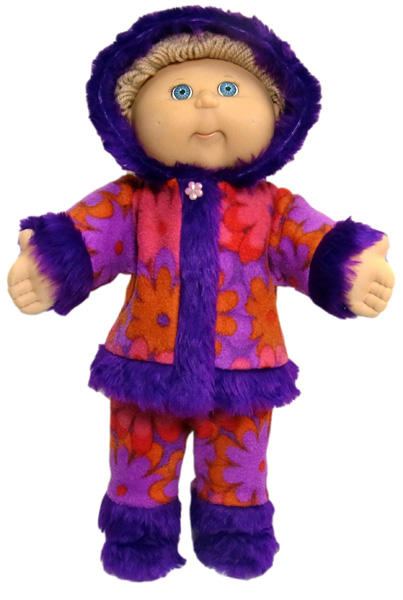
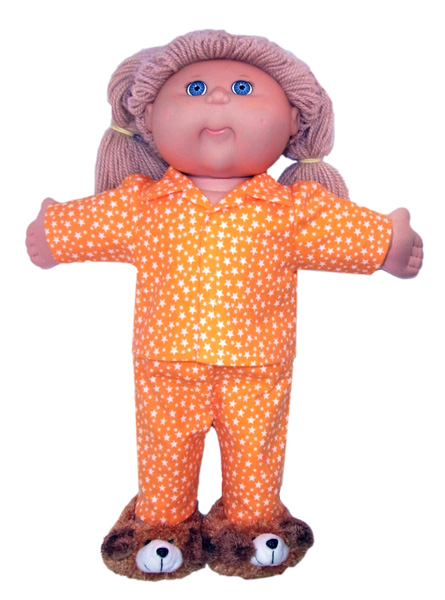
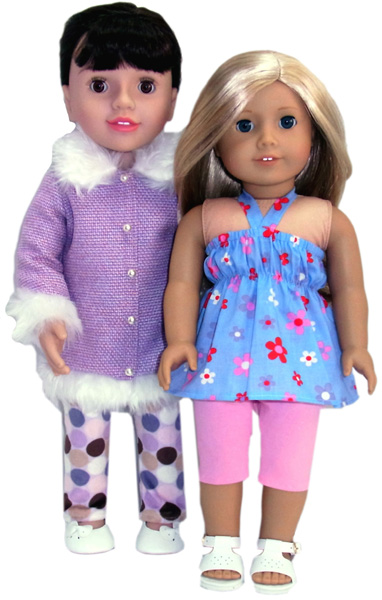
Rosie's Doll Clothes Patterns offers patterns to make your own American Girl, Cabbage Patch Kid or other similar size doll clothing.  It's a great money saver (have you seen some of those outrageous prices for manufactured American Girl outfits?!?), it's a great way to use up scraps and gives you the chance to make great custom outfits for the children's favorite dolls.  

But Rosie provides more than just printable patterns - all Rosie's pdf doll clothes patterns come with written instructions and 12 months online access to video tutorials where Rosie shows you, step-by-step, how to make the doll clothes outfit - which means there is no way you can go wrong!

And Rosie also has an Online Doll Clothes Sewing Course.  
This is great too because:

- It's set up in themed sections with easy-to-watch segments that are just a few minutes long, to watch at your convenience.  

- Even if you don't know a thing about sewing, you'll find the knowledge you need in the videos - including setting up a sewing room, fabric selecting, etc.

- There's valuable info for experienced sewists too, like assembling in a different order, ways to get around the tiny size challenges & embellishing techniques.

- There are special segments called Cool Tips that share shortcuts & extra info.

It comes with 8 free doll clothing patterns that had both printable instructions AND videos for making them.


Last August I shared my experience trying out Rosie's online sewing course for making doll clothes and using her patterns.  Here's some of what I made using them:


Not only was it fun, but it was a lot easier and faster than I'd expected.  This year I think my oldest is ready to learn how to make some with me, so it'll be a nice shared experience too. I enjoyed using them so much I decided to become an affiliate because I really think this is a worthwhile sewing source.  


Now Rosie has included Bundle Offers in each of her pattern categories. This gives the customer a 10% discount when they purchases all patterns under the same category. There are lots of choices for all seasons and styles:


And like all Rosie's patterns, every one comes with full video tutorials and printable instructions.


Now here's your chance to win some!
a Rafflecopter giveaway


I was not financially compensated for this post.  I reviewed products from Rosie's Doll Clothes Patterns previously and am now an affiliate because I enjoy using those items.  The opinions are completely my own based on my experience.  For my complete disclosure policy, click here. 

Tuesday, August 27, 2013

Sew Darn Sweet: A Mouse from The Brambly Hedge Pattern Book


How about a little mouse for the house?  I promise this one is sweet and will not eat you out of house and home.  


I made him using an enchanting pattern book I stumbled upon awhile ago in my craft book collecting travels.  Since this month I've been all about patterns, it seemed like the ideal choice for a new Craft Book Corner.  


The idea behind it is to share some of the books in my craft book library.  Some teach particular techniques, some have themed projects, others have solid background info worth knowing.  Why keep them hidden on the shelf when you could go check them out too?

Now let's get to the pattern book goods!

Today's Book: 


The Brambly Hedge Pattern Book by Sue Dolman.  This particular book is one that's just as much fun to look at as it is to use. 

Why I'm Sharing It: 
I found this pattern book in a secondhand book store while on vacation two years ago.  I'm a sucker for anything involving woodland animals and these little mice looked so charming all dressed up that I had to get it.  I mean, a little mouse with a bustle & flower hat or wearing a 3 piece suit?  That's awesome!


It was only after buying this pattern book that I discovered the actual Brambly Hedge books these soft toys are based on.  Brambly Hedge was a book series by Jill Barklem in the early 1980's and all about the adventures of a few mouse families living in a hedge.  It appears there were also some Cosgrove Hall claymation-style programs & collectible items too - much like The Wind In the Willows, which our family adores.  I love when the worlds of sewing, kid's stuff & literature collide:)


What's it about?
Just like the title says, this book provides patterns and detailed instructions for making 5 of The Brambly Hedge mouse characters: Wilfred Toadflax, Primrose Woodmouse, Mrs. Apple, Dusty Dogwood and Poppy Eyebright.   Each character has its own method of construction and specific clothing and accessories.  I started with Wilfred Toadflax since he seemed the least complicated.


What's the format?
The book starts with general instructions for making the the elements like hands, feet & heads that will be the same for each character.  Then there's a separate chapter for each mouse that gives a specific materials list, pattern pieces, illustrated assembly instructions and how-to's for making accessories like hats, toys and baskets.

I made a few small changes from the book instructions.  I wanted to use stuff I had on hand for my first attempt, so I used some anti-pill fleece instead of faux fur for the head:


And some solid red knit instead of striped for the shirt:


I also tried to do machine sewing as much as I could.  It's kind of implied you're hand stitching for everything, but my hand sewing can sometimes look sloppy, especially when trying to work with tiny pieces, so I machine stitched most of the clothing and body bits and hand sewed for attaching things like the head to the body.


I was too lazy to make a mini sling-shot for him, but knowing my kids it would have been lost or broken with the first 5 minutes so it's just as well I didn't bother.  

What makes it helpful?
Because these are small toys, all the pattern pieces are to scale, so it's really easy to trace them and get started.  My biggest pet peeve of patterns in sewing books are the ones that say "scale up X%" instead of providing properly sized patterns.  Scaling from a book is never as easy as just increasing and printing and usually results in bits getting cut off or warping. Ugh, it's seriously the worst - it totally delays getting to the good bit, which is the sewing!

Extra info:
They don't recommend making these for babies/toddlers due to the materials, but for older children these are fine as toys.  It's nice that they're somewhat posable thanks to some clever pipe cleaners inside the arms, paws & feet.  My mouse looks a little different from the book since he's less furry, but he was my first attempt.  I'd probably go the faux fur route on future mice so they are more like the book illustrations, but it just shows you can do a variety of looks with the designs.  And either way, he can rock my vintage 80's Fisher Price Woodsey Log House like nobody's business!


The projects in this book get full marks for cuteness & the techniques to achieve them are simple enough for a beginner, it just takes a little time and patience to put them together. And it's just plain fun to look at.  One day I'll get to making the other 4 mice so we can give them some adventures of our own.  Heck, maybe I'll go for broke and do a full cottage (check out the handmade one by Pillis Mini from Germany - beyond wow).


Now were enjoying this little guy and reading about his adventures.  I find these old school projects & books so much more enjoyable than all the pre-fab merchandise that's associated with anything slightly popular these days.  And the kids feel like these things are special and don't get bored with them as quickly either.

Book Score: 


I'm also sharing this with my FAVE LINK PARTIES.
Click HERE to check them out!

I purchased this book for myself, with my own funds.  I was not financially compensated for this post.  The opinions are completely my own, based on my experience. 

Sunday, August 25, 2013

Craftastic Monday Link Party & A New Pattern Giveaway Winner!


Can you believe it's the last week of August?!  Yikes - has month had been flying by for me!  It'll be a busy week finishing some upcoming projects, celebrating my daughter's birthday & starting to get organized for school.  And planning some special goodies to share with you soon:)  Here's hoping everything will get done!

It's also time to announce the winner of the Terra's Treasures Giveaway:


Congratulations and enjoy picking out some new patterns!  And a big thanks to my lovely sponsor, Terra's Treasures Patterns, for providing this double prize package:)

And check out the newest giveaway to continue celebrating August as Sewing Pattern Month.  Plus, the final sewing pattern giveaway for the month will be coming up later on this week!


a Rafflecopter giveaway
Now for last week's fave Craftastic picks!

I love all the ingredients in this cucumber limeade from Salt and Pepper Moms, so this is on my to-make list:

Helby's Hatch transformed a single fabric panel into some fantastic woodsy wall art pieces (I totally want this fabric!!):

Windsor & Main linked up a great tutorial for making a handy zip-up glasses case:

Make an easy ombre candle with tissue paper thanks to Crafty Lumberjacks:

Use these handy tutorials from Peck's Pieces to make a muddle of mice (that are all sewing accessories):

And celebrate the last of summer with some sunny lemon shortbread flowers from The Love Nerds:

If you're one of this week's features, be sure to grab my Featured On button over on the sidebar to let everyone know.  I also feature these projects & more party favorites on the Sew Can Do's Craftastic Picks board on PinterestFollow me there to see more great projects (and if yours is one of them)!   
  
Follow Me on Pinterest

Ready to link up your crafty creations?

 
Party rules are simple:
  • As long as it's crafty, and made by you, it's Craftastic (no links to giveaways, shops, link parties or other people's work).  Add the link to your specific post (not the main page of your blog).
  • Grab my party button & put it on your post or blog somewhere.  The code's on the sidebar -> 
  • Check out some of the other fabulous links and share some crafty comment love.  We all love getting comments!!


LinkWithin

Related Posts with Thumbnails