Friday, November 29, 2013

I Made It! Using Tags & Labels To Show Your Handmade Pride


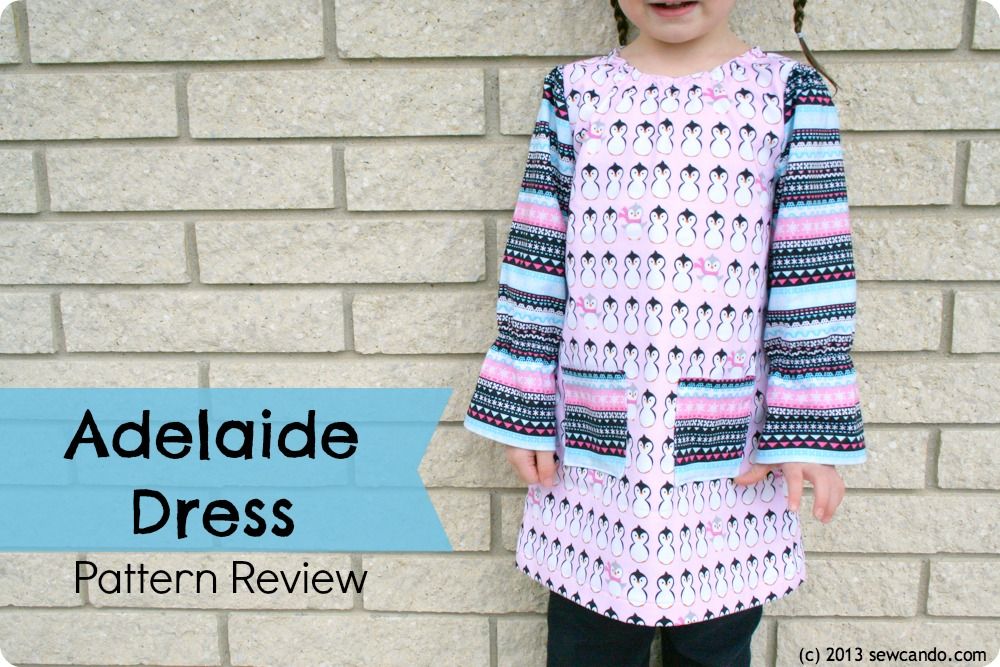
Do you sign your handmade items?  I don't mean actually sign them, but adding a label or tag to show it was made by hand.  If you put in effort, time & love, to make something, doesn't it deserves to get a shout out when finished?  Here are a bunch of great ways to share that handmade pride:

Go the twill tape label route.  These Zakka and Sweet Heart styles have multiple designs by the yard:


They can be used to tie up a handmade gift or cut apart to make separate labels like this:


Embellish It.  These Wooden Handmade tags come in a 10 piece assortment (I'd already used two on projects by the time I took this).  I like that you can just glue them in place or use the holes to stitch them on.  


I stitched one onto my favorite bag (from my original free Off To Market pattern).  Even though it's been 2 years since I made it, I still hear compliments on it when I'm carrying it, so it feels good being able to add a handmade tag for a little extra polish.  


And there's the added bonus that the bird version was a perfect match to the fabric design:


Sassy Stitched Labels.  If you're feeling more cheeky, these fabulous labels from Sublime Stitching express the true sentiment behind some of those more pain-in-the-backside projects:


Metal Accents.  Go all sleek with some metal handmade tags & zipper pulls for a more upmarket finish:


There are even functional ways to add the handmade message, like this handmade snap fastener:


The custom label route is always an option too, but it can get pretty expensive per piece or require a lot bigger quantities than these options.  In my personal crafting I like to use different labels on a pair of kid's pajamas than I would on a swanky handbag or a gift to a sassy friend, so it's nice to have a lot of options that are budget friendly so I can keep a bunch of styles in my stash.

An artist wouldn't leave a painting unsigned to get lumped in with machine made prints, so why shouldn't a crafter add a little handmade flourish too?


I was not financially compensated for this post.  The opinions are completely my own based on my experiences.   I selected several items from my Sponsor, Wholeport, to review and am also sharing information on products from other sources I happen to like.  For my complete disclosure policy, click here. 

Sunday, November 24, 2013

Thanksgiving Craftastic Monday Link Party & Double Feature Time!


Can you believe Thanksgiving is just a few days away?  Fall really flew by and with the weather turning down quick, winter coming just got pretty real over here!  And with a little holiday break coming it means time to relax and do fun fun projects.  

And speaking of fun projects, I have extra featured projects to share this week.  There were SO many great ideas - they could't be contained!!

It's also time to announce the winner of the Terra's Treasures Pattern Trio Giveaway:


Congratulations Suzanne & have fun picking out your new patterns.  A huge thank you to Terra's Treasures for providing this wonderful sewing prize.

Now for a double dose of Craftastic picks..

Creative Southern Home shared these cute peanut butter pumpkin cookies.  Easy to make and ideal for this week's big dinner dessert plans:


Mad Town Macs decorated a festive fairy door and window.   I'm seriously enchanted and want these in my house:


Ode To Inspiration shared a way to use all those colorful paper straws - snowflake decorations!!


My middle son is a huge nutcracker fan, so this gorgeous nutcracker holiday display from Penny's Vintage Home is beyond beautiful to check out.  She could seriously sell tickets to check out her decorations!


And for some no-sew holiday magic, check out the DIY Dreamer's how-to for making this ruffled tree skirt.  I love the unusual color scheme too:


The Partiologist wowed me with these amazing gumdrop Mason jar cookies. There are also tutorials in the same post for making peanut butter filled chocolate gum drops AND gum drop cake pops.  A trifecta of gum drop goodness!


Pretty Providence showed how to make a fun magnetic nativity set:


Check out this transformation from Sum of Their Stories - this was a plastic detergent tub.  Now it's a cute planter!


If you're one of this week's features, be sure to grab my Featured On button over on the sidebar to let everyone know.  I also feature these projects & more party favorites on the Sew Can Do's Craftastic Picks board on Pinterest AND I share each of them on Twitter too Follow me there to see more great projects (and see if yours is one of them)!   
  
Follow Me on Pinterest


Ready to link up your crafty creations?

 
Party rules are simple:
  • As long as it's crafty, and made by you, it's Craftastic (no links to giveaways, shops, link parties or other people's work).  Add the link to your specific post (not the main page of your blog).
  • Grab my party button & put it on your post or blog somewhere.  The code's on the sidebar -> 
  • Check out some of the other fabulous links and share some crafty comment love.  We all love getting comments!!


Friday, November 22, 2013

Pattern Review: The Adelaide Dress from Seamingly Smitten


Have you ever bought fabrics because you fell in love with the prints, but end up at a loss of what to make with them?  That was me and the prints from today's project.  I bought them a year ago and then was stumped on what to do.  Then Jenny over at Seamingly Smitten Patterns asked if I'd like to try out her new Adelaide Dress Pattern and the perfect solution appeared.  Now I've used my fabrics and found a new pattern to love!


The Adelaide Dress pattern makes a really cute A-line dress with 3 sleeve options (full length, 3/4 & short) and covers sizes 6 months to 10 years. 


And it has this unique V back that can have a lace panel added for extra detail:


Look how chic the short-sleeved version is from both the front AND the back:


But what really peaked my interest was that it's fully lined.  No matter how cute something is, single layer cotton is not going to get worn when it's 20 degrees.  So having this nice full lining means quilting cottons are back on the table and still warm enough for those of us living in chilly climes.   Corduroys would be ideal too.  I made the long sleeved version and used contrasting fabric for my sleeves, front pockets and my back panel.


The neckline is a wide scoop in front and I did goof a little when cutting the v-portion of the back (cutting fabric while 3 kids are yelling for you will do that).  I made it a bit wider than I really wanted, which could have been a challenge since my daughter has very slim shoulders.  Then I came up with another way to style this dress that solved my slip up and added another option: shirring.  I just did two lines of shirring with elastic thread around the neckline and presto!  Perfect fit and more looks for this dress design.


I also made a bigger back panel with my sleeve fabric instead of using lace, so it wouldn't be too busy looking:


Adding in a pair of solid pants and it's the perfect winter look.  I love versatile patterns and feel like this is one I will use again & again all year long.  And just like the other Seamingly Smitten patterns I've tried, it was super easy to follow and put together.  Just two main pattern pieces to cut out  - ideal for a busy mom!


And right now is a good time to try this pattern (or any other Seamingly Smitten patterns), because through Thanksgiving Day (11/28), you can get 40% your entire purchase with the code: HAPPYTHANKGIVING40.  That's a big savings and it's definitely more fun to score a deal on patterns and sew up some new outfits all holiday weekend than to fight the crowds in the stores.  Visit Seamingly Smitten to see what patterns strike your fancy & get a bargain at the same time!


I received compensation for this post. The opinions are completely my own, based on my honest experience with the item reviewed.

Wednesday, November 20, 2013

Turkey Blossom Tablescape Tutorial


How about a blossoming turkey to decorate the table this Thanksgiving?  It's a fun way to celebrate the bird of the season and make use of some gorgeous fall flowers in a unique way.  


Jo-Ann Fabric and Craft Stores asked me to create a Turkey Tablescape project and I thought I'd try something different from the usual table decor.  Added bonus - this little turkey can live on year after year, so he's ideal for vegetarians like me;)


Materials:
- 3 to 4 stems of silk mums (mine had blooms about 3 inches across)
- 1 stem of silk hydrangreas
- 8 inch diameter styrofoam ball
- 1 styrofoam egg
- Rolls of 2 inch wide wired ribbon in fall colors/prints 
- Hot glue gun
- Wooden skewer
- 2 buttons
- Scrap of felt

Start by pulling off the blooms from the stems.  Be careful to leave the base of each flower intact:


Add a nice swirl of hot glue to the base of the bloom:


Stick into styrofoam ball and press down.  


 Continue adding blooms with edges of petals touching:


The result will be a nice ball of blossoms:


Now to make the turkey head, carefully pull petals off the silk hydrangea stem:


With right sides facing out, fold each bloom in half and hot glue to one end of a styrofoam egg:


To keep folded, add a line of hot glue to the middle and press closed.  


Repeat this, overlapping the blooms until completely covered.  It will have a sort of pinecone look to it when done:


Insert a skewer into one end of the egg and then press the other end into the body ball.  Add feet to the turkey by taking a pair of leaves from the leftover stems and cut apart.


Then hot glue them to the bottom of the ball, so that they are just peeking out: 


Now it's time to feather this bird!  Take the ribbon and cut 26 inch strips.  Fold each in half and fold raw edges inward and upward about 2 inches up.


Repeat with other ribbons to make the turkey feathers.  I made about to get the fullness I wanted.


Attach the feathers to the back of the turkey with pins.  Start with two at the bottom corners and add several more to the middle.  The wire in the ribbon will brace them the rest of the way and allow them to be shaped by hand.


To make the beak, cut a piece of felt in this shape.  It's easiest to make by folding the felt and cut a diamond.


Add a dot of glue and fold.  Then hot glue the beak and two button eyes to make the turkey face.  


Add a charger underneath, some candlesticks & gourds, and the turkey centerpiece is ready! 


I'm also sharing this with my FAVE LINK PARTIES.
Click HERE to check them out!

I was not financially compensated for this post.  I received a Jo-Ann gift card and select craft supplies from Jo-Ann Fabric and Craft Stores® Celebrate the Season campaign.  The opinions are completely my own based on my experience.  For my complete disclosure policy, click here. 

LinkWithin

Related Posts with Thumbnails