Friday, January 31, 2014

A Fabric Mystery To Solve & The New Fabric Stash Spotlight


Today kicks off a new feature here at Sew Can Do: Fabric Stash Spotlight.  We're all big fabric lovers so I thought a regular fabric feature would be fun to do & a great way to share knowledge.  


Here's my plan:  Once a month (or maybe more), I'll share a unique fabric from my stash and give lots of fabric info like...

               ~ What it's made of?
               ~ Properties like stretch, thickness, etc.
               ~ Use ideas (best for apparel, decor, bags, etc.)
               ~ Tips & tricks for the best sewing results 
               ~ Where you can find the fabric

I've amassed an enormous collection of fun & fabulous fabrics over the past couple of years, but a lot of these beauties are still folded waiting to be used.  Sometimes they get forgotten about because they're tucked away or (and I'm sure I'm not the only one here), I've been hoarding/saving them because I love them but just haven't found the perfect project.  
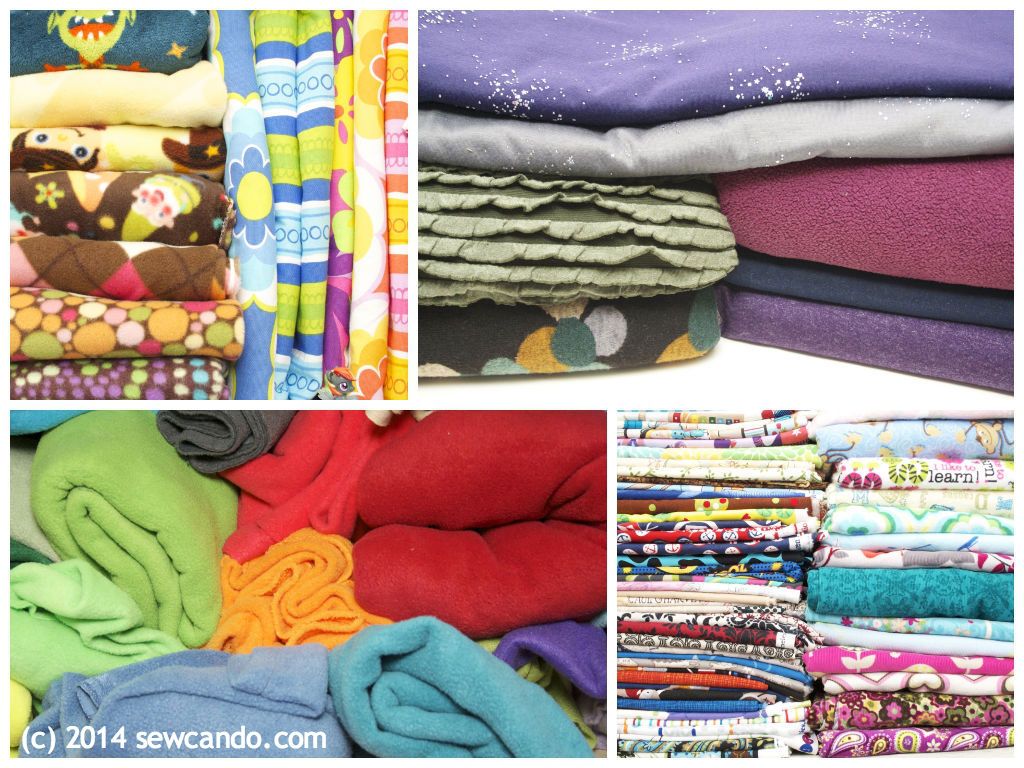

Just a few stacks of fabric in my stash

The goal is to get us all inspired to use our stash fabrics more & to share fabric info. Then you can find out more about some great fabrics and get sewing more too.  Yes, I'm being a bit of a fabric buying enabler, but I think that's a good thing;)

Now, on to today's Stash Spotlight.  It's a.....MYSTERY fabric!


That's right, sometimes I'll need your help figuring out fabric too;)  Today's feature is something I picked up and have a lot of hands-on experience with, but I don't know what it's actually called.  I'd love to find out because I have GOT to get more, so let's see if you can help solve the mystery!  

Fabric Makeup:

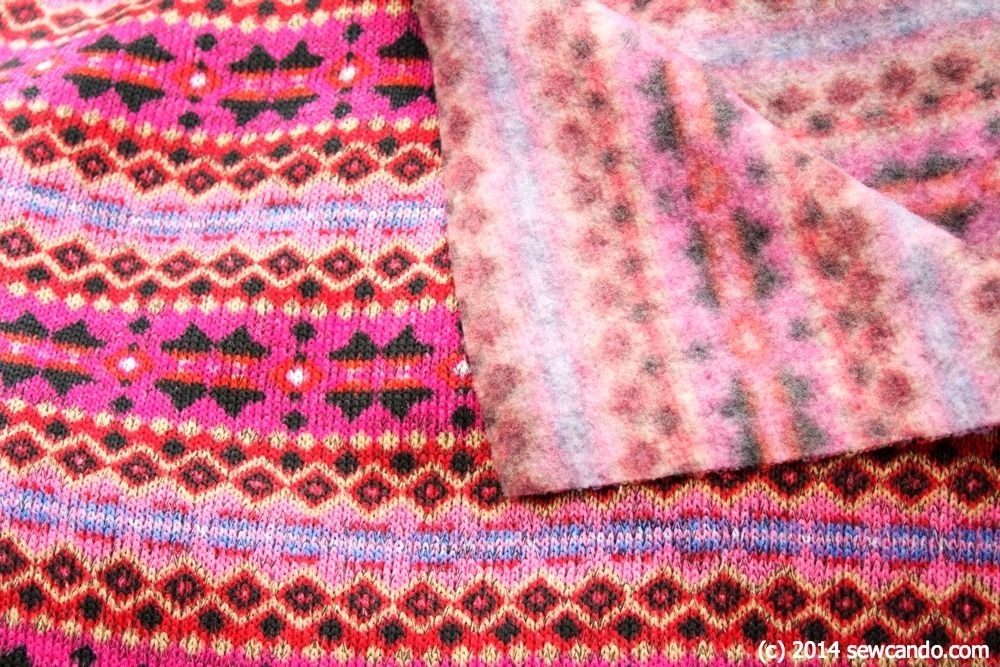
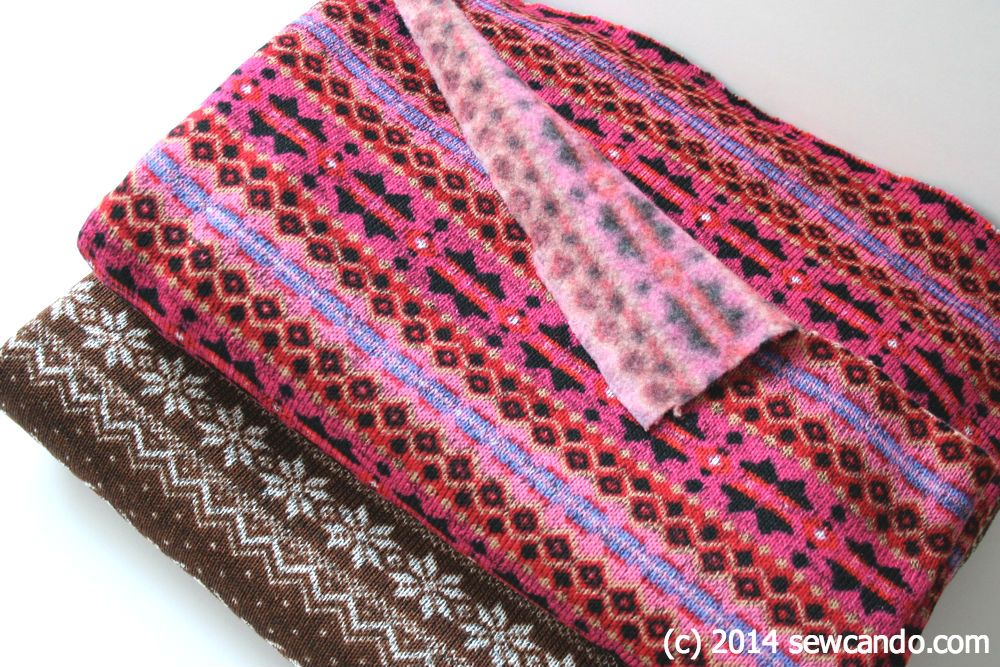
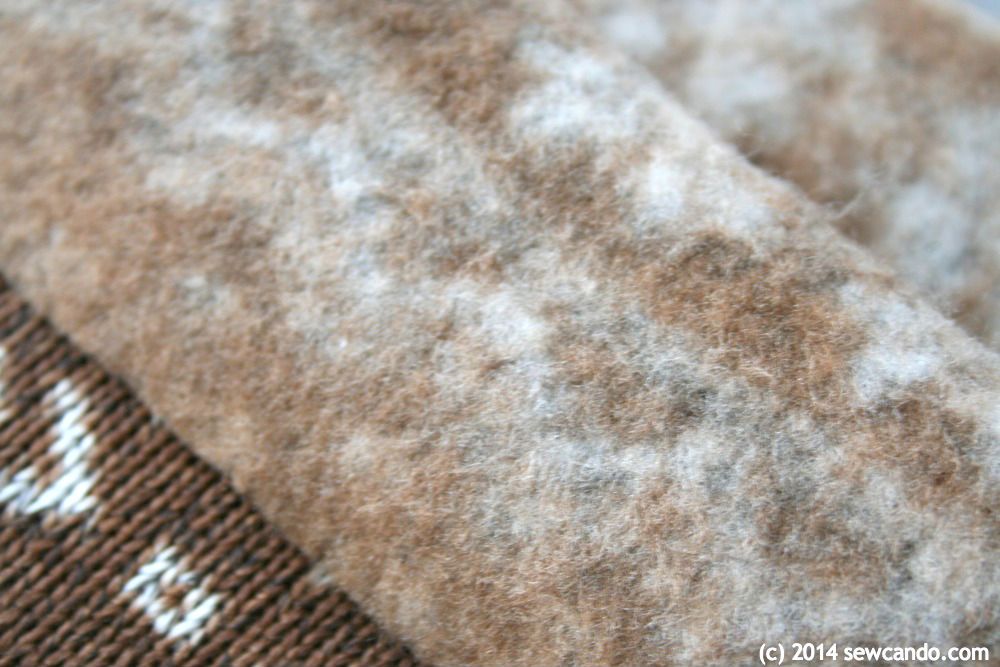
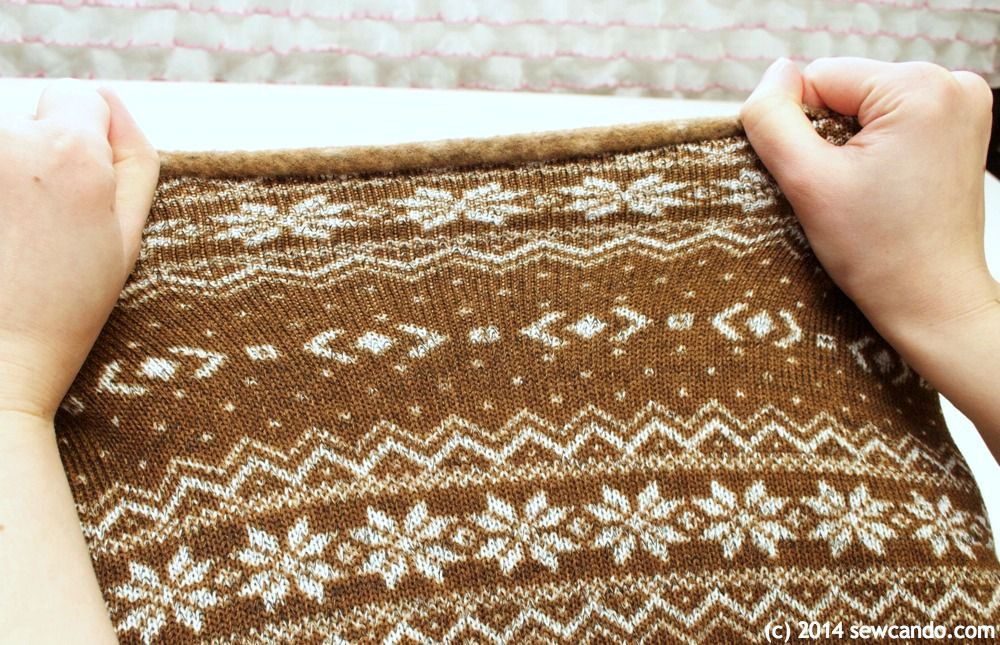
My best description for this is Sweater bonded fleece, Flocked sweater knit or Fleece backed sweater knit.  I have two different prints of this fabric:  


Both are sweater knit on the right side, but on the wrong side are bonded with a layer of fleece.  It appears to be a yarn blend (cotton/acrylic?) on the sweater side and then polyester fleece on the back.  


Properties:

It's got the same thickness as usual fleece and a similar level of two way stretch along the cross grain (selvage to selvage), with a little give on the lengthwise grain (aka top to bottom).  It's also got a super generous 62 inch width which makes it so versatile.   
  

Uses:

Since this fabric has a built in fleece-y back, making use of both sides is ideal.  

- With hemmed edges it's great for hats, scarves, mittens and one layer throws or blankets.

- Clothing like tops, dresses and leggings are perfect ways to use it.  It has all the warmth and comfort of a heavy sweater, but without the bulk and is much more flattering to wear.  

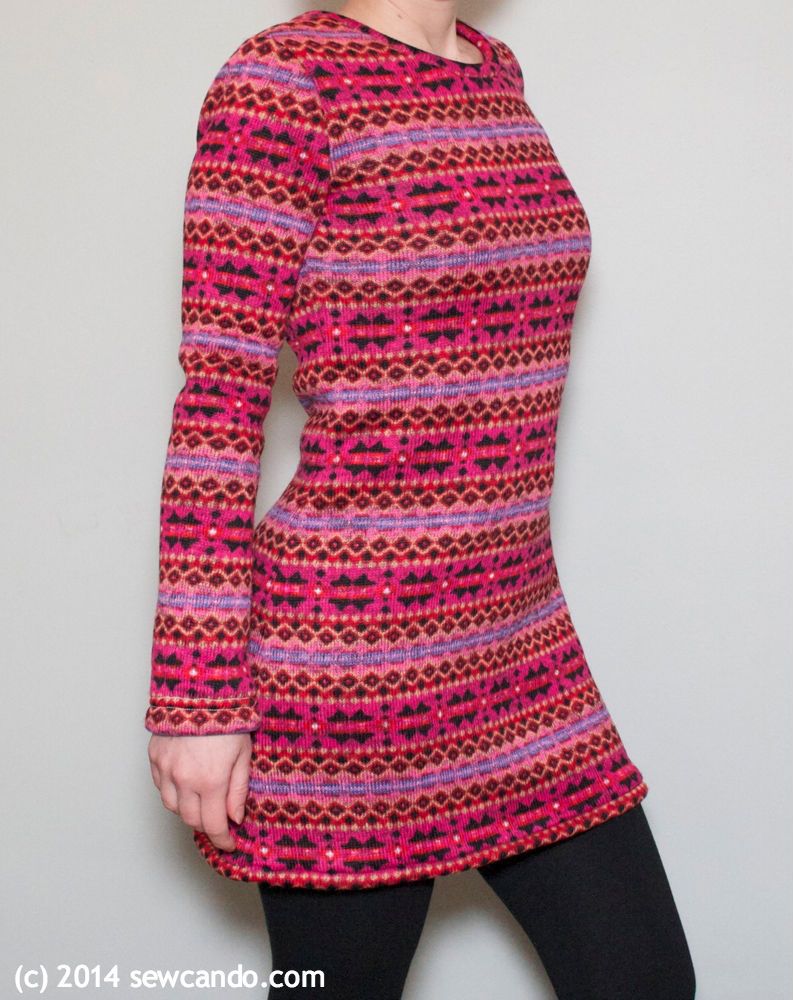
I used both of these with a pattern for a slightly loose knit dress (Cynthia Rowley 2054 by Simplicity).  Since this fabric is stretchy, but not as saggy as the recommended jersey, it turned out to be a fun, more form-fitting version, which I personally prefer to a shapeless sack.  I shortened it a little more too so it's perfect with leggings:


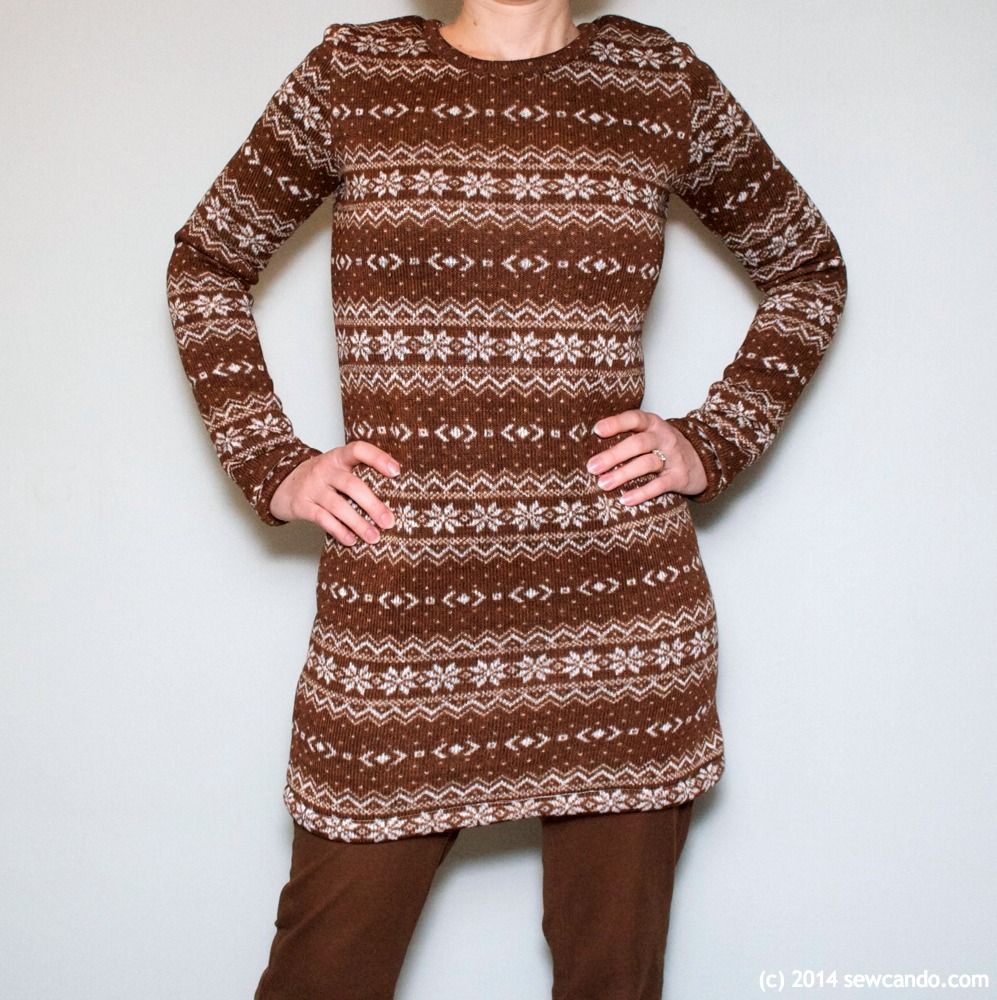
Here's the same dress done in the brown snowflake fabric.  I tend to wear baggy layers in winter so I don't freeze, but hate how horrible it looks.  These are SO cuddly and warm, but still look super cute, so they're a huge improvement to the winter wardrobe: 


Tips & Tricks:

- This fabric sews a lot like traditional fleece so I'd recommend a ball point needle or using a heavy duty needle if sewing through 3 or more layers.  

- A walking foot isn't necessary, but it does make it easier to keep it from stretching or shifting while sewing layers.

- Unlike fleece, since there's actual sweater knitting & threads, this does fray, so I recommend encasing raw edges on hems and trimming with pinking shears or serging for inside seams.

- If using it for clothing, use knit or triple stitch on your machine or serger for seams.

- I've been washing mine on cold and line drying and it comes out beautifully.

Find It Here:

I found this fabric in Ontario, Canada at Fabricland, Canada's main fabric store chain last summer.   They don't offer fabrics on line, but I've found some real gems whenever I visit. The prices for apparel fabrics are ridiculously cheap and they have a huge variety.  But look out on the quilting cotton & standard fleece - the prices for those are bizarrely high.  I got these sweater knits for around $7/meter.  I love that you even score a couple of extra inches thanks to the metric system!  I searched online to try to find this fabric with no luck, partly because I don't know what it's "official" name is, but I'll keep looking.


If you know what this fabric is called or where to find it, I'd love to have you share it with us fabric lovers.  And stay tuned for another installment of Fabric Stash Spotlight next month!


Tuesday, January 28, 2014

Fabric Lover's Giveaway & Discount from The Fabric Exchange


With Valentine's Day around the corner, how about a sweet discount on fabrics AND a chance at winning an assortment of lovely fabrics?  It's all thanks to The Fabric Exchange:


The Fabric Exchange is an online fabric shop that carries a huge selection of fabrics at really great prices.  Fabrics for all your needs, like apparel, home decor, special occasion - plus other sewing items dress forms & ribbon.  They also do free swatch samples so you can chose exactly what you want.  I requested a few to help me pick just the right textured fabrics. They came fast & made it easier to decide what would work best.  Now I can't wait until my new order arrives!

Their faux fur selection is incredible; they've got animal prints, poodle, mongolian shag and colorful spike style, just to name a few.  I already bought that spike one because it was so cool looking: 


They've also got loads of minky/cuddle fabrics in all sorts of colors and textures:


And other popular fabrics like lace, taffeta, chiffon & velvet, as well as upholstery, vinyl and burlap.


There's something for everyone and every sewing budget.  They even sell wholesale by the roll.  And right now, 

Sew Can Do Readers can get 15% OFF their orders!
 Just use the code: SEWCANDO
~~~~~~~~
Now how about a look at today's giveaway prize contents? 

One of the fabrics in this prize pack is this fun Dalmatian Velboa Fabric.  Velboa is a short pile faux fur that's great for clothing, costumes & toys:


These sweet Damask, Polka Dot Pink and Black & White Gingham Check poly cotton blend fabrics, would be perfect for clothing, tablecloths & decor:


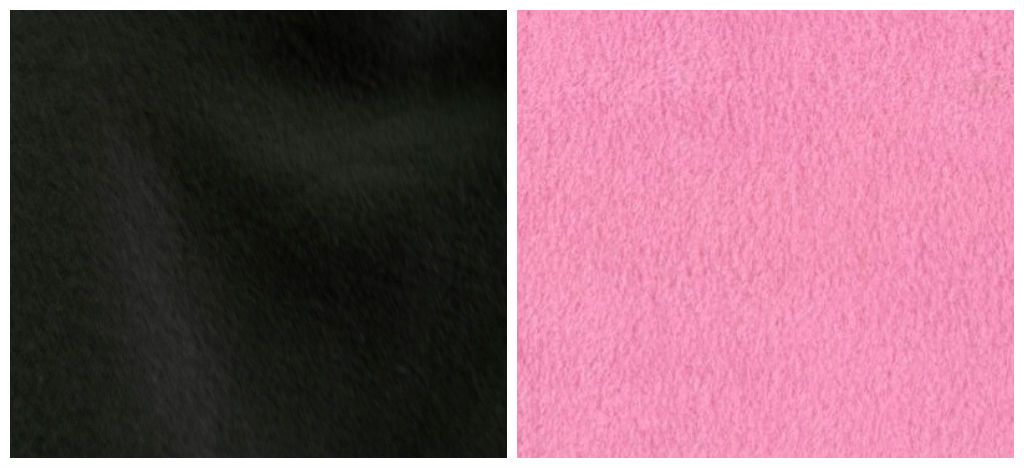
Plus, these deep pile fleeces in black & pink.  Perfect for warm projects this winter:


So many projects options for these coordinating fabrics!  A great assortment to giveaway!

The Fabric Exchange is giving one lucky Sew Can Do reader:

This 6 yard Fabric Bundle


AND

A Goody Bag Full of More Fabrics & Ribbons 
Worth over $60!


6 yards of fabric, plus even more fabric and ribbon.  

Nearly $100's worth of goodies. Talk about stocking your stash!  
Good Luck Everyone!

Sunday, January 26, 2014

Come Get Crafty at the Craftastic Monday Link Party!


Brrr!  Is this a winter to stay inside and craft, or what?!?  Since we're spending more time inside the house these days, I'm using it as an opportunity to work on projects that are cuddly & warm or help me stay organized.  

And it's giving me a chance to really go through my stash to re-discover forgotten items. This week I'm really focusing on fabric - I'll be sharing a new fabric-centric feature coming to Sew Can Do and hosting a fabulous fabric giveaway for you tomorrow!! 

Now a peek at some Craftastic picks..

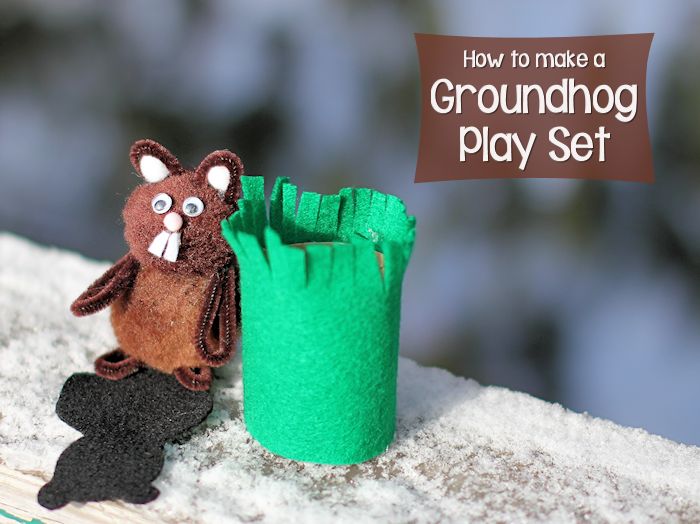
I just love this groundhog playset tutorial from About Family Crafts.  It's even got his shadow!  Maybe making this will help the real one take it easy on us and shorten up this crazy winter:


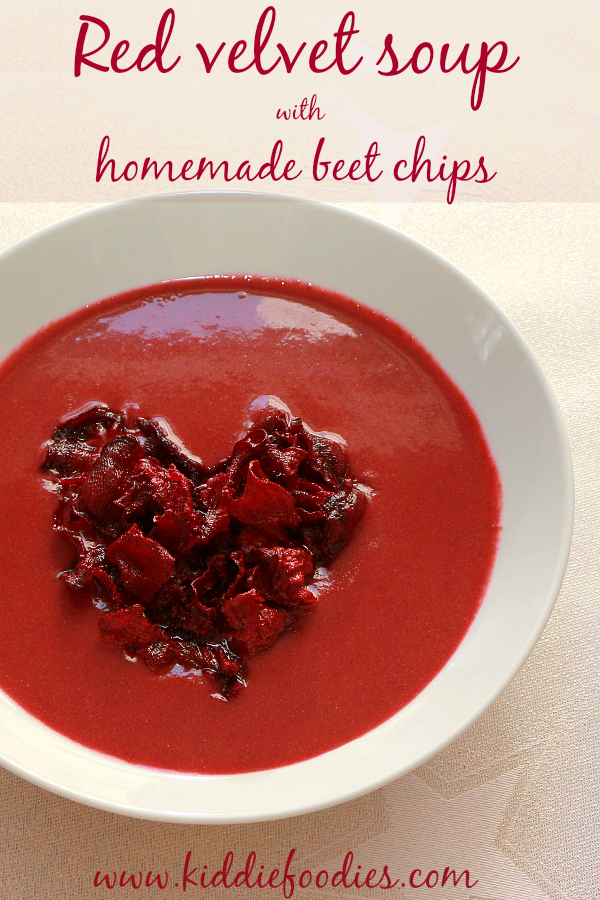
Check out this yummy how-to from Kiddie Foodies for red velvet soup and beet chips - definitely want to try this!


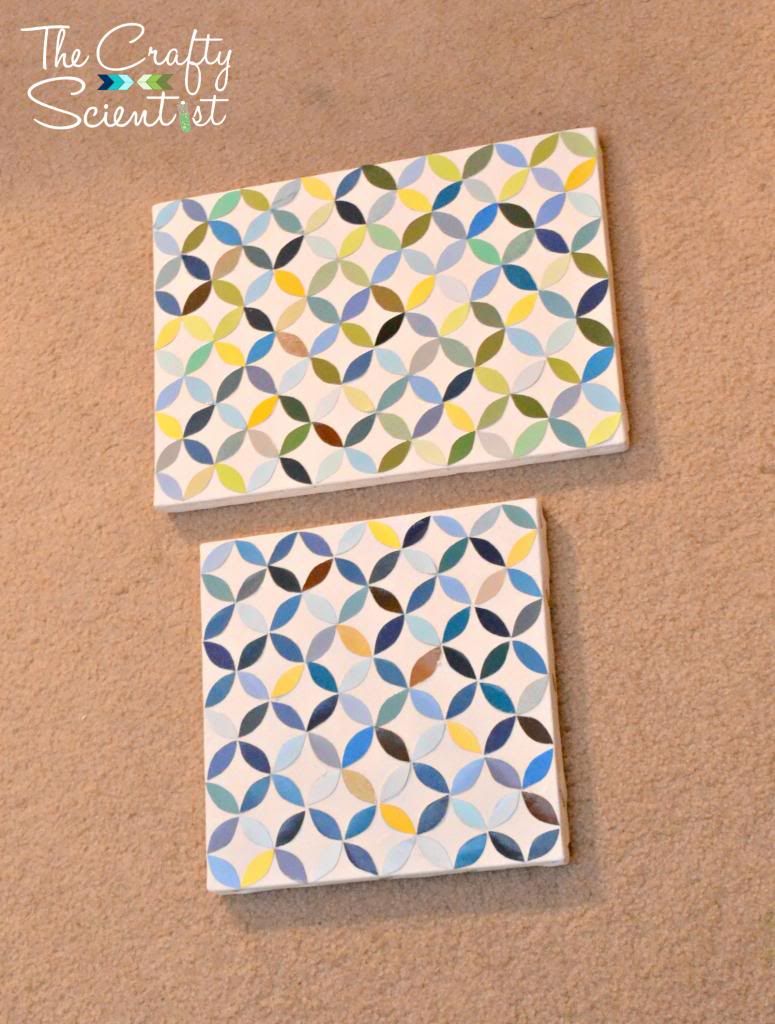
The Crafty Scientist shared this beautiful geometric wall art made from paint chips.  Love it!


Have a look at this clever framed art turned into a DIY tray from Let's Have Coffee, Darling:


The Adventurous Quilter showed how to make some amazing quilted dog jackets.  Perfect for the arctic temps outside:


If you're one of this week's features, be sure to grab my Featured On button over on the sidebar to let everyone know.  I also feature these projects & more party favorites on the Sew Can Do's Craftastic Picks board on Pinterest AND I share each of them on Twitter too Follow me there to see more great projects (and see if yours is one of them)!   
  
Follow Me on Pinterest


Ready to link up your crafty creations?

 
Party rules are simple:
  • As long as it's crafty, and made by you, it's Craftastic (no links to giveaways, shops, link parties or other people's work).  Add the link to your specific post (not the main page of your blog).
  • Grab my party button & put it on your post or blog somewhere.  The code's on the sidebar -> 
  • Check out some of the other fabulous links and share some crafty comment love.  We all love getting comments!!


Friday, January 24, 2014

Cutie Booty - My New Obsession With The Monkey Pants Pattern


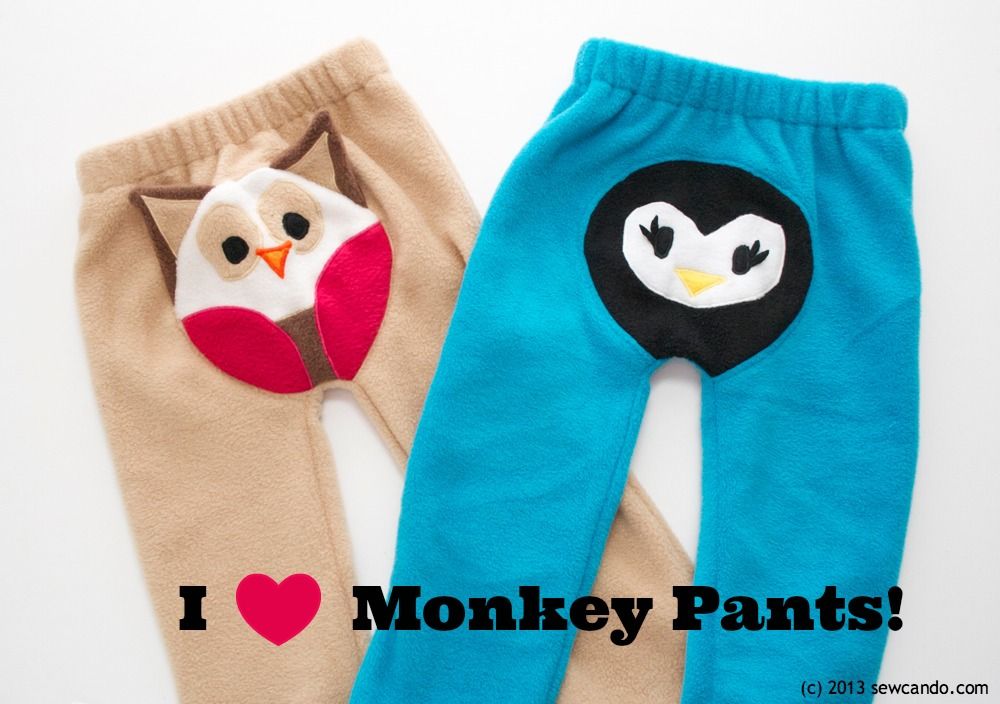
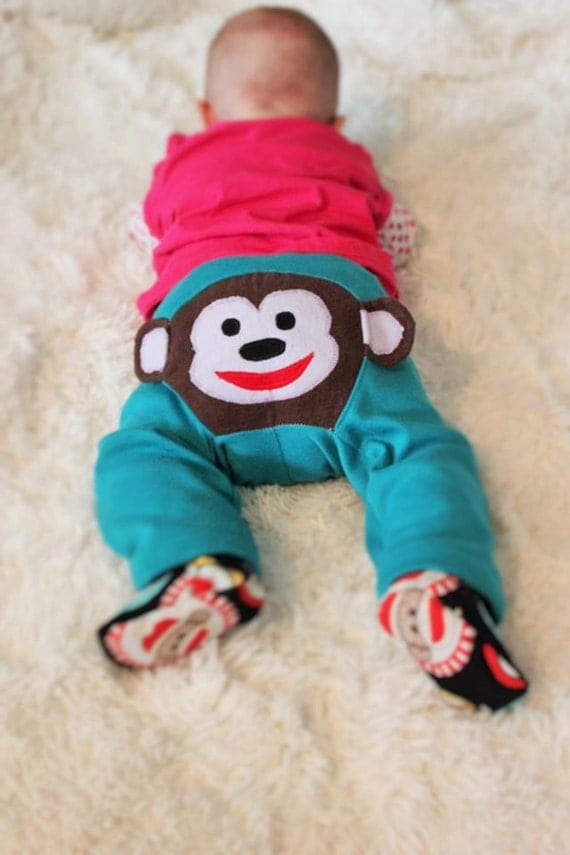
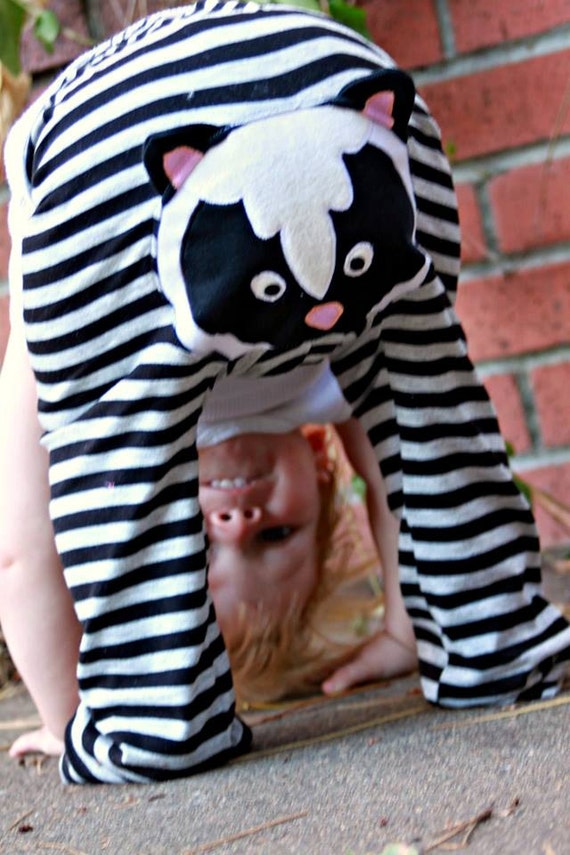
Last month I shared some super cute pants patterns from one of my advertisers, Terra's Treasures.  There was one I just HAD to have: The Monkey Pants Pattern.  I bought my copy that day and couldn't wait for my break time between the holidays to try it out. To say I fell in love with this pattern is an understatement - look at the backsides you can make with it:


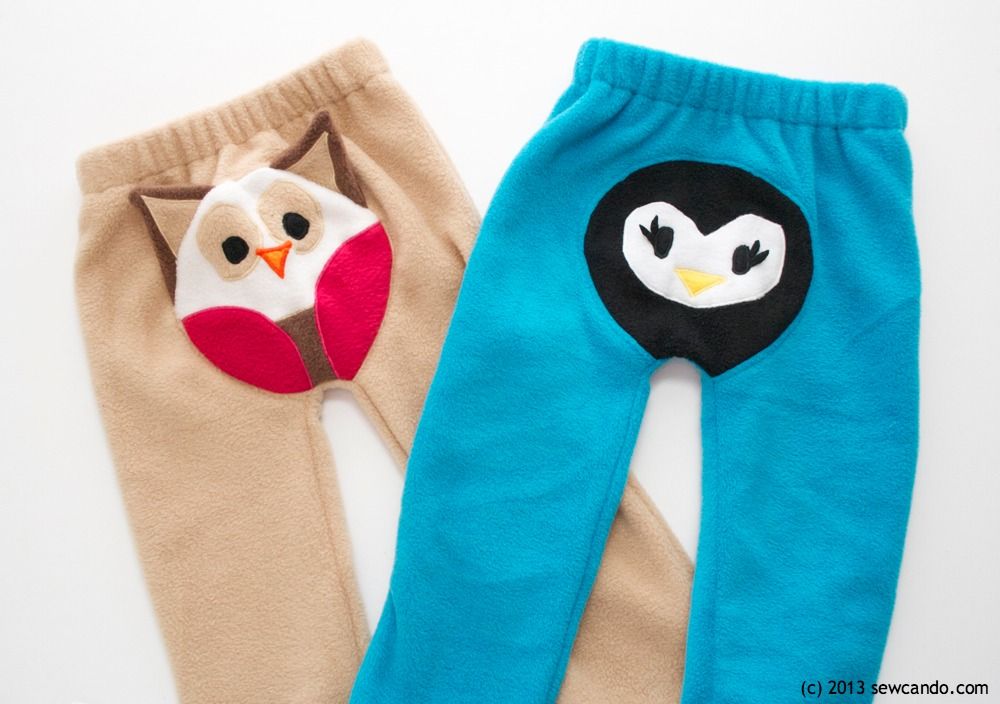
Appliqued animal bums.  Beyond cute.  I made my first pairs out of fleece and they are fabulous.  The polar vortex isn't getting to my little miss when she's wearing these babies! They're warm, cuddly and hardwearing. The best part of the pattern is the cute critter applique designs that are included; 7 different animal friends.  I tried the penguin and the owl first.


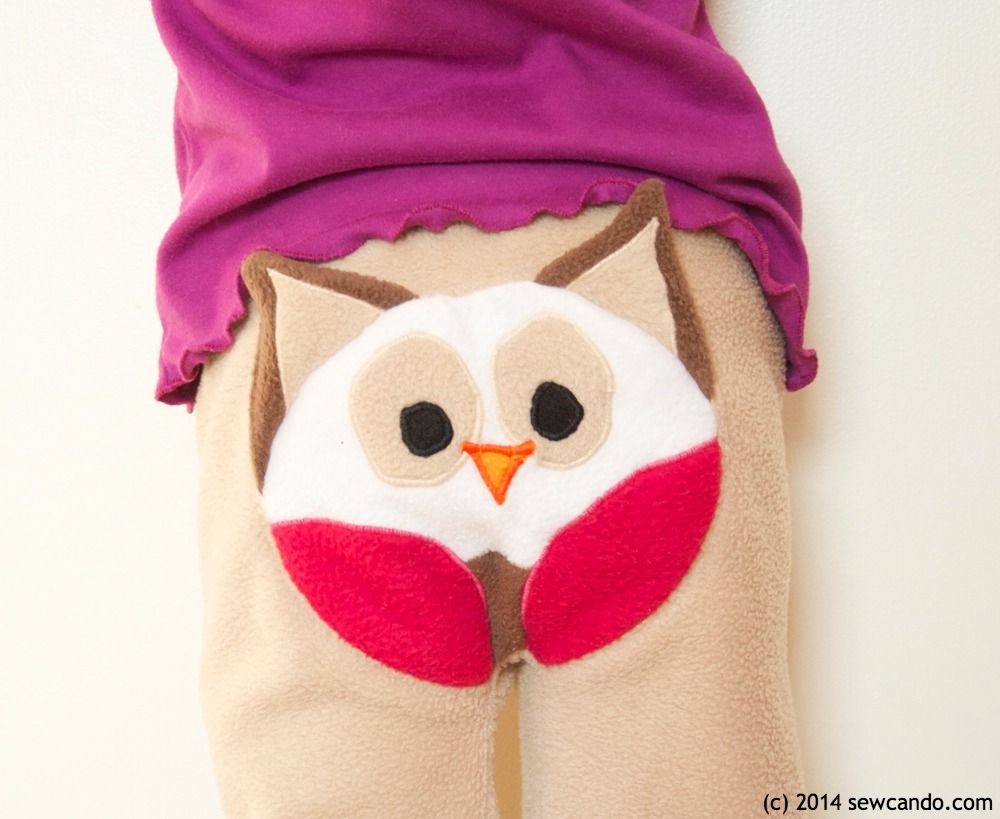
I really love them.  I literally squealed when I pulled them off my machine. And they look just as adorable on too.  Everyone who's seen her wearing them has commented on how cute they are:


I did the appliques in fleece, but using jersey, interlock or any other somewhat stretchy fabric would work too.  I like the professional look of doing a satin-stitch on the edges, but a plain zig-zag or straight stitch is even faster to do.  The 3-D ears really make the designs stand out and since you can pick whatever fabrics & colors, you can really make your own unique looks.


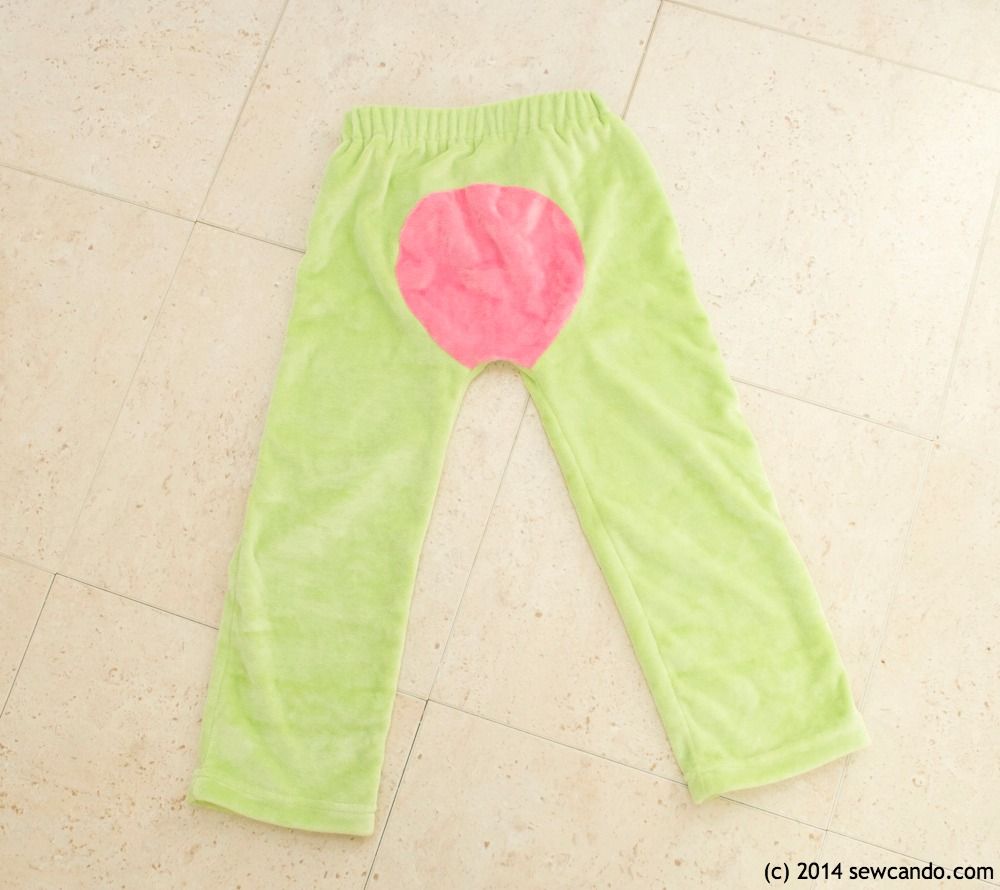
Making them without the appliques is crazy quick too - less than an hour.  Definitely a great pattern for any sewing skill level and an enjoyable sew.  I made this pair with some leftover lime & pink organic velours and they are SO buttery soft.  My daughter's worn these at least 4 times in the few weeks since I made them.


If I hadn't needed to get other sewing done, I'd have a giant stack of these pants by now, but I've already earmarked a bunch of other fabric in my stash to make more.  Terra recommends using old t-shirts too and I realized this would be a great way for my daughter to continue to wear some of our favorite outgrown items by using their appliques or prints as the bum panel on a new pair of pants.  I'm also planning to do some machine embroidery options too since that bum piece will easily fit through my machine's hoop.

I specifically made the owl pants to pair up with this little forest friends shirt I made using another of Terra's patterns, The Provincial Top (my review of that pattern can be found here). They've both been worn many times already, so I'm definitely getting a great return on wear time versus time mom spent making it.  


As someone who loves fun knit fabrics and sewing without a serger, these patterns have been ideal.  I'm also very happy to say the sizing is generous too (the smaller sizes are perfect for cloth diaper wearers).  My little lady usually wears 4-5T in store sizing, but the 3T of this pattern was perfect.  Which means I can still get a couple more years out of this new favorite pattern and continue to cover her backside cutely.  Yay!!


I received compensation for this post.  I purchased this pattern with my own funds and the opinions are completely my own, based on my experiences. For my complete disclosure policy, see HERE.

Tuesday, January 21, 2014

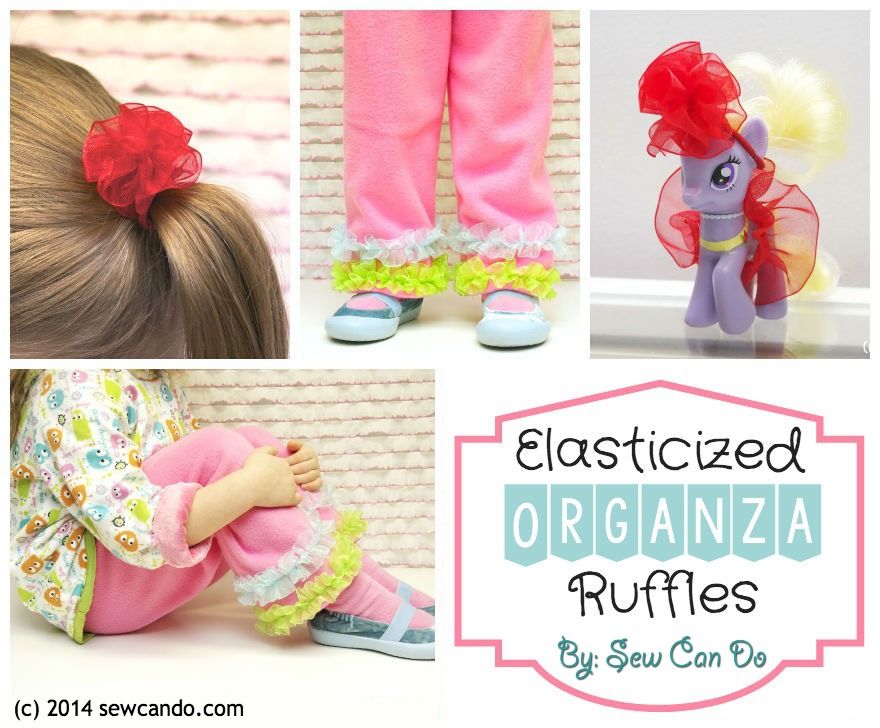
Make It Easy: DIY Elasticized Organza Ruffle Trim & Use Ideas


Today I've got a new how-to for making a beautiful and versatile trim: Elasticized Organza Ruffles! This technique makes it easy to create gorgeous ruffles with delicate ribbon.  It's useful for loads of applications and the elastic is totally hidden, so only the beauty of the ribbon shows. Use them as clothing detailing, straps, hair accessories - even as embellishments to favorite toys. 


Find out my shortcut way to make 'em, 
plus a bunch of fun & easy project ideas for using them:

Materials
- 1.5 inch wide Organza ribbon (2.5 times the finished length desired)
- 3/8 inch wide Lastin clear elastic 
- Lightweight fabric sewing machine needle
- Coordinating thread
- Item to embellish or pattern piece + fabric

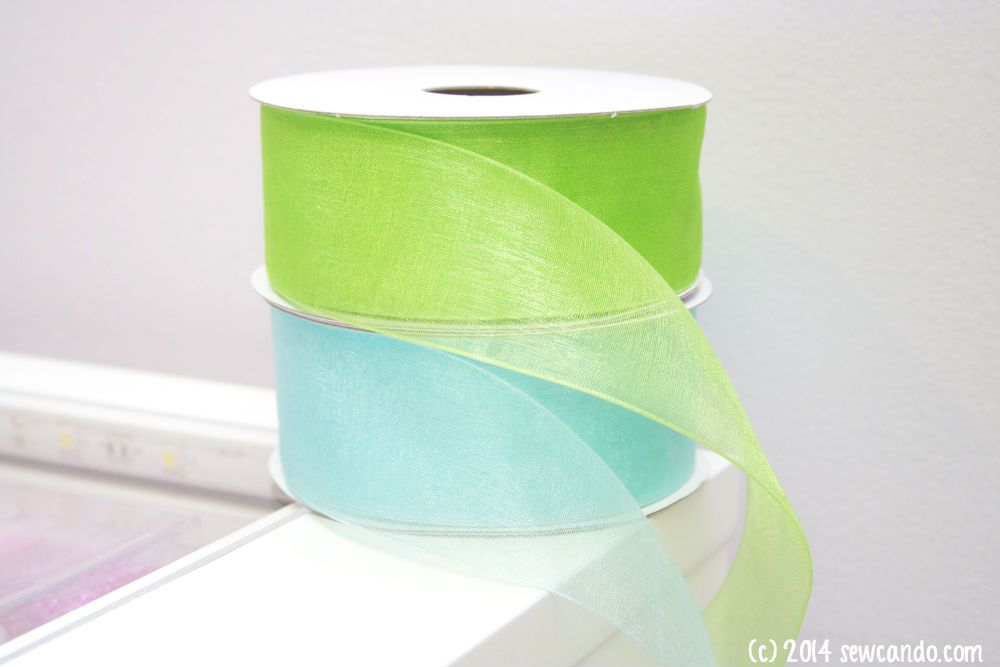
I got some fantastic organza ribbon from BB Crafts.  These ribbon spools come in nearly 50 colorful, shimmery shades and have 25yds each so there's plenty for loads of projects. There are a lot of other great varieties of ribbon too.  And at less than ten cents per yard for these, very affordable.


The secret to easily making these amazing & stretchy ruffles is Lastin clear elastic. This is similar to what you see as clear bra straps & hanging loops in clothing, but much stronger and meant to be stretched.  It's pretty inexpensive (less than $1/yd) too. It's ideal to pair with organza ribbon because it's strong, has great stretch and is clear, so it will not show through the transparent ribbon.  And unlike just sewing ribbon directly onto fabric, this addition makes the ruffles perfect to use on knits or anywhere you still want to have some "give".


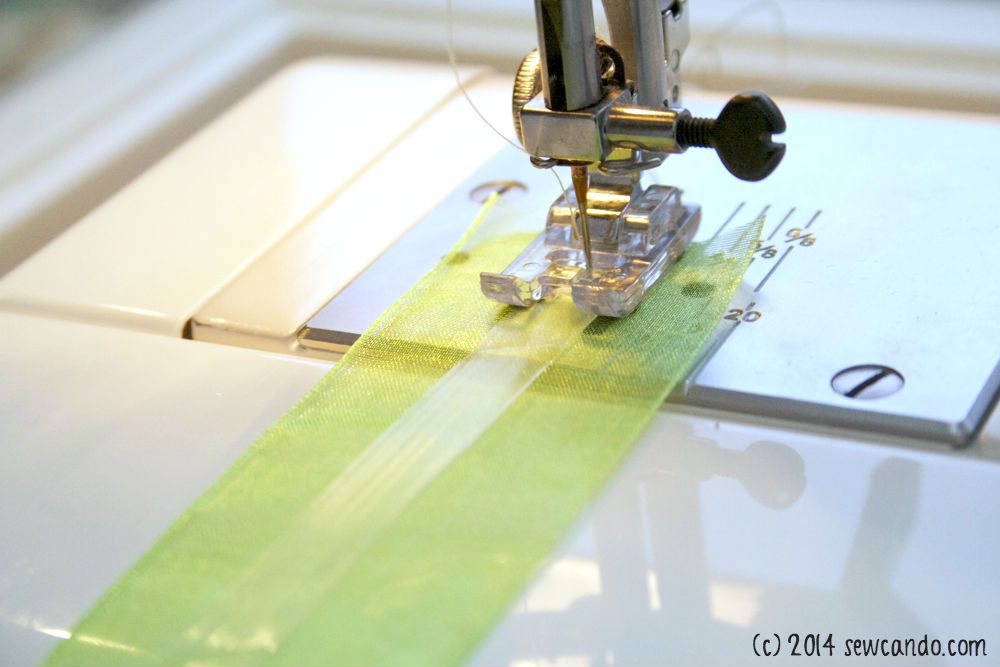
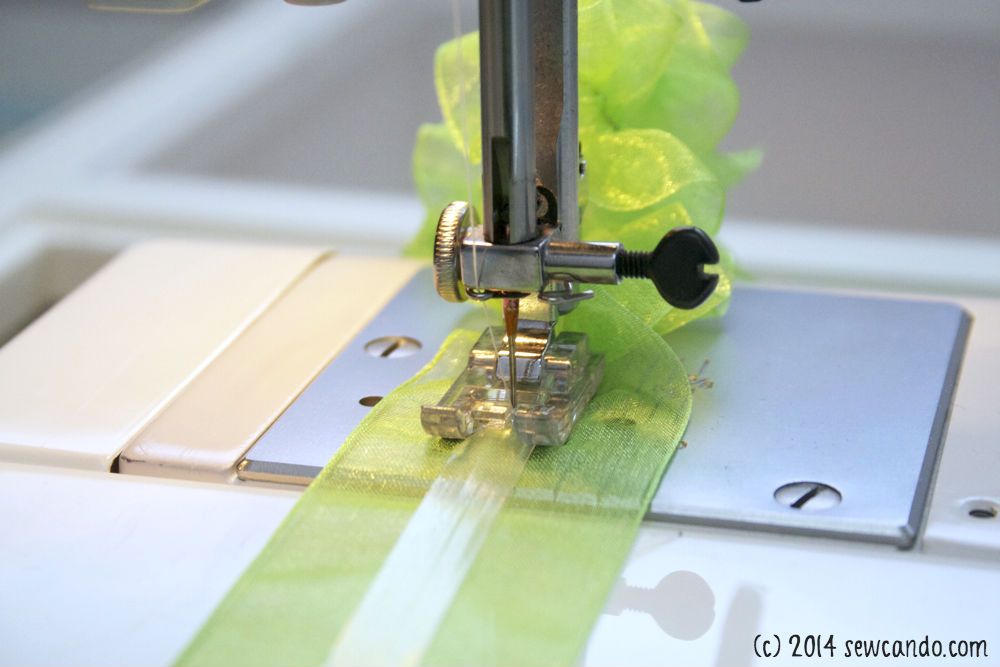
I find 1.5 inch wide ribbon ideal for my ruffle size, but you could go narrower or wider if preferred.  Flip ribbon wrong side up and place elastic cut to desired length on top in center. Back stitch together at end for a few stitches to anchor and then begin to stitch together with a narrow straight stitch while pulling the elastic towards yourself and downward.  Pull tauter for a tighter ruffle, or just slightly for a looser version.


You'll begin to see the ribbon ruffling up behind the presser foot:


I find it easiest to hold the end of the ribbon behind the machine with one hand while I pull the elastic with the other.  It helps keep everything straight and even:


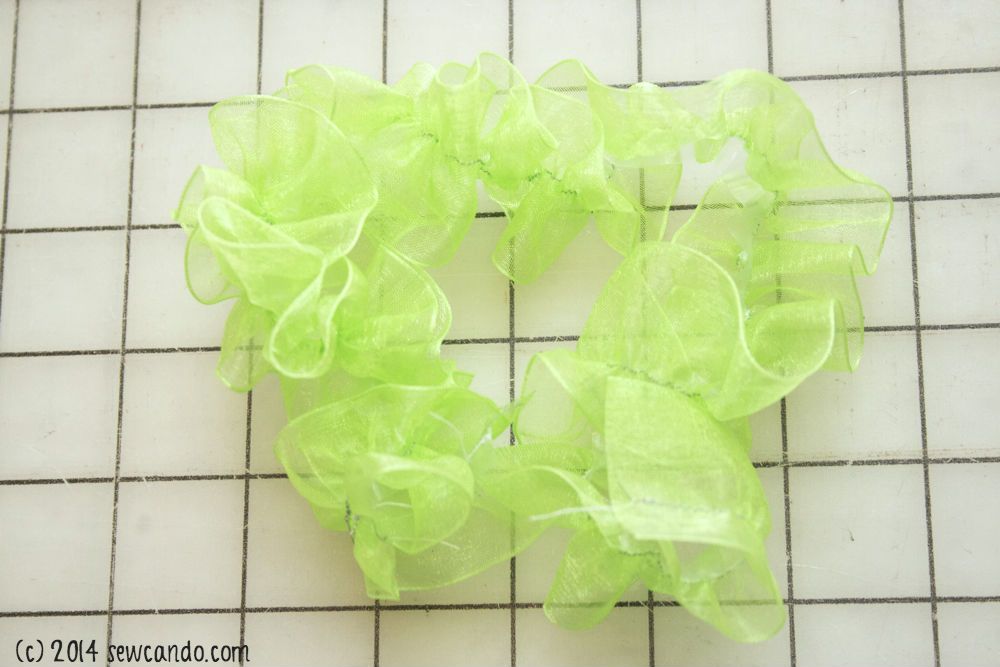
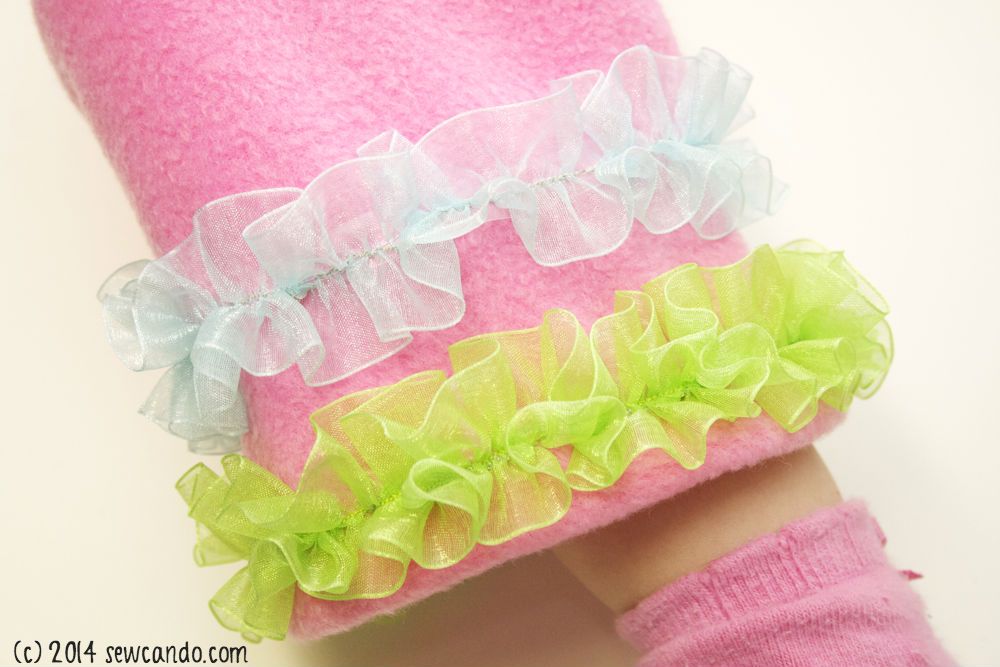
Back stitch again at end.  I like to ruffle my ribbon right on the spool so I never end up short and then just cut off when done.  You'll end up with a pretty ruffle like this:


Project Uses:


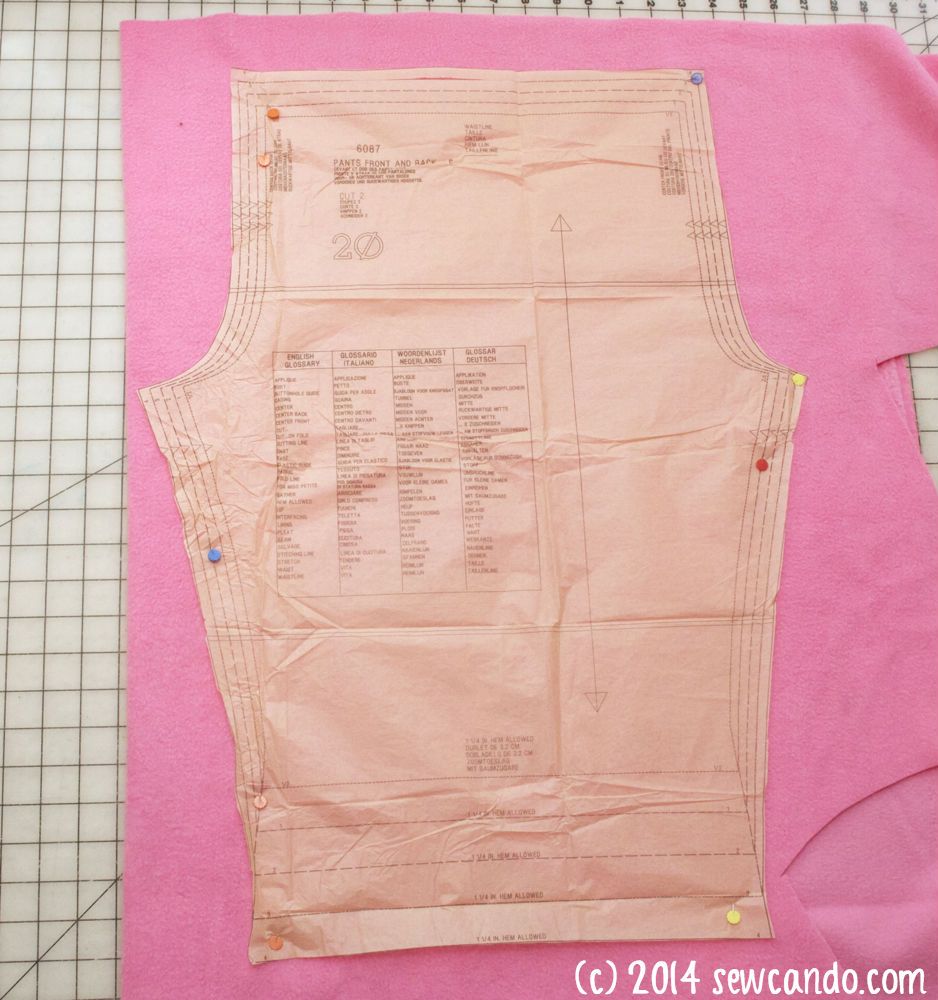
Cuff Ruffles: I'm showing how to apply this as a cuff embellishment on pants, but the same steps would apply to a sleeve, neckline, etc.  I find it easiest to use a pant pattern that has a single piece for each leg (therefore, only one inside seam), but a front+back pattern works too, you just need to stitch the outer side seams together first.  Or, to add to completed pants, unpick the inside leg seam near the bottom to have the same flat panel to stitch on.


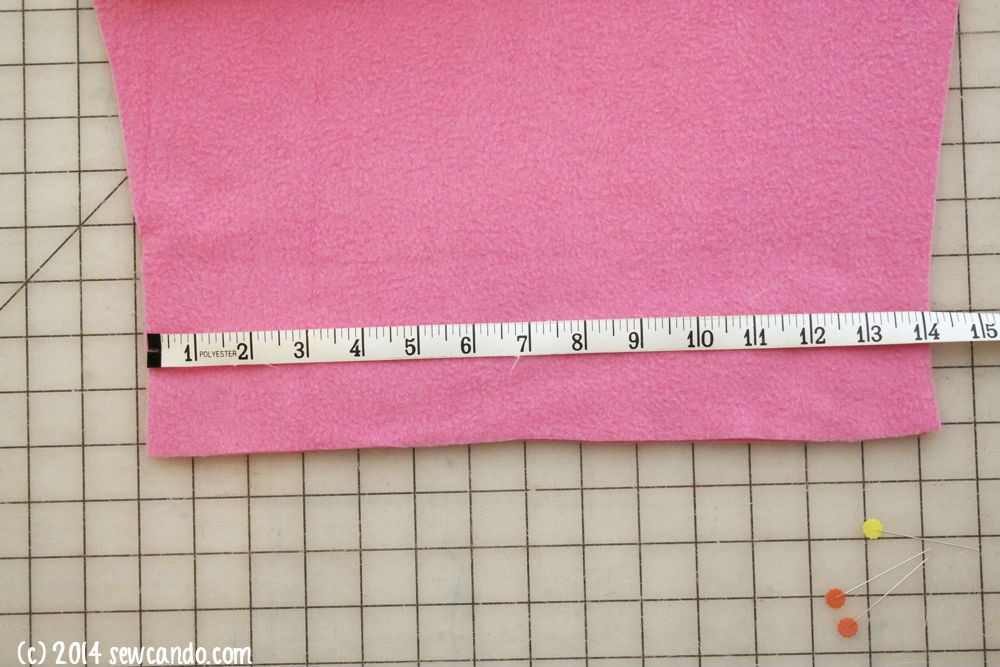
Measure the width of the pant leg (or cuff or whatever you are trimming).  Cut the clear elastic to be 2 inches longer so you have some wiggle room for starting & stopping.


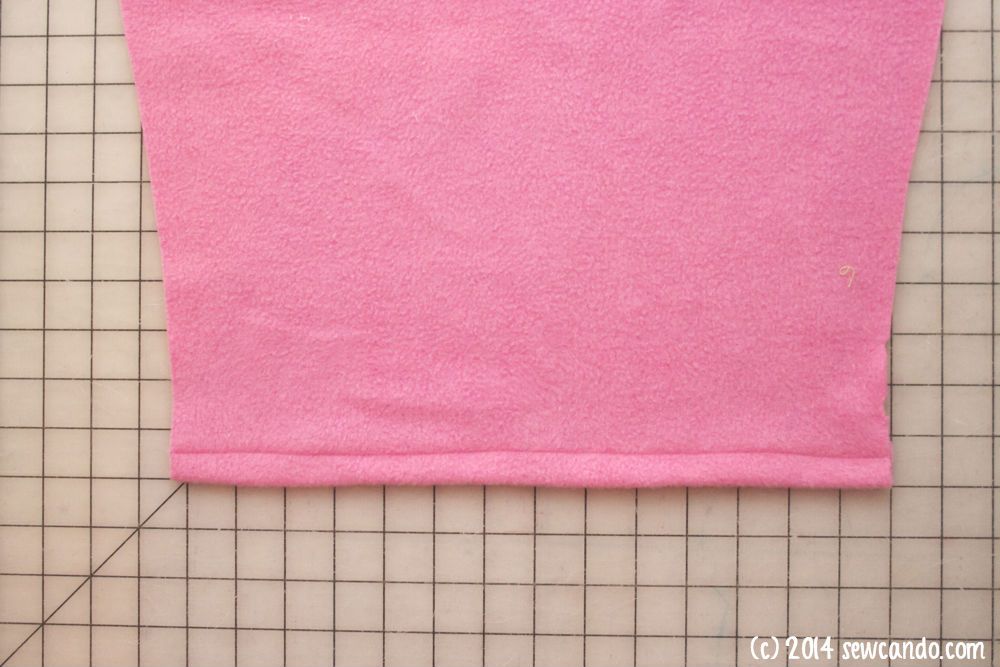
Stitch the hem next.  This makes it easy to place the ruffles and not have to worry about accidentally top-stitching over them later:


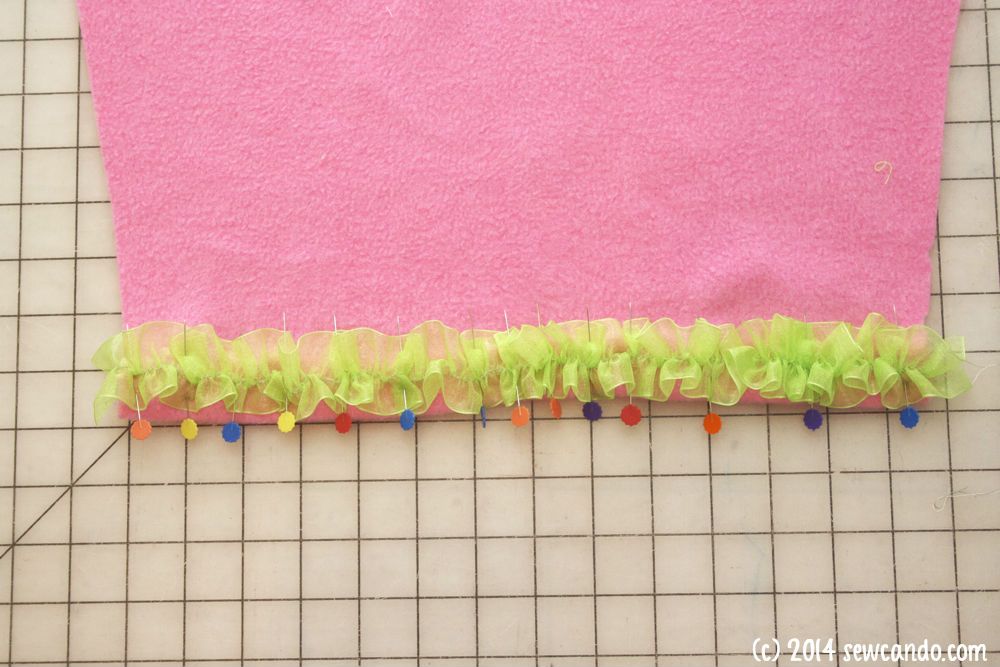
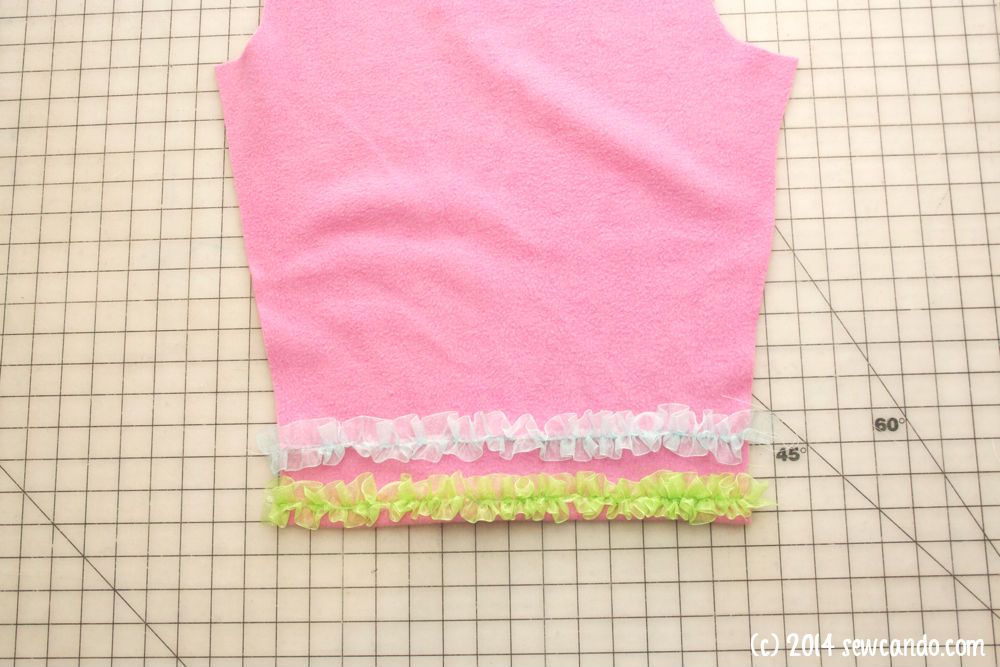
Make ruffle as shown above.  Pin the organza ruffle directly over the hem stitching, pinning frequently to keep it straight:


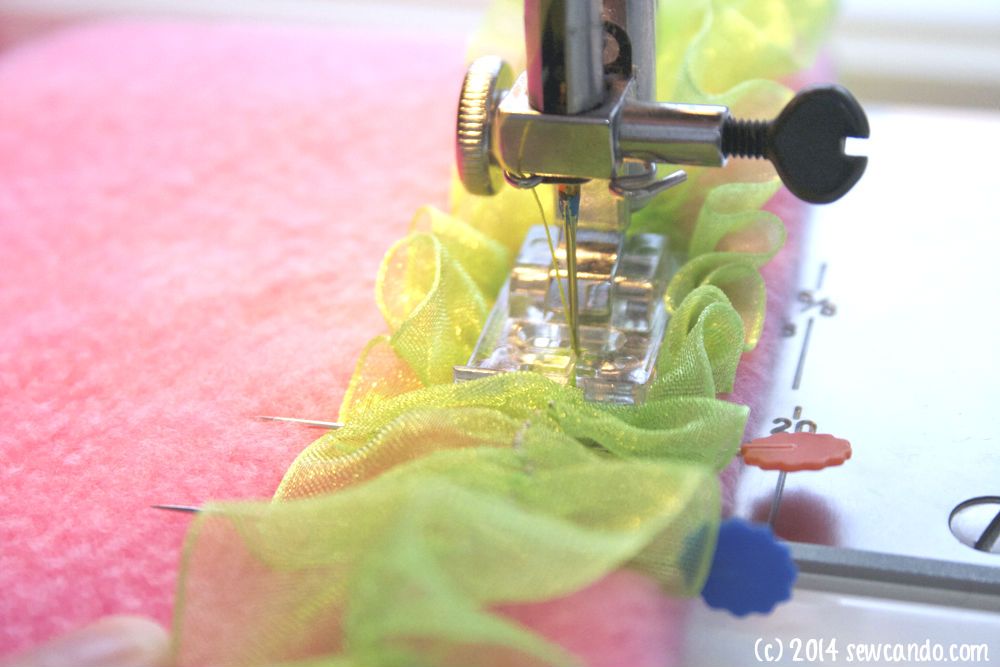
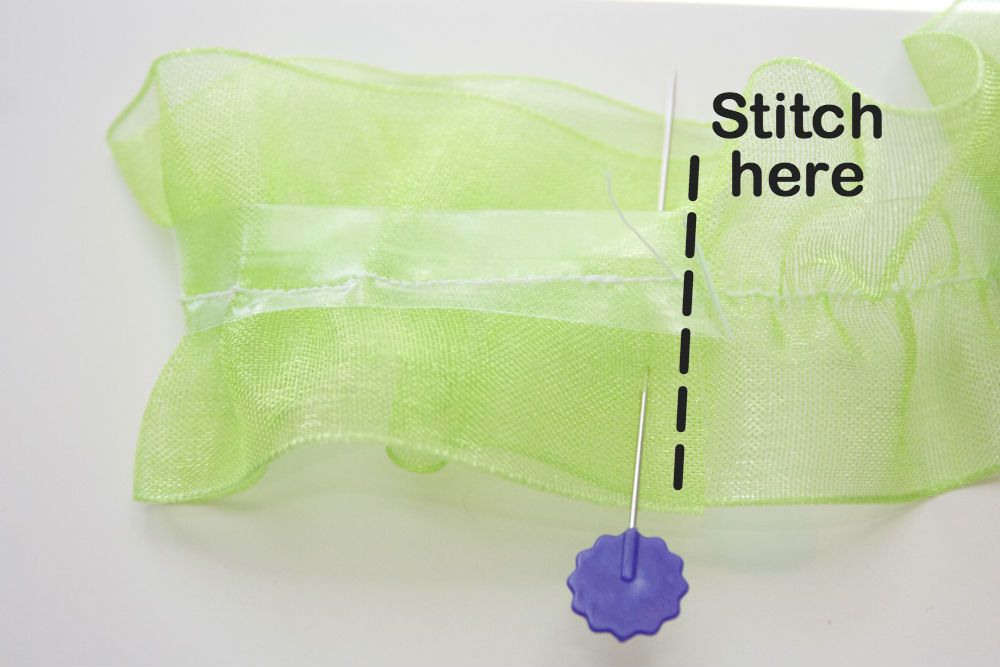
Stitch down the center of the ruffle along the previous stitching.


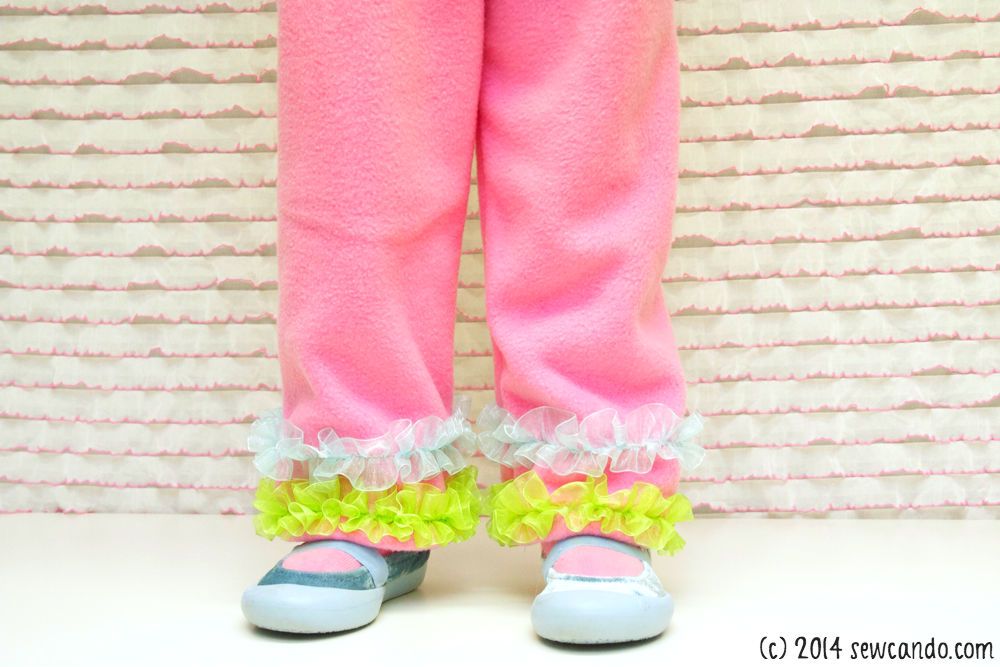
Add another row (or more) of ruffles just above it (I spaced my stitching 2 inches apart) and then complete the pants as normal.


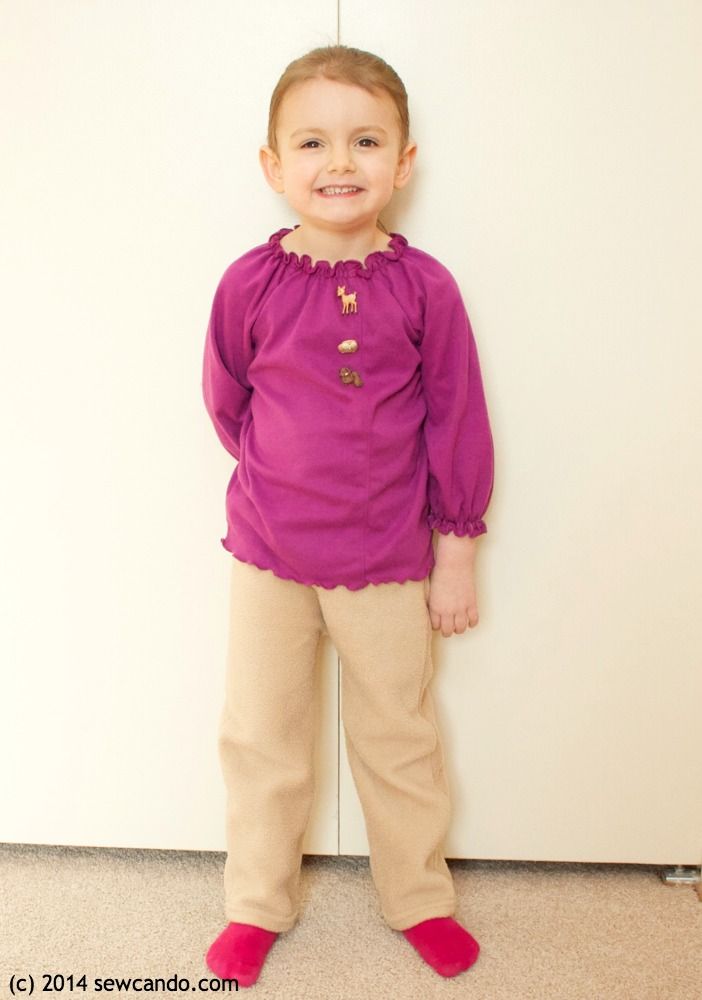
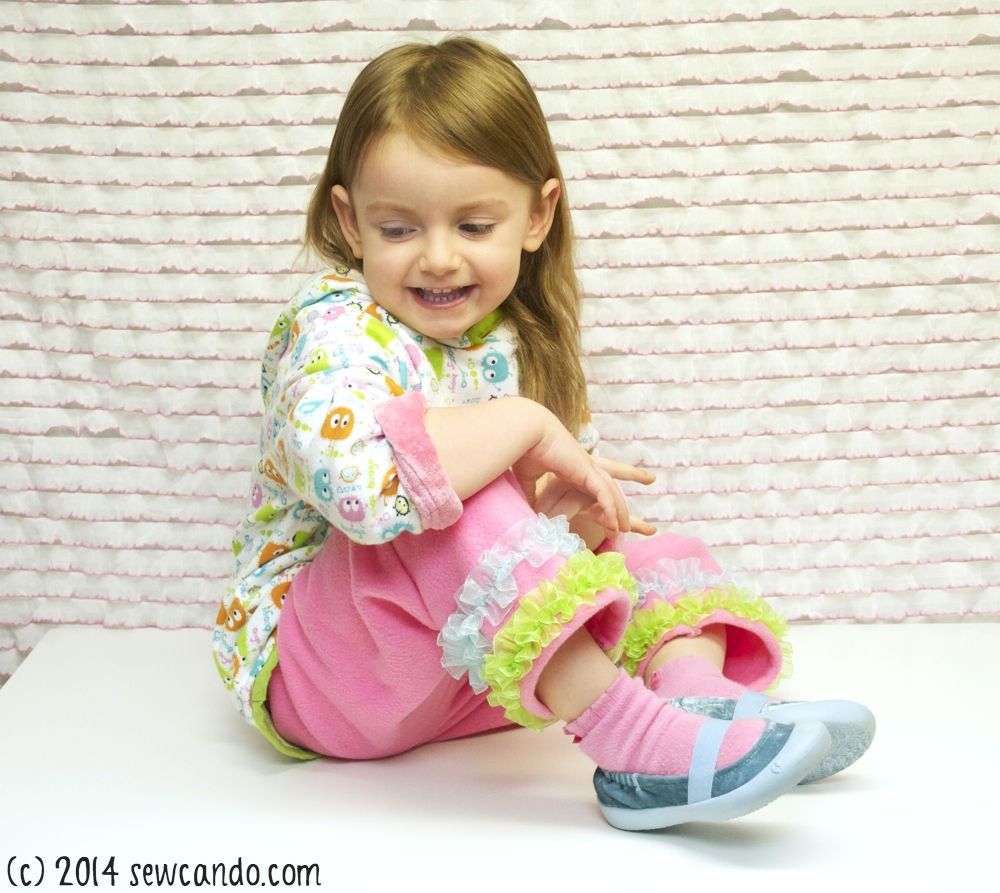
This really dresses up a plain item like these fleece pants into something fun & fancy:


Ruffled Ponytail Cover: Make a ruffle that's 2.5 to 3 inches long and fold it in half wrong side out. Stitch down the short end, cut off excess and heat seal raw ends with a lighter to prevent fraying. 


Turn right side out and you've got a cute little ruffled accent for ponytails.


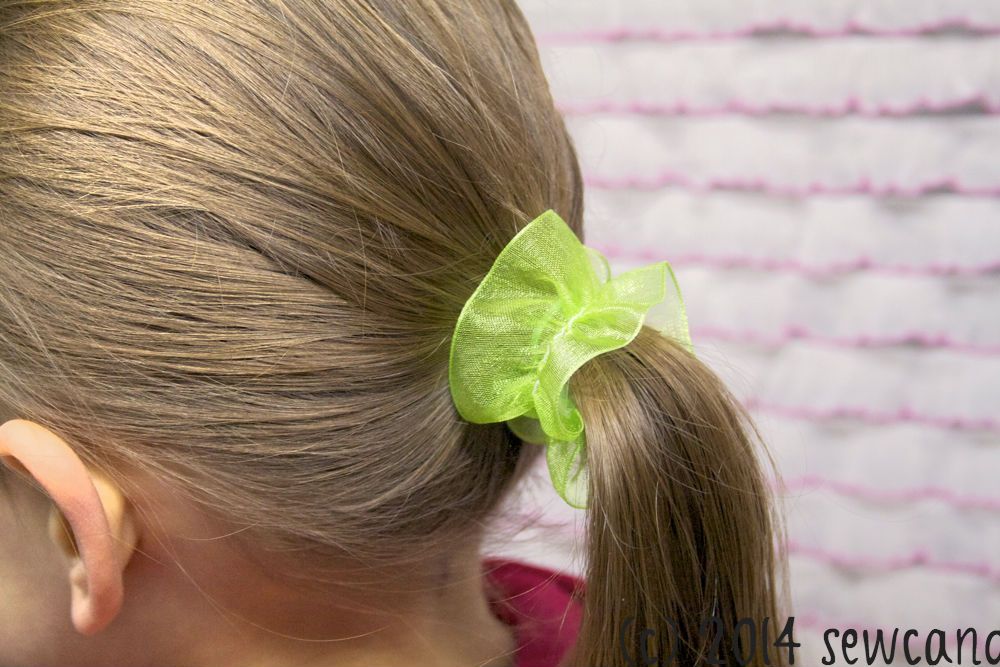
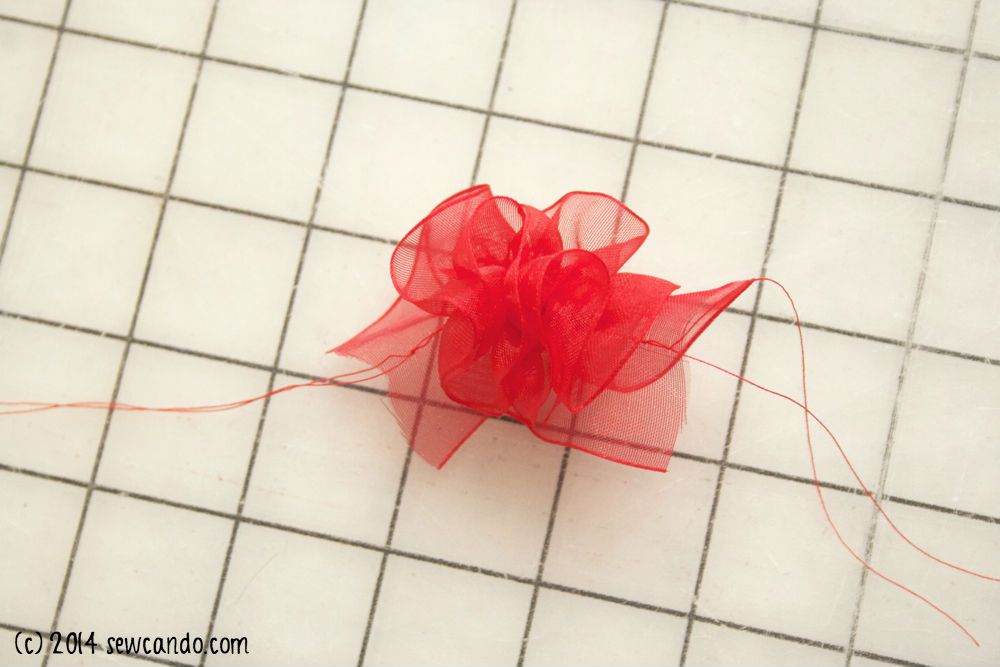
Ruffle Hair Puff: Alternatively skip the elastic and just baste stitch down the center of a 12 inch strip of organza.  Pull the bobbin threads to make a little ruffle puff and double knot.  


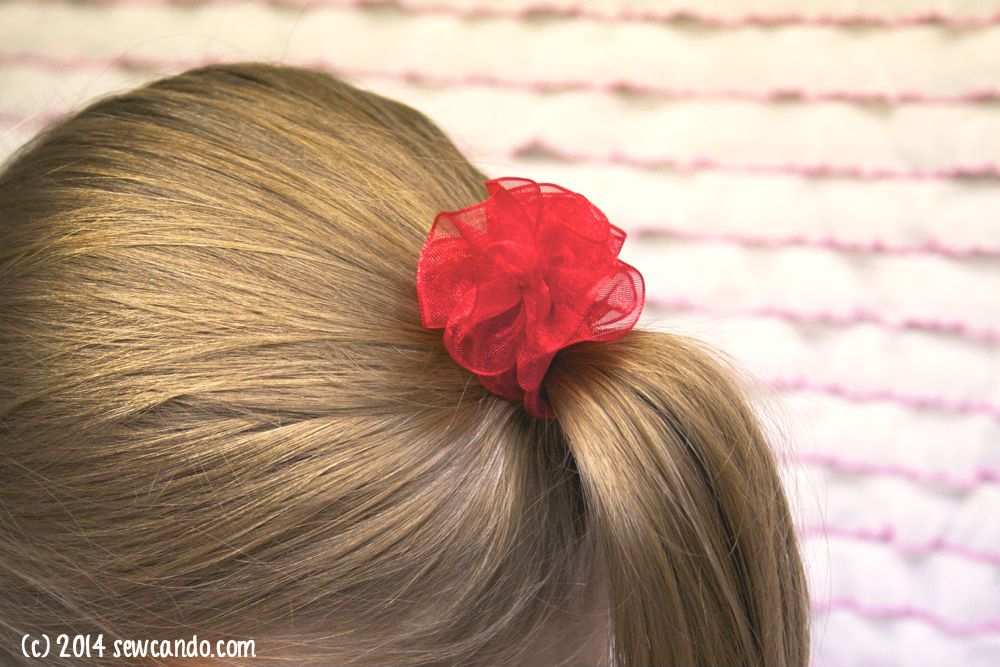
Heat seal the raw edges and tie to an elastic band for another cute little hair poof-style accessory:


So simple but such a nice look for a ponytail:


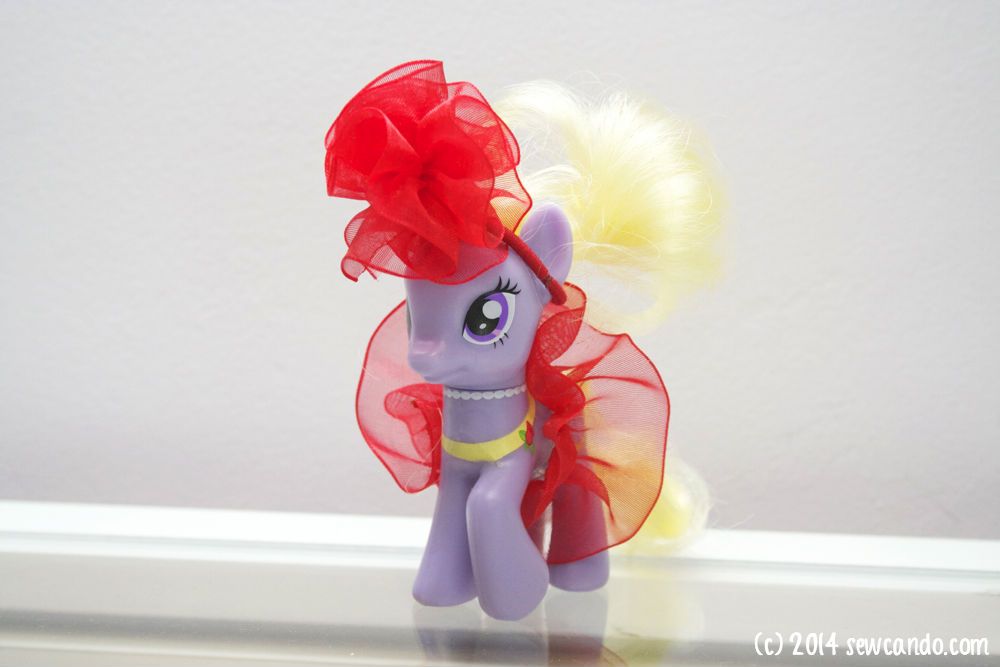
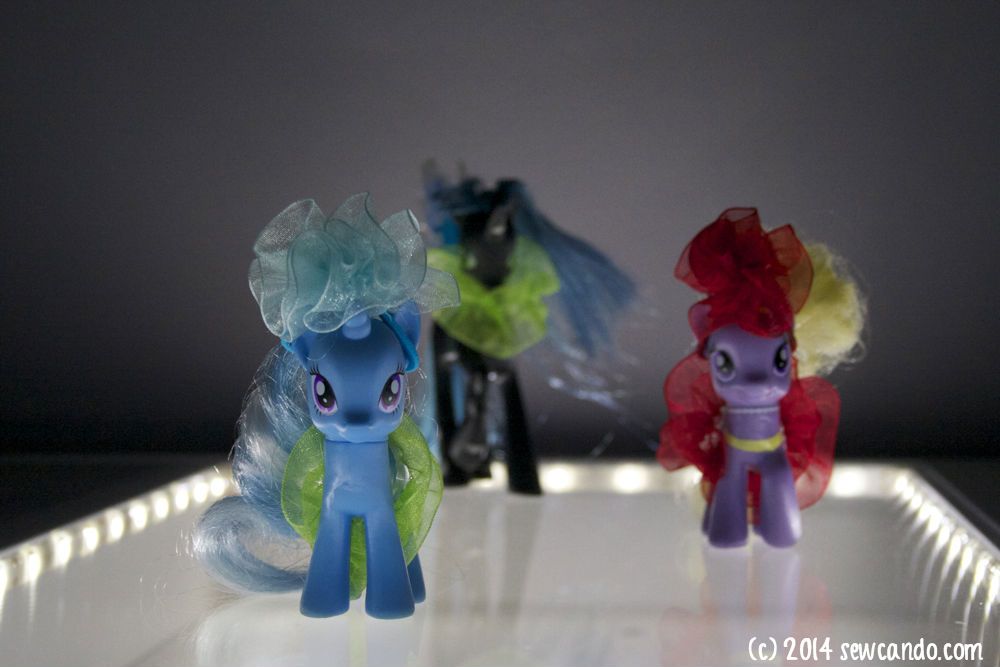
Doll/Toy Clothing: Pair up both styles to make fantastic costumes for dolls and small toys like this My Little Pony.  They're easy for little hands to get on & off and are incredibly inexpensive to make , so you can create an entire toy wardrobe for next to nothing.  


My daughter literally gasped when she saw her pony all dressed up and then brought me 5 more that "needed outfits", so I obliged.  It literally took 5 minutes to whip up enough for them all.   Since they were looking chic we had to do a pony fashion show, all lit-up, catwalk-style.  Work it ponies!


Other Use Ideas: Use them to make elastic straps for shoes, bridal accessories (super easy garter), clothing straps - just about anything.  Organza ribbon makes ruffles even prettier! And since it's so inexpensive to make, the possibilities really are endless!  What would you try them on?


I'm also sharing this project with my FAVE LINK PARTIES.
Click HERE to check them out!

I received compensation for this post. The opinions are completely my own, based on my experiences. For my complete disclosure policy, see HERE.


LinkWithin

Related Posts with Thumbnails