Friday, May 30, 2014

Pattern Review: Magnolia Street Wrap Dress by Seamingly Smitten


This year I've vowed to make more clothing for myself (sorry kids, but Mommy needs new outfits too).  I've also been looking for patterns that I can use more than just once - patterns I want to use again and again.  That's why I was eagerly awaiting Seamingly Smitten's new Magnolia Street Wrap Dress Pattern:  


I LOVE the look of wrap dresses, but have always been disappointed with the fit of the ones I find in stores.  Way too low in the cross-over front and usually too long for my short legs or the "faux" wrap that ends up baggy-looking.  When I heard Jenny was working on a wrap dress pattern I couldn't wait for it came out.  I was over the moon that she asked me to review it. 

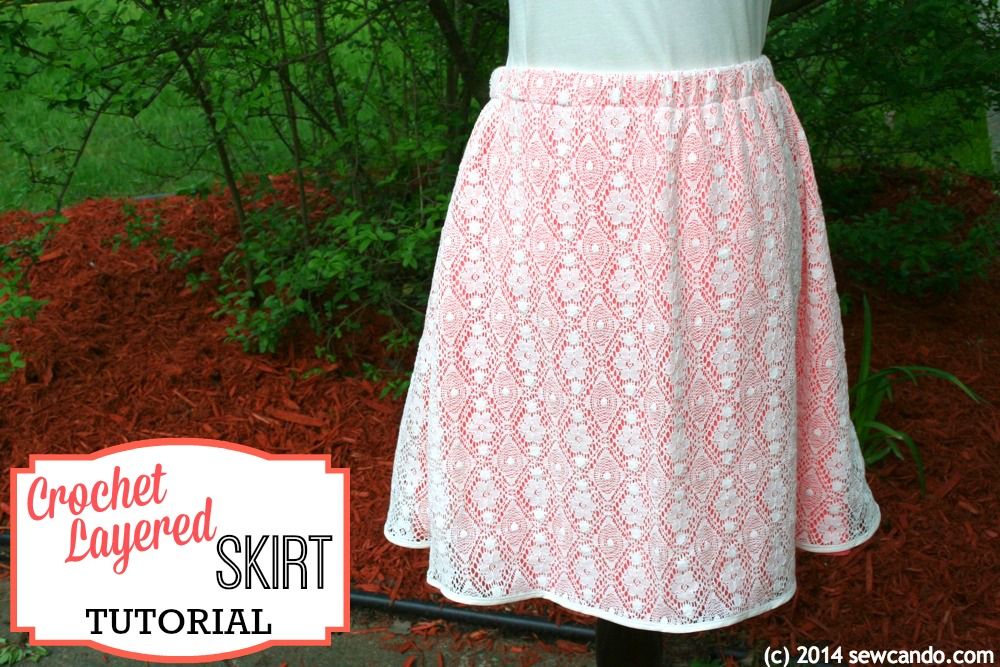
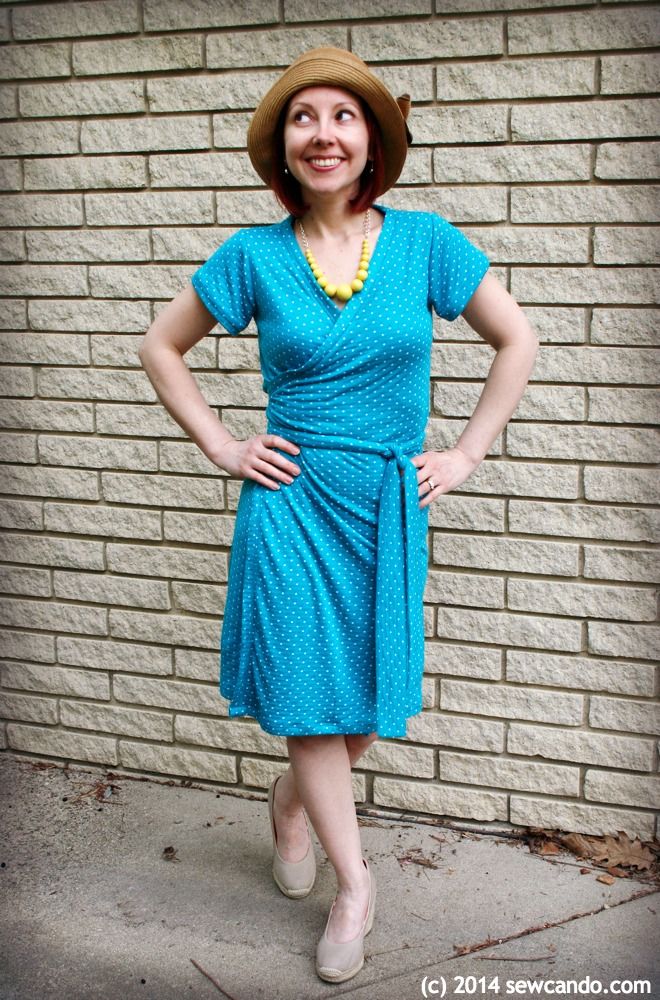
Like other Seamingly Smitten patterns, the wrap dress comes in petite, regular and tall and spans a wide range of sizes (this one is 0-26).  I used the small (4-6) size in the petite version.  I'm really happy with the results:


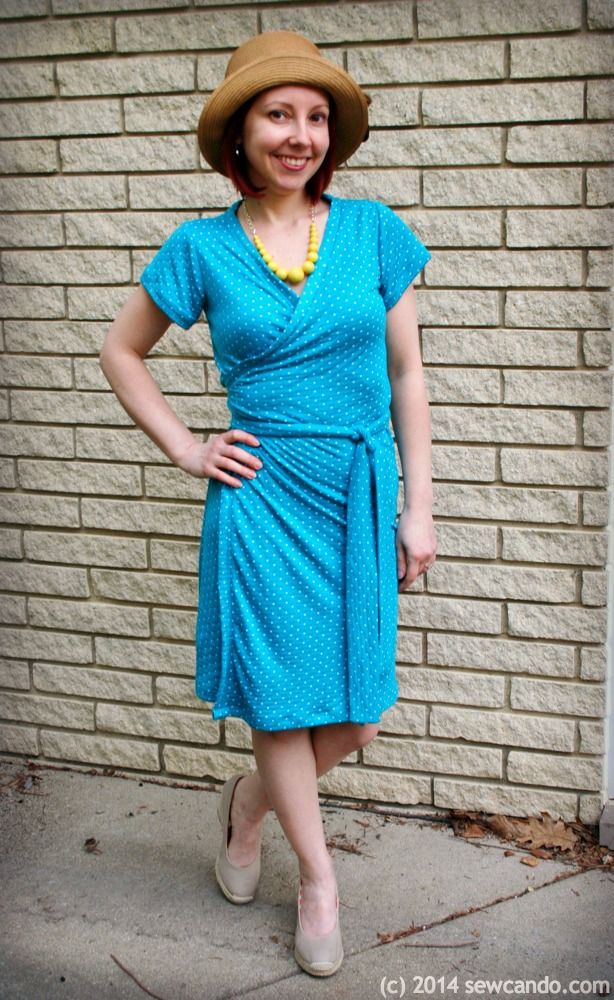
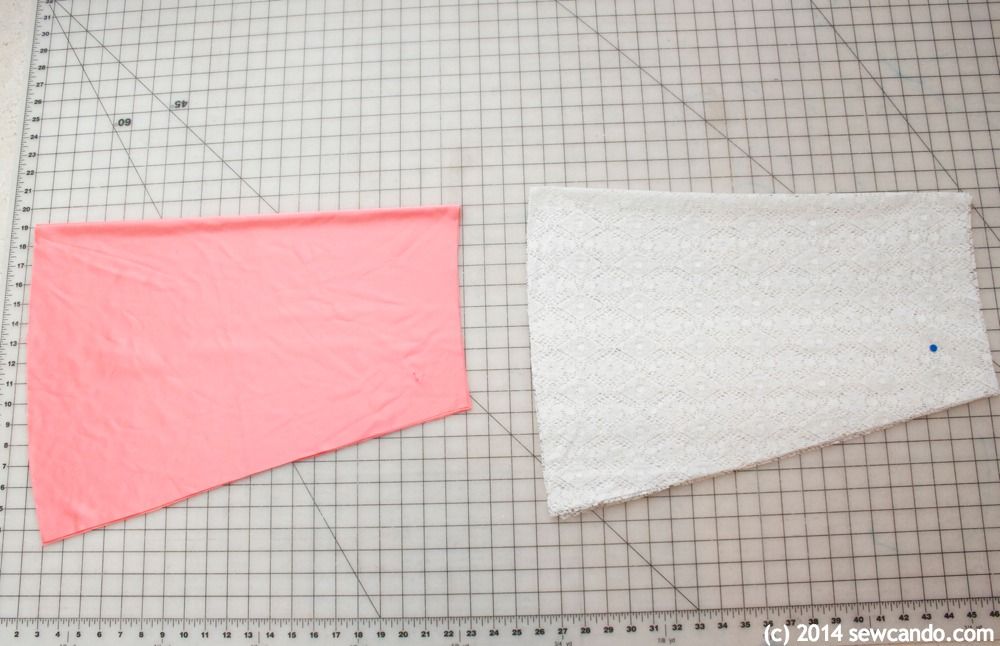
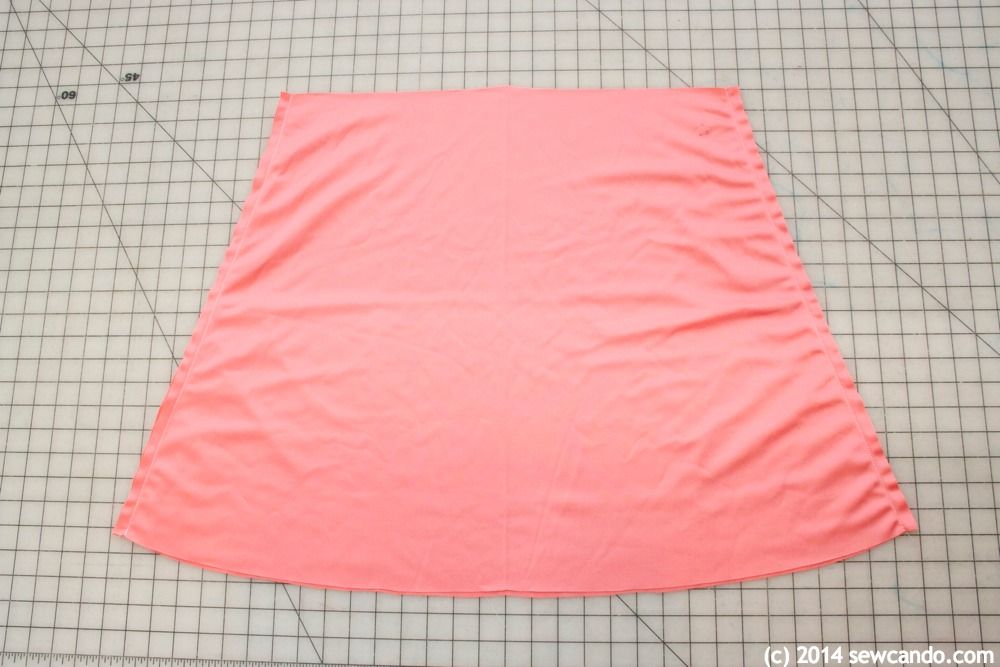
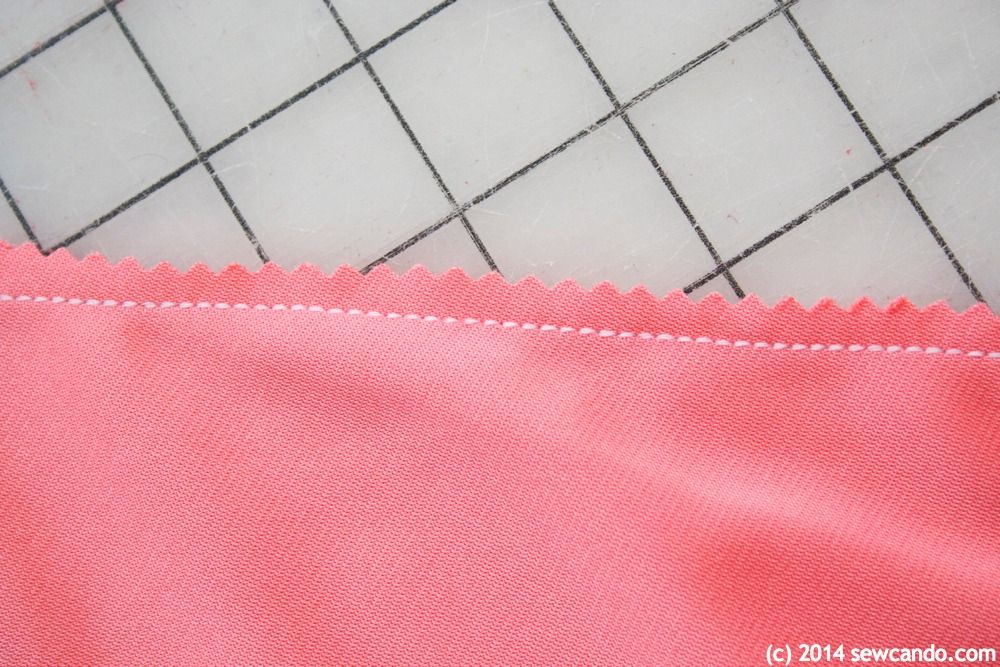
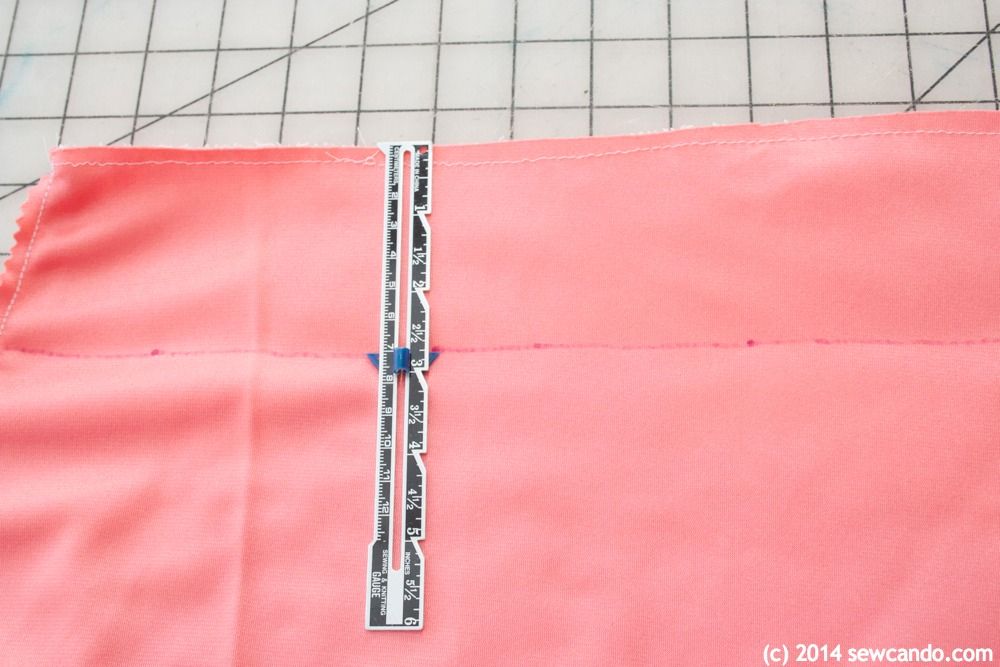
It came together pretty quickly.  Since I use my regular sewing machine for my knits, I did a triple stitch for most of the joining and then a twin needle to single fold up the hem and sleeves.  I didn't have to chop off a bunch at the bottom like I usually do in petite options of other patterns.  The length was ideal.  

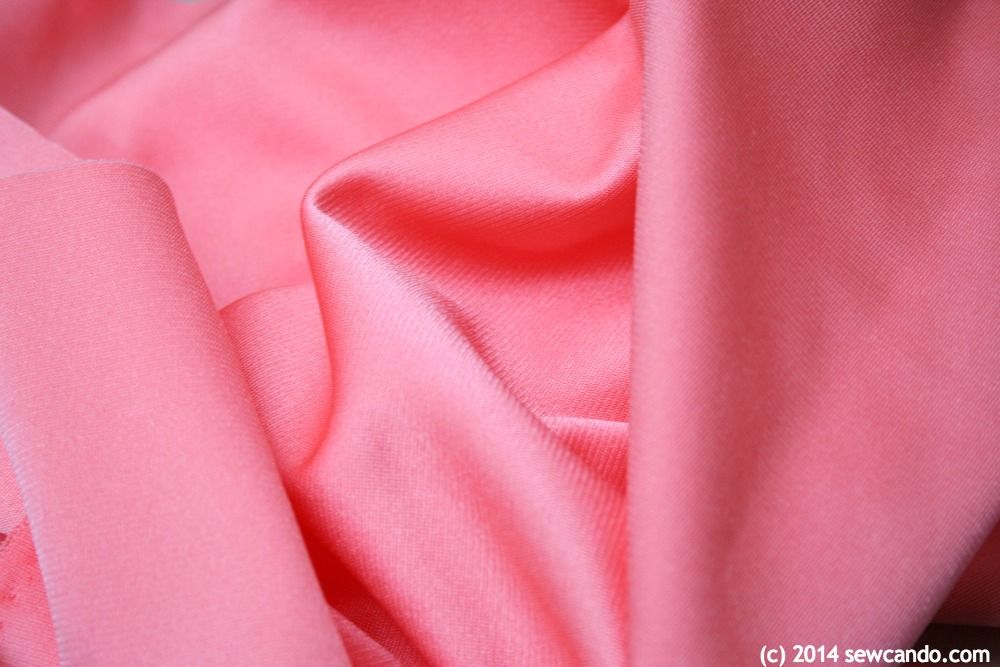
I did find I needed less yardage than expected - this fabric was non-directional & extra wide at 62 inches so just 1 1/4yds was enough compared to the recommended 2 7/8yds. If you're on the small side, I'd recommend laying your pieces out and measuring to see if you can get away with less with a fabric like this.


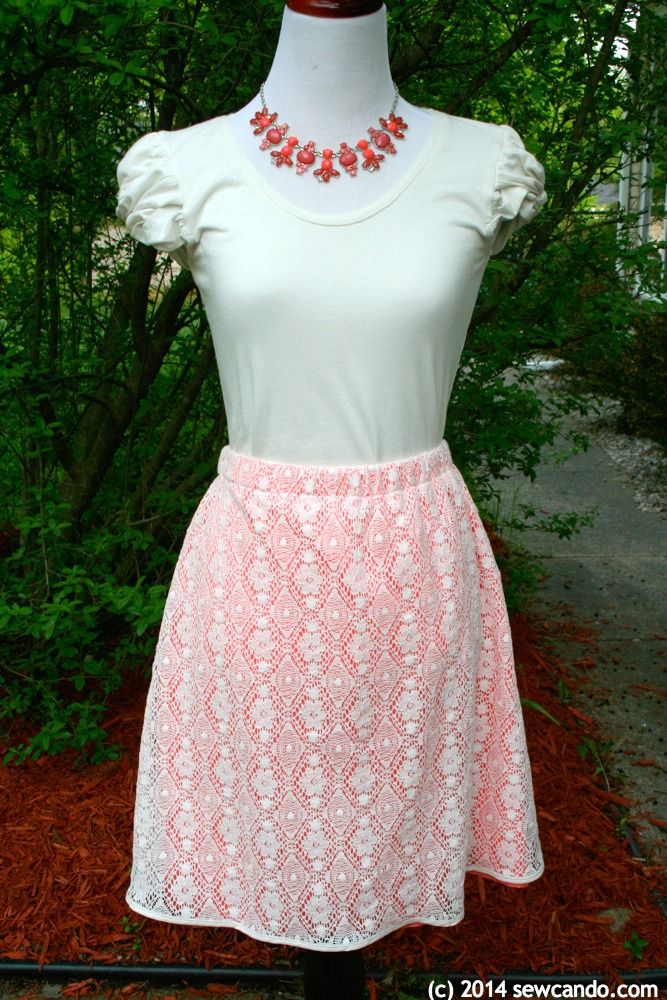
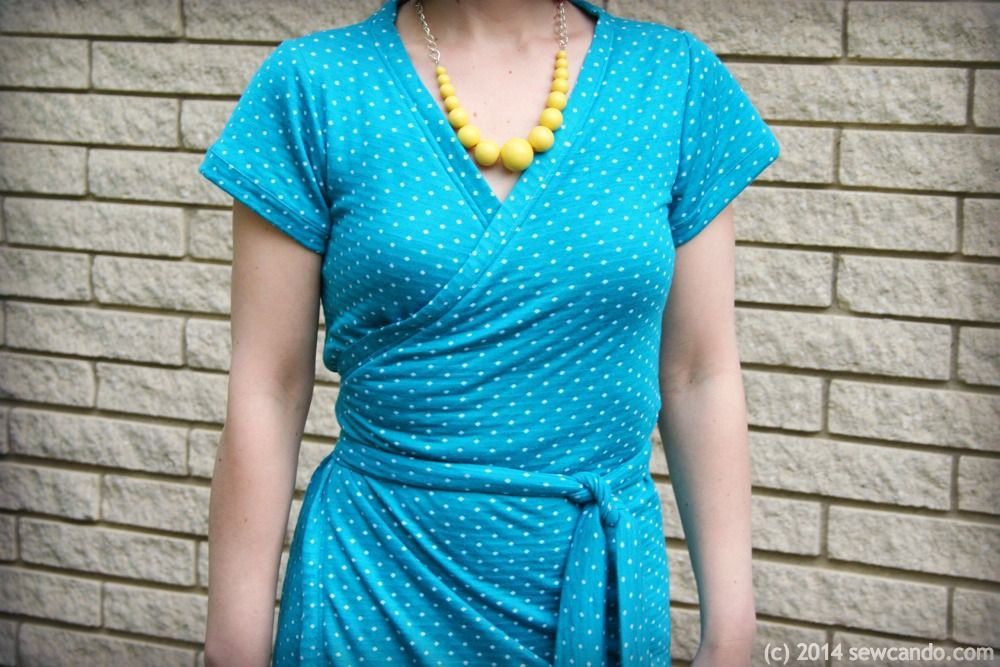
The angle of the front sides is just right - not too low that it requires a top underneath. I wore this on an 80 degree day, with a lot of walking outside, and it felt great.  


Plus, just by adding a necklace you've got a cute, put-together looking outfit with minimal effort!


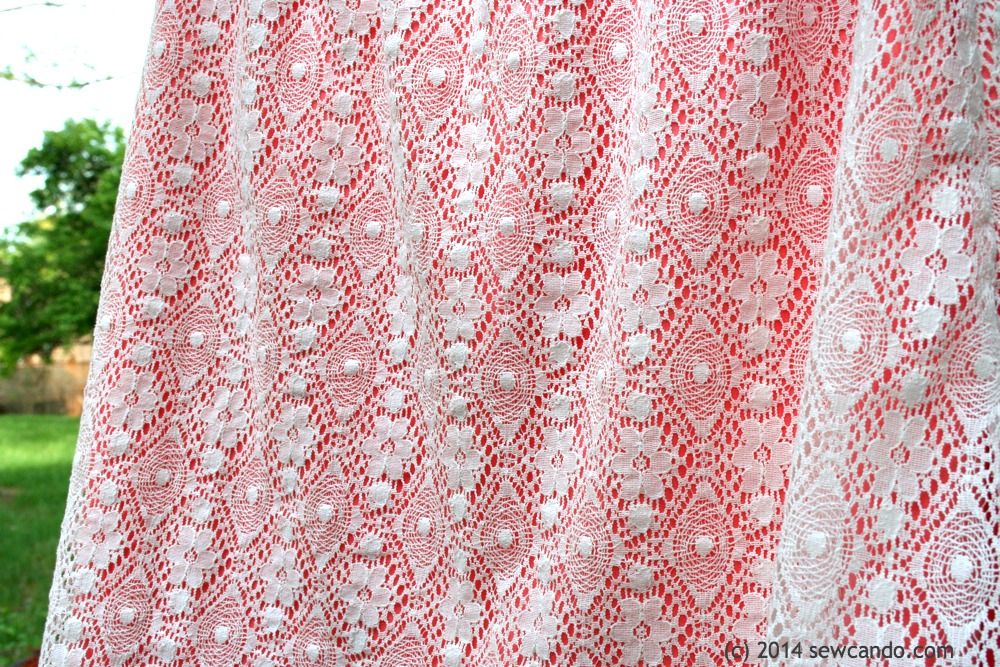
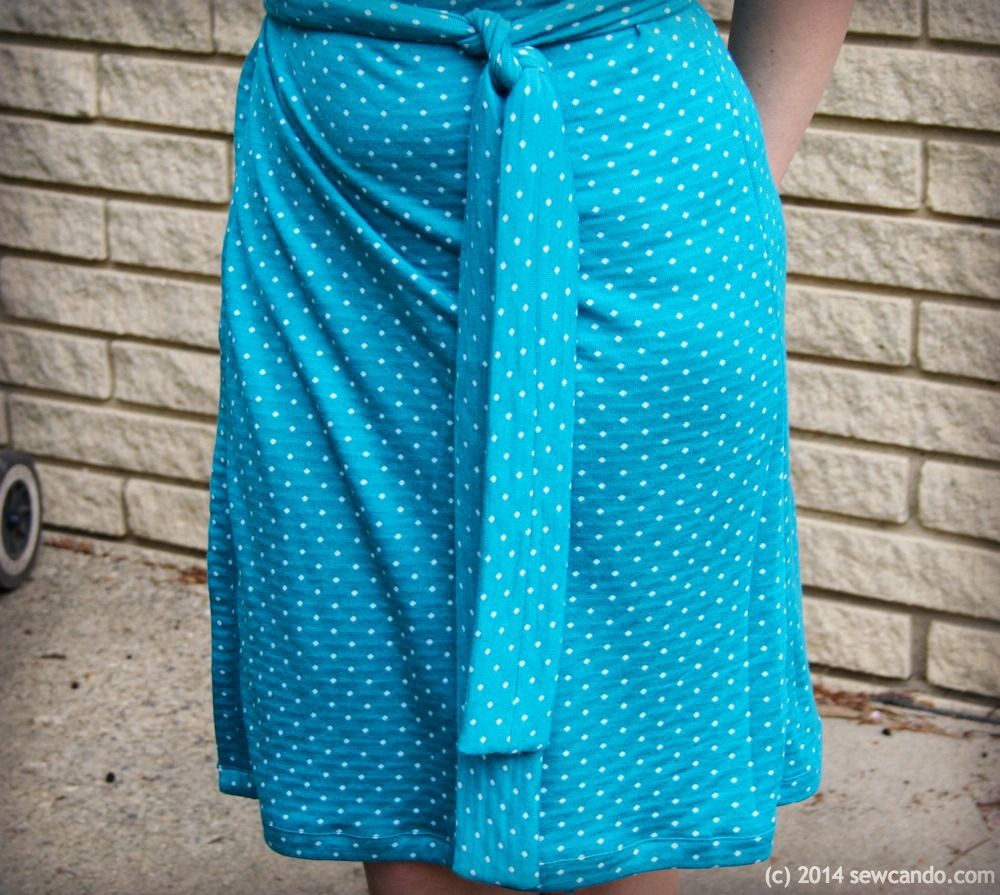
The thing I like best is that it doesn't look like I made it - sometimes you can really spot a pattern-made dress, but not with this one.  I found this knit dot fabric at Jo-Ann Stores and it's super soft.  It's a perfect pairing with this comfy design.  I'm all about dressy looks that feel relaxing. 


It's also great that there are options for sleeveless, short sleeve, 3/4 length and long sleeves to make this pattern usable year round.  I've already gotten some other prints to make more of these and plan to do a few in some heavier knits and long sleeves for Fall. Definitely a pattern I will use many times.  


Why Try Seamingly Smitten Patterns:
  • Tons of detailed photos
  • Easy-to-follow, step-by-step directions
  • Photos for each step (no more guessing what the wording actually means!)
  • Tutorial-style directions & extra tips to save time
  • Sizing charts to get the right fit - including petite & tall
  • Instant downloads so you can start sewing right away

Find more patterns in Seamingly Smitten's shop.  Keep up with new releases, plus bonus coupons and flash sales, via the Seamingly Smitten newsletter.  And for lots of helpful customer-made photos, in different fabrics & body types, visit the Seamingly Smitten Facebook page.  


I received compensation for this feature post. The opinions are completely my own, based on my honest experience using & purchasing patterns from this shop.

Wednesday, May 28, 2014

DIY Painted Metal Party Tub Using FrogTape® Shape Tape™

This is a Sponsored post written by me on behalf of FrogTape Brand Painter’s Tape. All opinions are 100% mine.

Now that we can finally enjoy time outside, I've been focusing on sprucing up our outdoor accessories.  Today I'm sharing my DIY Party Tub how-to.  Turn a plain galvanized metal container into a custom party tub using a little help from FrogTape® Shape Tape™.
I have to confess, I used to be super anxious about doing projects with paint.  Especially on tricky shapes like this flared tub.  I always worried that I'd goof up my spacing or end up with paint spreading into spots I don't want it, but not this time! FrogTape® gave me a confidence boost because it's the only painter's tape with PaintBlock® Technology. PaintBlock® is a super-absorbent polymer which reacts with latex paint and instantly gels to form a micro-barrier that seals the edges of the tape, preventing paint bleed.  And it's ready to go in a fun designer shape - no fancy cutting required.  It sounded ideal, so I was willing to give it a go.
Materials:
FrogTape® Shape Tape™ (I used the Wave design)
- Acrylic Craft Paint
- Galvanized tub or bucket
- Foam paint roller
- Scissors
- Paper plate
- Clean soft rag (old t-shirt) & vinegar
Here's my FrogTape how-to:
Start by cleaning the surface with a clean, soft cloth dipped in a little white vinegar.  This will help remove any surface oils so the tape & paint will adhere to the galvanized surface.
Decide on a layout pattern using the FrogTape® Shape Tape™.  I went with vertical wavy lines.  It was super easy to get them even - after I cut the first piece I used it as my template to cut all the others so they'd be identical.
I started applying the tape at the tub's side seam.  
The tape has backing that splits in half so I removed the top half and was able to make sure it was perfectly lined up.  
Then I removed the bottom half of the backing and pressed down.  It's important to really smooth the tape down around it's edges so it gets a good seal.  I repeated this with all the remaining pieces.  It wasn't hard to eyeball how far apart to make the waves and still get them pretty uniform.
I wanted to keep the wavy stripes within the tub's ridges at the top and bottom, so I cut another long piece of tape and then cut it again along the split in the middle of the backing and used those straight edges to tape off the base and top rims.
I spread some of my paint onto a paper plate & covered my foam roller.  I used acrylic paint since it's water-based like latex.  This meant it would work well with the tape's PaintBlock® Technology, but will adhere better to the galvanized surface.
I rolled the paint all over my tub until it had a nice even coat.
Then I carefully peeled off the paint.  This was my real moment of truth.  The FrogTape® Shape Tape™ totally worked!  Every wave was crisp and clean - no bleed through anywhere.
I let it dry and then tried out our pretty new tub.  It's great for chilling drinks and can be used for holding toys or towels too.  I'd recommend hitting it up with a coat or two of clear coat spray to help protect the paint if it's going to see some regular wear from moving it around, or a lot of condensation from holding ice. 

Want more fun project ideas using FrogTape®?  Follow FrogTape® on Twitter and share your own ideas on Twitter & Pinterest with #FrogTape hashtag!


I'm also sharing this project with my FAVE LINK PARTIES.
Click HERE to check them out!

Visit Sponsor's Site

Sunday, May 25, 2014

A Happy Memorial Day & New Craftastic Monday Link Party


Happy Memorial Day!  I hope my fellow US residents are enjoying this lovely day.  I've enjoyed a much needed weekend getaway to recharge my mental batteries.  With constant yard work, holidays/birthdays, house stuff and schooling the kiddies, I'd been been feeling pretty burned out lately, so this mini-break has been very appreciated!!  

It's time to announce the winner of the giveaway for the new book I'm in, Craft It Now:

Teresa W.

Congratulations Teresa!  I'll be sending your copy out soon and I hope you enjoy it:)

~~~~~~~~~~~~~~~~~~~~
Want some FREE advertising for your blog or crafty shop?

After linking your latest project posts here, head over to the Sew Can Do Facebook page to join in the Craftastic Monday Mixer. Last week's mixer got a record number of links & views - so be sure to add yours to get some extra exposure!  


Instead of a specific post, share your blog, crafty shop or Facebook page link on the Sew Can Do FB page.  It's a way to promote your site or its FB page to other crafty, creative people and find some new sites you might love at the same time.  More exposure for your crafty site every week!  Click HERE to go link up now!
~~~~~~~~~~~~~~~~~~~~
Now let's see some Craftastic picks..

So Much To Make shared a great tutorial for a layered knit skirt:


Make some gorgeous butterfly hair pins with this how-to from Etcetorize:


Check out this cute laundry play set by Little Red Window:


Wesens-Art wowed me with this birdcage made completely from paper:


And Kuka & Bubu had this clever idea for using up fabric scraps: make a fabric Memory game!


If you're one of this week's features, be sure to grab my Featured On button over on my Buttons Page to share the good news.  

I also feature these projects on Sew Can Do's Craftastic Picks Pinterest board 
AND share each of them on Twitter too for even MORE exposure!

Follow me there to see more great projects (and see if yours is one of them)!   
  
Follow Me on Pinterest


Ready to link up your crafty creations?

 
Party rules are simple:
  • As long as it's crafty, and made by you, it's Craftastic (no links to giveaways, shops, link parties or other people's work).  Add the link to your specific post (not the main page of your blog).
  • Grab my party button & put it on your post or blog somewhere.  The code can be found HERE.
  • Check out some of the other fabulous links and share some crafty comment love.  We all love getting comments!!


    An InLinkz Link-up
   

Friday, May 23, 2014

Pink & Green Crafty Ideas with Sugar Pink Boutique


A lot of my project inspirations come from beautiful supplies or materials.  They can really get the creativity flowing - especially when they have an eye-catching color combination. Today I'm sharing some pink and green lovelies from Sugar Pink Boutique to get our great ideas going!


Sugar Pink Boutique is one of my favorite online sources for pretty trims, colorful beads, beautiful embellishments - it's like a candy-store of crafty goods! 

Here are some pink and green goodies & project ideas:

This gorgeous vintage embroidered Italian ribbon would be perfect to add some floral detailing to a pillow, bag or dress:


Make a sweet spring patchwork project or quilt with these Shabby Chic Pink and Green Floral Fat Quarter sets:


This beautiful pink and apple green pom-pom trim would be fantastic on a beach cover-up or to trim up a pillow.  It's reminded me that I bought some in the red & green colorway last year and that it's time to use it!


Or go for a different trim look, but with similar charm, using some pink and green pom-pom ric-rac.  It's great for adding some detailing to the hem of a skirt:


Make some beautiful hair bows, scrapbook pages or show-stopping gifts with some bubble dot  or bubblegum pink & lime stripe grosgrain ribbon:


Or do some colorful jewelry, wine charms or accents like bow centers or cord pulls with some vibrant berry beads.


I hope these sweet supplies and suggestions got you feeling inspired.  For more supplies and crafty news, Follow Sugar Pink Boutique on FacebookTwitter & Pinterest to keep up with the latest crafty goodies. Have a Fun & Crafty Weekend!


This is a sponsored post, for which I received compensation.  The opinions are completely my own, based on my honest experience with the items referenced and items I have purchased myself from this sponsor.

Wednesday, May 21, 2014

DIY Pattern: Crochet Lace Layered Skirt Tutorial


Crochet lace is making a big reappearance on the fashion front this summer.  I like it because it can be both casual and dressy just by changing what you wear with it.  Pair it with a dressy top & jewelry for a night out or just a breezy t-shirt for a lazy day with the kids. I wanted to make something colorful with an overlay of crochet lace and came up with this Crochet Layered Skirt.  The best part is no purchased pattern required!!


This is also a great way to add some bright colors to your wardrobe without feeling like a neon sign. The overlay softens the color and adds some nice texture:


Here's how to make one...

Materials:
- Colorful lining fabric (this could be something silky or just plain cotton)*
- Crochet lace fabric 
- 1/4 inch wide double fold bias tape
- 1 inch wide, no-roll elastic
- Paper, pencil, yard stick, tape measure
- Sewing notions (pins, matching thread, safety pin or bodkin)

* Exactly how much fabric you'll need depends on desired the length and size of your skirt.  I'm about a size 4 and wanted mine to be 18 inches long, so about 5/8yd was enough.

For my lining I used some scraps of peachy-pink vintage fabric leftover from a dress my mom had made years ago.  It was some sort of synthetic with a silky sheen and a little bit of stretch.  On it's own it would have been a bit too much as a primary fabric, but it was perfect as the under layer for this skirt.  Don't be afraid to try a color or fabric outside your usual comfort zone!


To start, we'll need to make a paper pattern based on measurements.  It's quick & easy - I promise!  Start by taking a hip measurement and deciding on your skirt length.

To calculate the waist, take your hip measurement and add 4 inches (this is seam allowance + ease), then divide by 4.  So for a 34 inch hip, the measurement would be 9 1/2 inches. Make a mark on the edge of the paper and this number of inches to the right of the edge.  


Then mark 1/2 inch above the outer marking: 


Next, connect the edge mark and top mark with a curved line to create the waist (a design ruler can make this super easy, you can find more info on those here).


Take the desired length measurement and add 3 inches for the waistband and mark this far down from the waist.  Use a yard stick to make and flare out as much or as little as desired from the outer edge.  Cut out and your new, custom fit, skirt pattern is ready to use.


Now cut out two pairs of skirts - one from the lining, the other from the crochet lace.  Each piece will need to be cut on the fold.  I stuck a pin through the wrong sides of my lace since it can be tricky to see which side is which after you've cut off the selvage.


With right sides facing, stitch together the side seams of each pair with a 1/2 inch seam allowance.  


On my lining I just trimmed my raw edge with pinking shears since that fabric was no-fray.  I trimmed and then did a short zig-zag over the edge of the lace to keep that from fraying.  I'd show it, but it's impossible to see the thread through the lace (which is good since it makes the seams pretty hidden).


Now pull both skirts right side out and place the crochet lace over the lining and pin at the waist.  Baste all the way around 1/4 inch from the edge.


Time to do the waistband!  Since my lining fabric was vintage scraps, I wasn't sure how iron-friendly it was to press the waistband folds & didn't want to risk ruining it.  I measured 3 inches down from the edge and drew a line all the way across each side with my disappearing pen.  


Then I folded the raw edge down 1/2 inch by hand and then folded down again to the marked pin and pinned.  


I stitched all the way around, 1/4 inch from the fold edge, and left a 1 inch gap to snake my elastic through (using a safety pin on one end).  Then I overlapped & stitched the elastic ends together, then stitched the gap closed.


To finish off the hem I kept it simple.  Since the lining won't fray I left it raw.  It's underneath so it's not noticeable.  For the crochet overlay I used some cream colored 1/4 inch wide double fold bias tape.  I worked slowly to make sure the lace was well and truly encased all the way around.  


I really like how it looks and it also gives a nice effect so the skirt's folds flare slightly instead of just hang straight down.  By changing the length, flare of skirt, lace style and lining color you can make loads of different versions.  Summer fashions sorted!


I'm also sharing this project with my FAVE LINK PARTIES.
Click HERE to check them out!

LinkWithin

Related Posts with Thumbnails