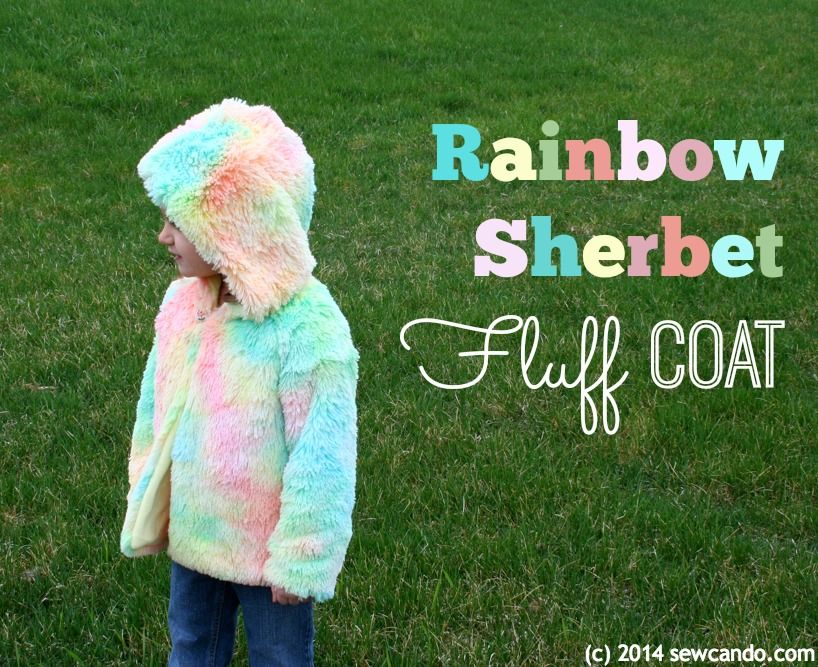
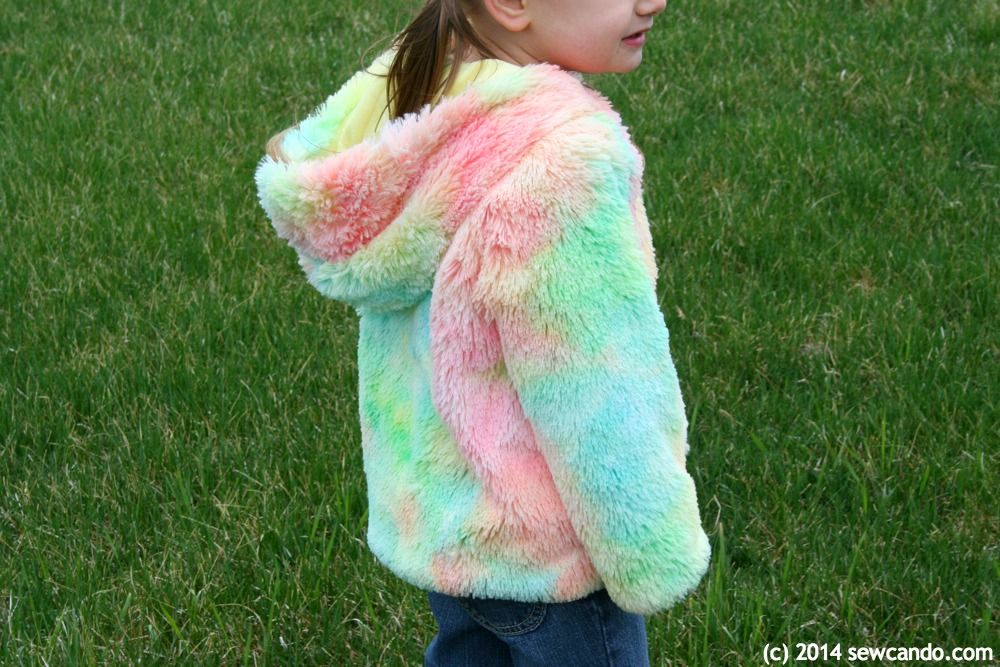
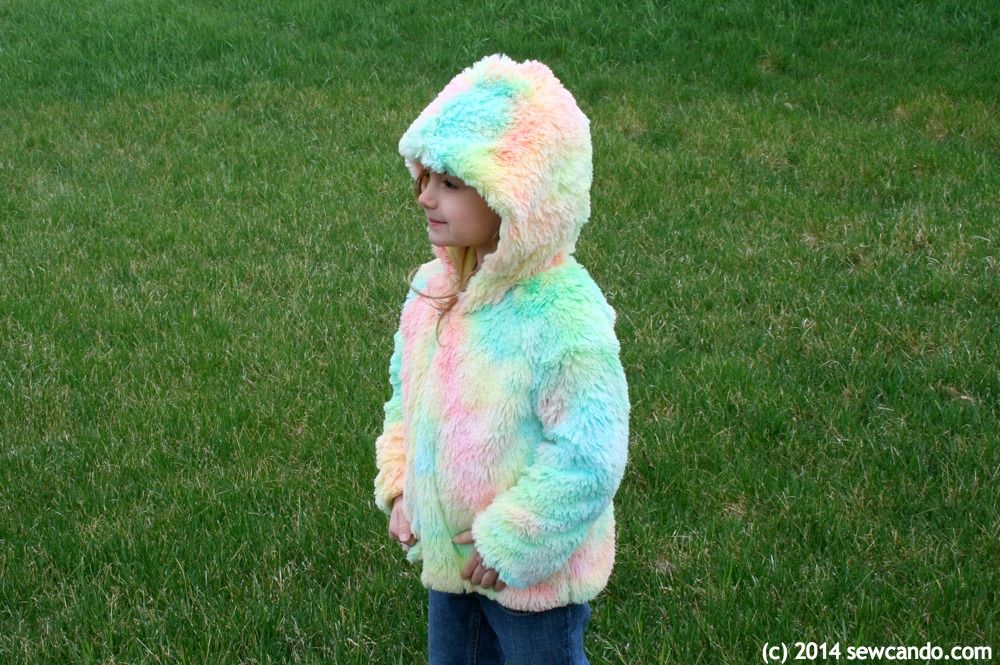
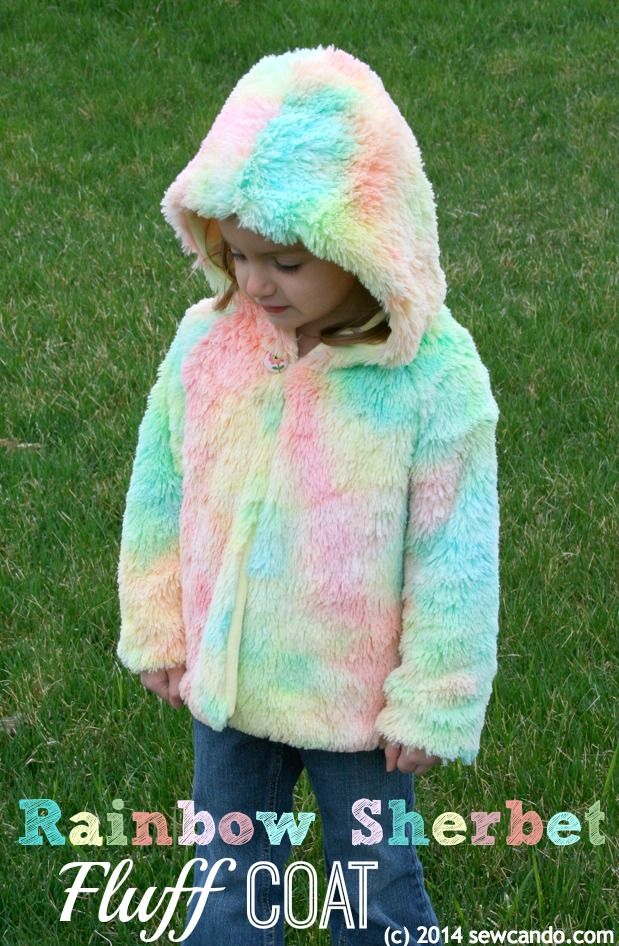
Do you ever find a fabric that you can't stop oohing and ahhing over? I did and it totally motivated me to make today's project: my Rainbow Sherbet Fluff Coat.
What makes this coat fabulous is the Minky Cuddle Shag fabric. Sometimes called Shaggy Cuddle, it's unbelievably fluffy and marshmallowy soft. I bought mine from The Fabric Exchange and got some in solid ivory and this amazing rainbow swirl. The rainbow ended up on backorder, but I fell in love with it the moment I set eyes on it, so I didn't mind waiting. It totally reminded me of the rainbow sherbet that I loved to eat as a kid and the feel is beyond cuddly. I literally squealed and clapped my hands when it arrived. Just thinking about it makes me want to cozy up in it. I know, I sound like a crazy cat lady...but with fabric.

This little coat has been great with our crazy spring weather. One day it's 50°, overcast and windy, the next sunny and 70°.
The coat is cozy, but not too heavy - the Cuddle Shag is super light and with a silky, fluid hand, unlike traditional faux fur that has a firm backing.
To make this coat I used the Frozen Meadow pattern (a lined raglan sleeved hooded jacket) from Ottobre Design's Winter 6/2013 issue as my base, but with a few modifications to the design and the assembly.
The general style was good, but I nixed some of the more time-consuming elements like the knit cuffs and hem, knit trim around the opening edges & drawstring for the hood. I also ditched the zipper for an easy elastic loop & button at the neck. A zipper didn't seem like a practical closure for a toddler's shaggy fur jacket. I just kept envisioning fur getting caught in it and making a giant tangled mess constantly. No thanks.
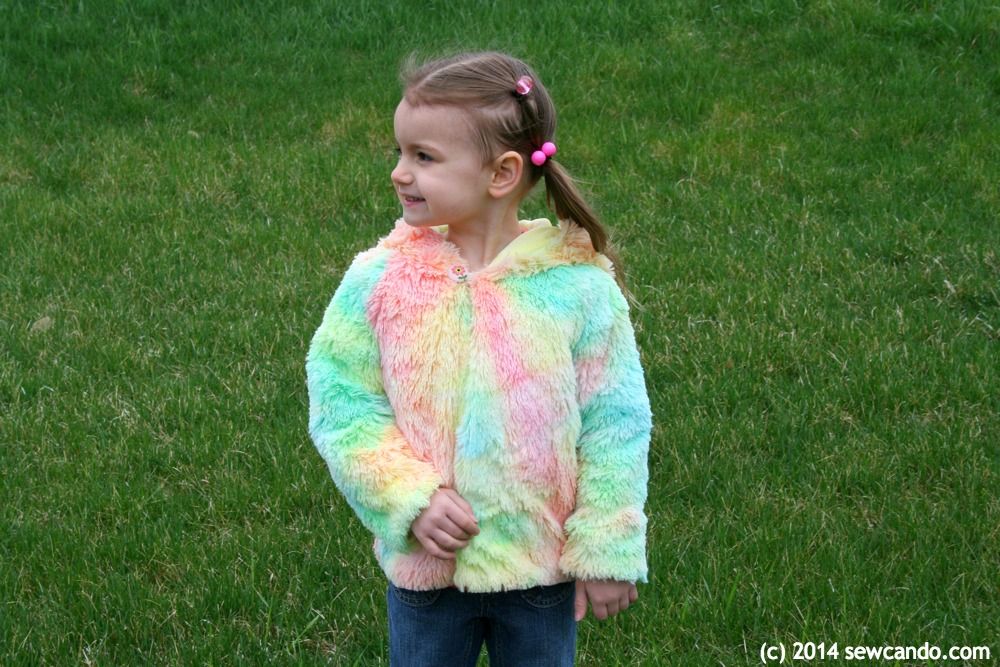
So...I extended the length of the sleeve, front & back pieces to make up for not adding separate cuffs. I also made the side seams go out on an angle for more of a swing shape.
**Key tip when working with faux fur or cuddle, cut wrong side up and be sure the nap is going in the same direction for all the pieces.** For my lining I used a bit of yellow bamboo velour I had leftover from a previous project a few years back. I think it was from Nature's Fabrics. It's got a nice bit of stretch and has a super soft, low nap - the perfect companion to the fluffy cuddle shag.
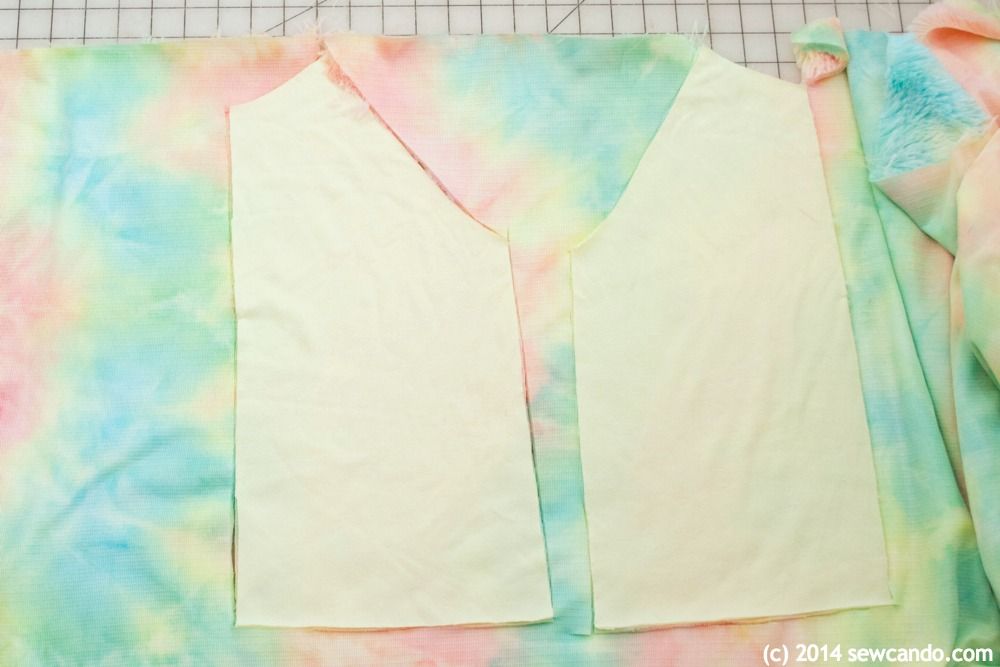
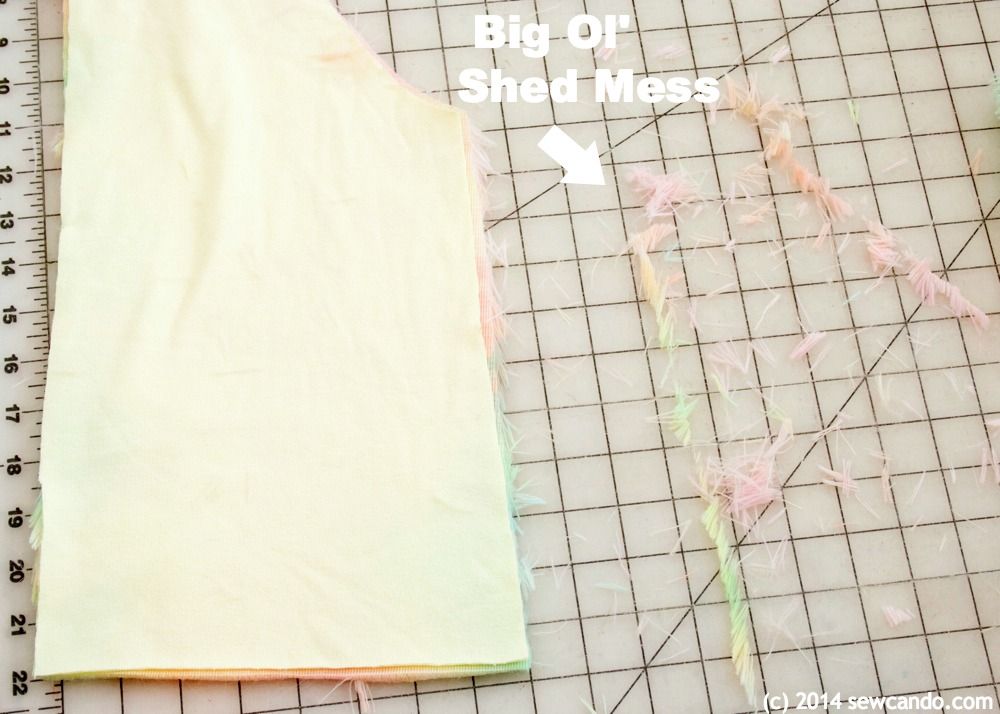
I love working with shag cuddle, but it sheds like nobody's business and puts a lot of fluff into the air. I like to vacuum around the edges of each piece as soon as I cut it and then shake them out over a big trash can or outside to get rid of any loose bits. I also like to use a respirator (the cheap kind used for painting/sanding) while I do it - inhaling fluff dust particles is not fun.
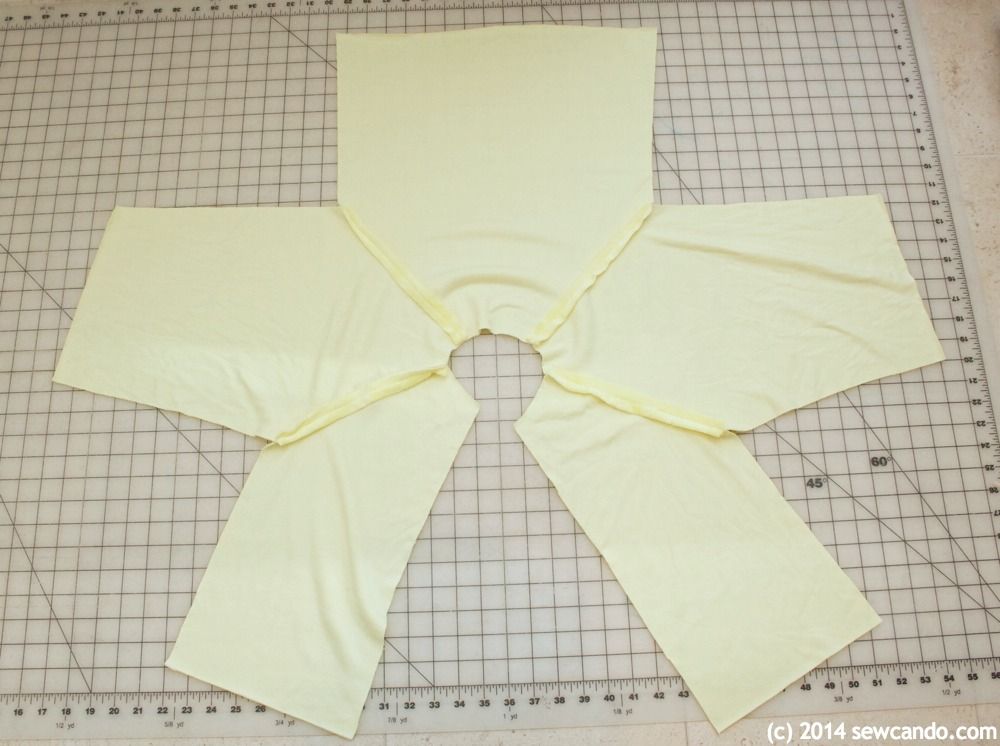
With right sides facing, I stitched together the hood halves and then the sleeves to the front & back pieces at the shoulders, so it looked like a big star. Then sewed the hood to the neckline. For fabrics like these, I use a walking foot (more on that here) to keep them front shifting or stretching and it works like a charm.
Then I stitched the sides from the sleeve cuff all the way down to the bottom of the jacket. I repeated this for the lining.
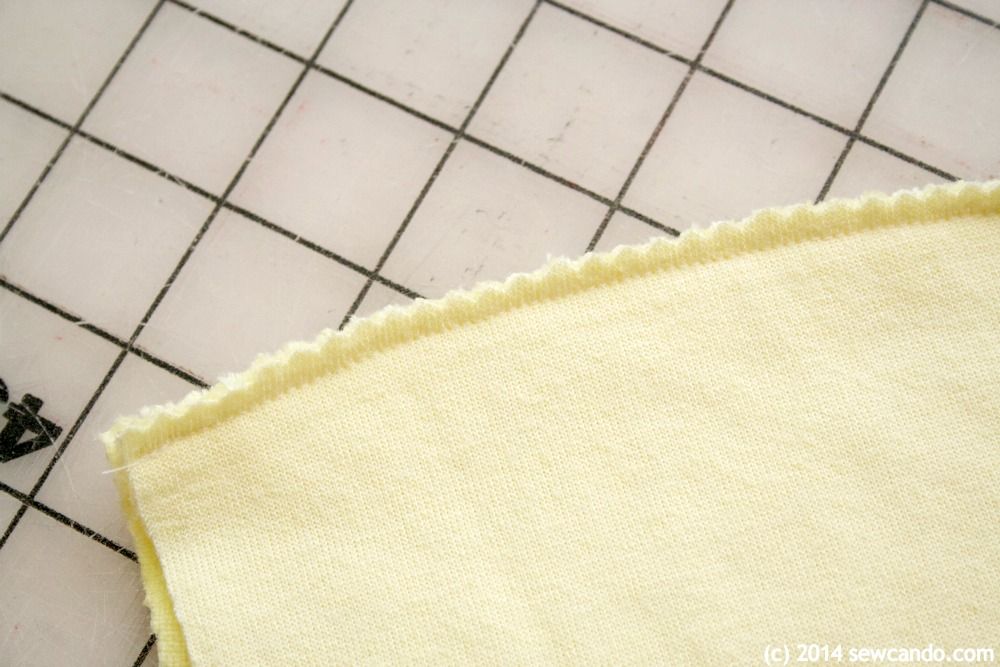
I also trimmed down all the seam allowances with pinking shears - it gets rid of the bulk around the curves:
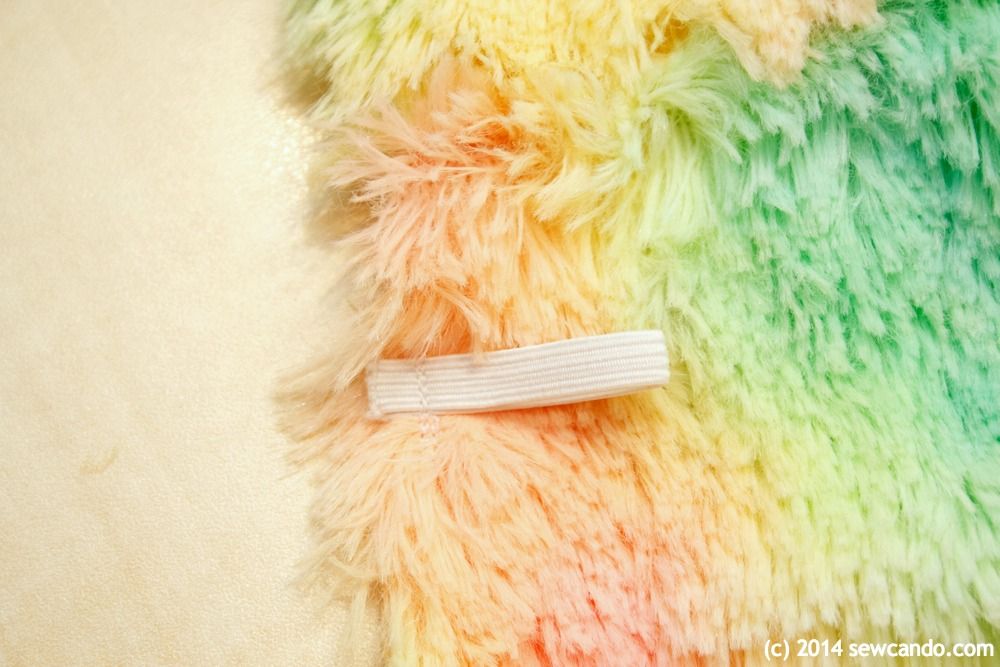
I basted a small strip of 1/4 inch wide elastic into a small loop at the top of the front for one half of my closure.
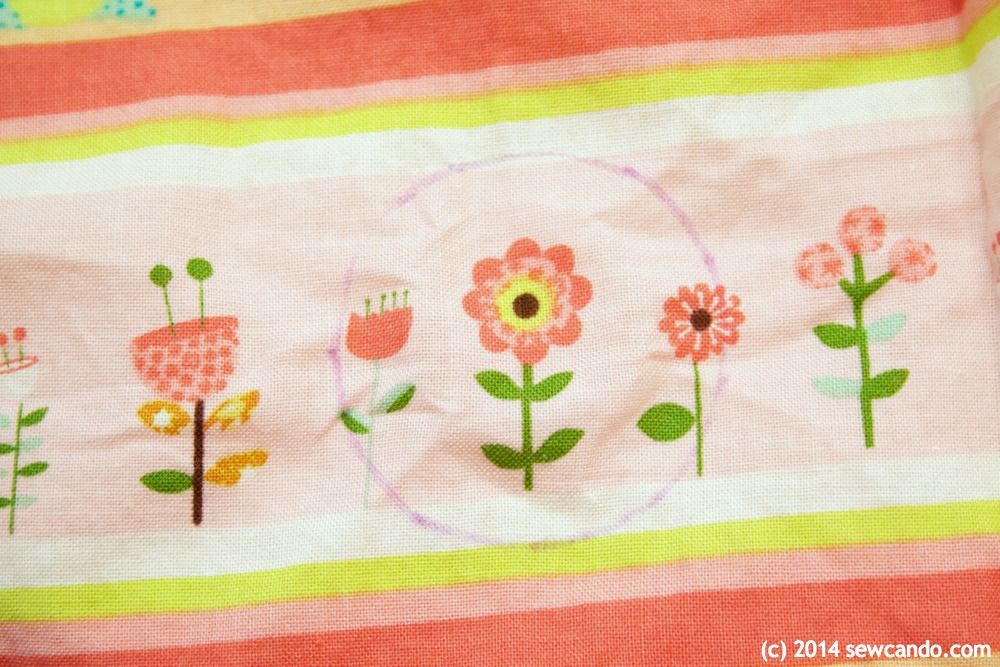
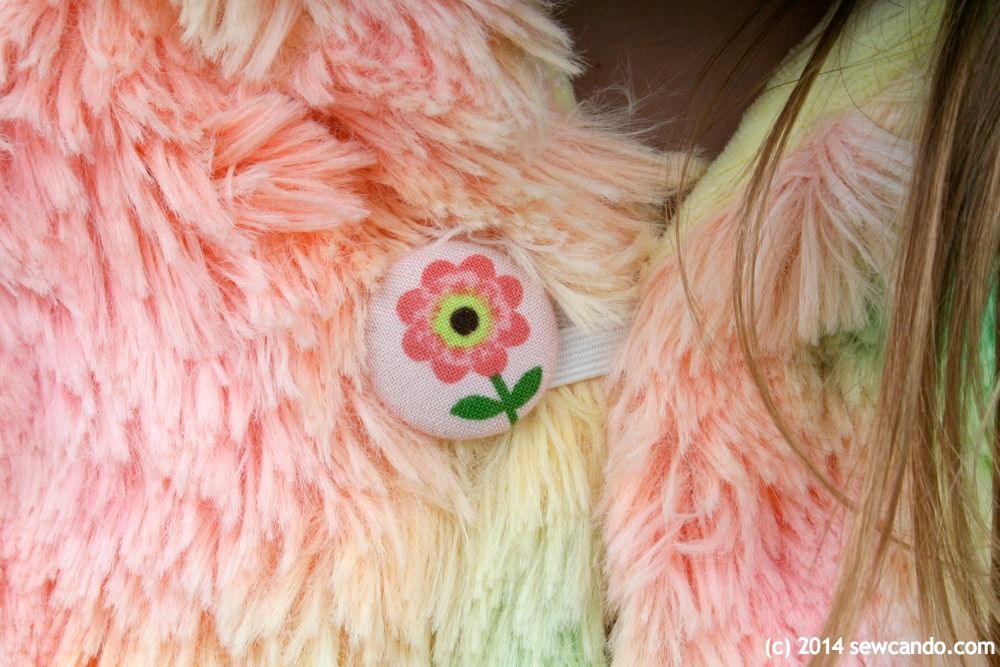
I didn't have any large, shanked buttons that went well with the jacket colors, so I made my own covered button with some scrap fabric from an outfit I'd made for my little lady as a baby.
I centered it on one of the flowers and voilà - a perfect match to the fabric!
Then I pinned the lining and outer together, with right sides facing, all the way around and stitched with a 3/8 inch seam allowance, leaving a 3 inch gap at the back.
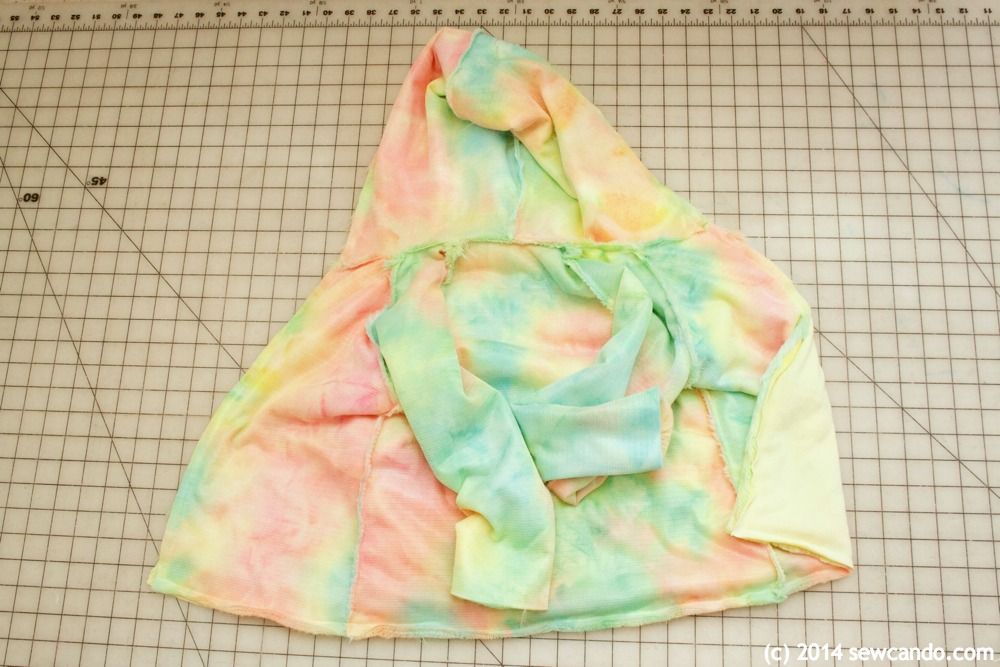
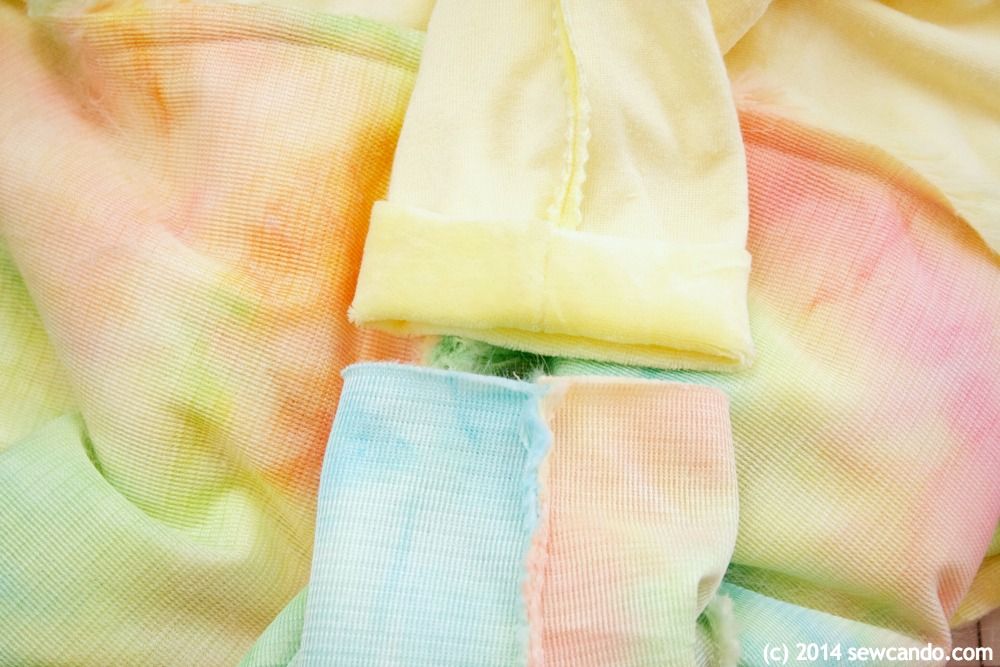
To attach the lining & outer sleeves, I used this method: fold the sleeve cuff of the lining right side out and insert it into the corresponding sleeve of the outer:
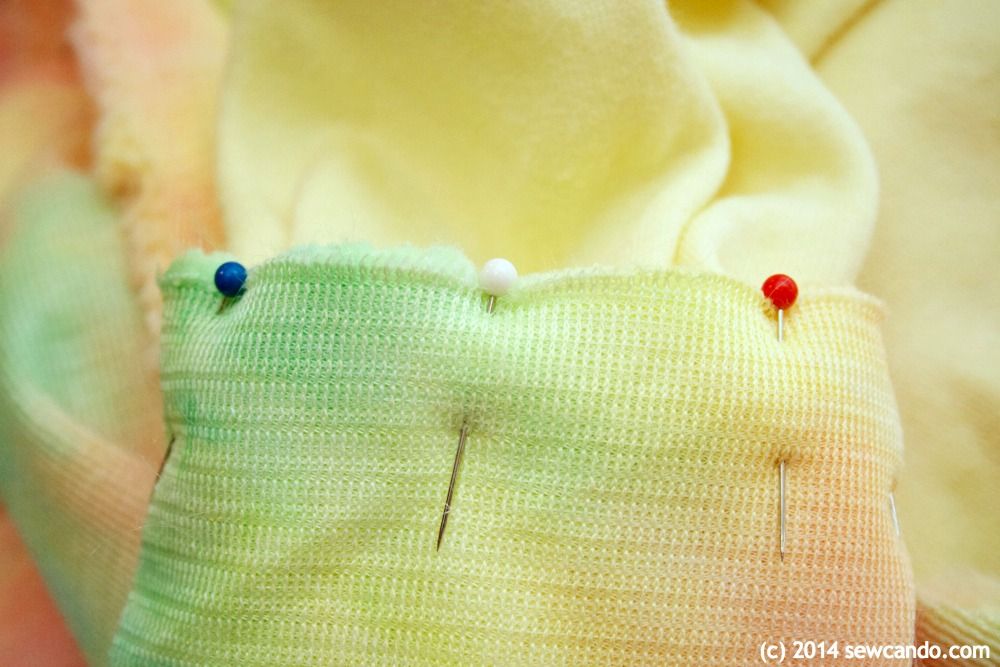
Then, pin together, matching up the seams:
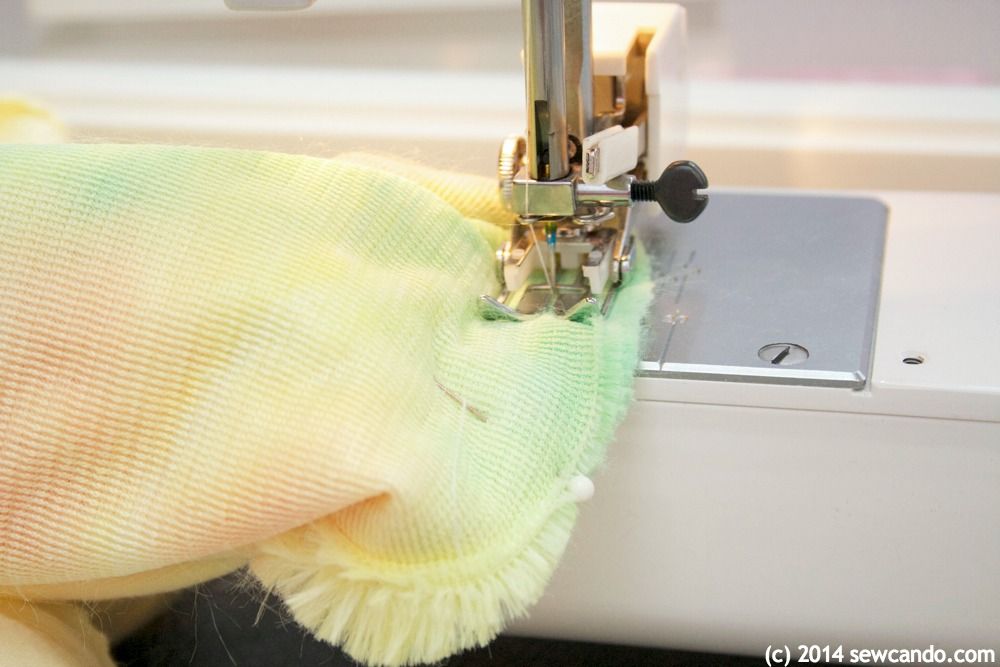
Stitch in place, working slowly so the fabrics don't get stretched.
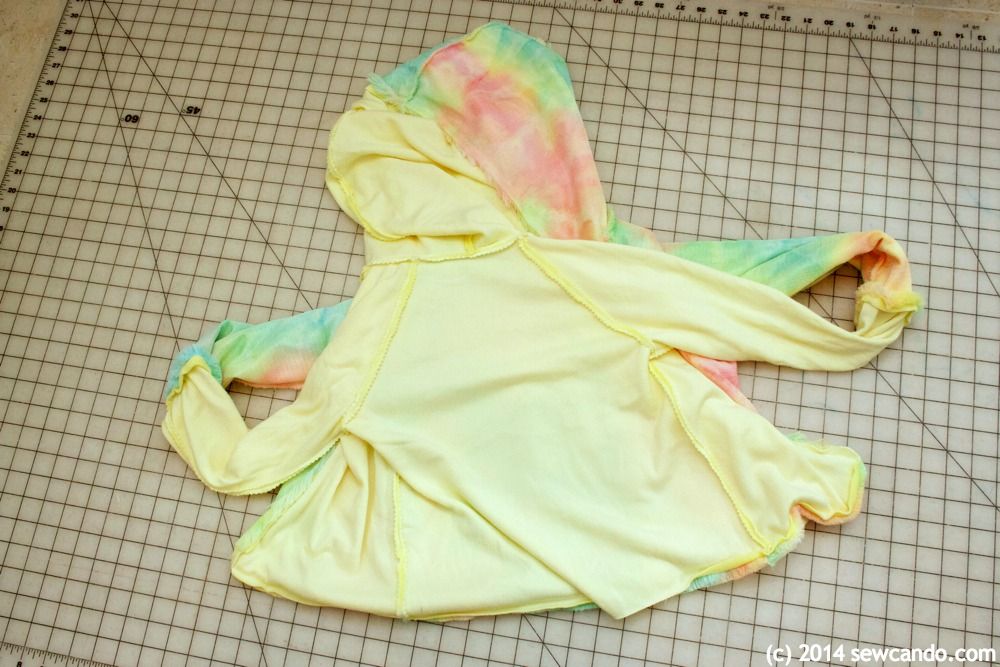
This will look and seem totally illogical. I'm really visual and the first time I did this I just couldn't picture how this would turn out correctly, but it totally does - I promise!
I pulled the jacket right side out, fed the lining of the sleeves into outers and hand stitched the gap closed. Then I added my little covered button to the front and done!
We seriously love this little coat and one of the best bits is that it's totally washable. So it's perfect for my #1 mess maker to wear despite her spill & stain tendencies. It's already gotten a lot of attention when we go out. We were in Target this weekend and a woman stopped my husband and asked where we'd gotten it. When he said his wife made it, she asked if he thought I'd make one for her daughter! Luckily, he said no. It's a huge compliment to have complete strangers ask if you'll make them stuff, but with my own family & my freelance/sponsored work keeping me busy, I'm mostly retiring from sewing for individual people.
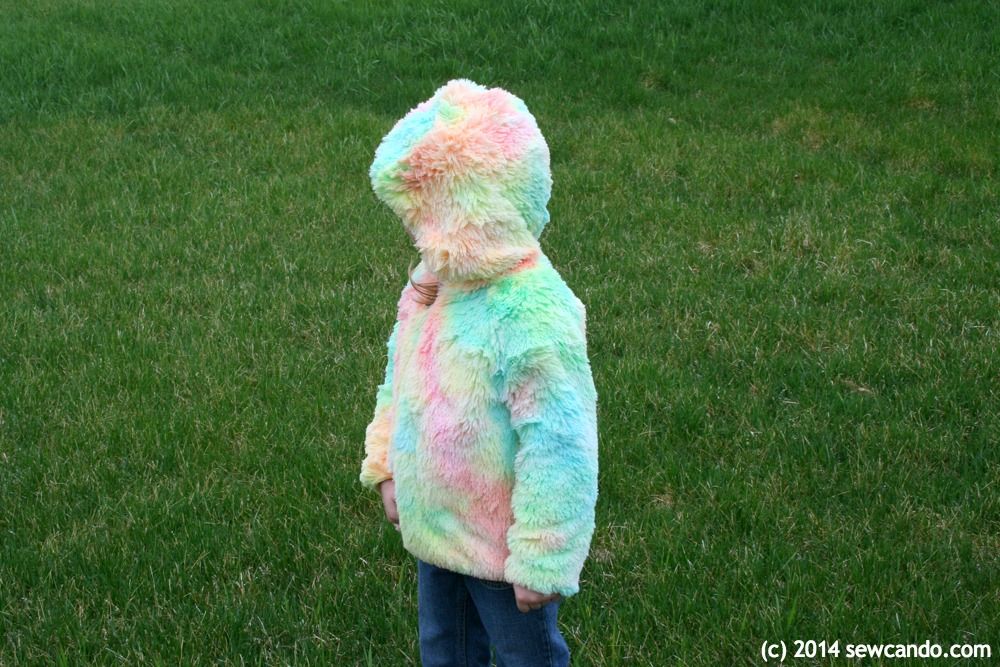
I'm planning to make a luxurious throw with my ivory fabric, but I still have enough rainbow left to make another project too. I had thought it would be a little too fluffy for an adult version, but I'm starting to think I should throw caution to the wind and just make one for me. Why should the kiddies be the only ones enjoying a fluffy, cuddly coat?

To make this coat I used the Frozen Meadow pattern (a lined raglan sleeved hooded jacket) from Ottobre Design's Winter 6/2013 issue as my base, but with a few modifications to the design and the assembly.

So...I extended the length of the sleeve, front & back pieces to make up for not adding separate cuffs. I also made the side seams go out on an angle for more of a swing shape.

I love working with shag cuddle, but it sheds like nobody's business and puts a lot of fluff into the air. I like to vacuum around the edges of each piece as soon as I cut it and then shake them out over a big trash can or outside to get rid of any loose bits. I also like to use a respirator (the cheap kind used for painting/sanding) while I do it - inhaling fluff dust particles is not fun.
With right sides facing, I stitched together the hood halves and then the sleeves to the front & back pieces at the shoulders, so it looked like a big star. Then sewed the hood to the neckline. For fabrics like these, I use a walking foot (more on that here) to keep them front shifting or stretching and it works like a charm.
Then I stitched the sides from the sleeve cuff all the way down to the bottom of the jacket. I repeated this for the lining.
I also trimmed down all the seam allowances with pinking shears - it gets rid of the bulk around the curves:
I basted a small strip of 1/4 inch wide elastic into a small loop at the top of the front for one half of my closure.
I didn't have any large, shanked buttons that went well with the jacket colors, so I made my own covered button with some scrap fabric from an outfit I'd made for my little lady as a baby.
I centered it on one of the flowers and voilà - a perfect match to the fabric!
Then I pinned the lining and outer together, with right sides facing, all the way around and stitched with a 3/8 inch seam allowance, leaving a 3 inch gap at the back.
To attach the lining & outer sleeves, I used this method: fold the sleeve cuff of the lining right side out and insert it into the corresponding sleeve of the outer:
Then, pin together, matching up the seams:
Stitch in place, working slowly so the fabrics don't get stretched.
This will look and seem totally illogical. I'm really visual and the first time I did this I just couldn't picture how this would turn out correctly, but it totally does - I promise!
I pulled the jacket right side out, fed the lining of the sleeves into outers and hand stitched the gap closed. Then I added my little covered button to the front and done!
We seriously love this little coat and one of the best bits is that it's totally washable. So it's perfect for my #1 mess maker to wear despite her spill & stain tendencies. It's already gotten a lot of attention when we go out. We were in Target this weekend and a woman stopped my husband and asked where we'd gotten it. When he said his wife made it, she asked if he thought I'd make one for her daughter! Luckily, he said no. It's a huge compliment to have complete strangers ask if you'll make them stuff, but with my own family & my freelance/sponsored work keeping me busy, I'm mostly retiring from sewing for individual people.

I'm planning to make a luxurious throw with my ivory fabric, but I still have enough rainbow left to make another project too. I had thought it would be a little too fluffy for an adult version, but I'm starting to think I should throw caution to the wind and just make one for me. Why should the kiddies be the only ones enjoying a fluffy, cuddly coat?

I'm also sharing this project with my FAVE LINK PARTIES.
Click HERE to check them out!




My daughter would LOVE this! I am going to have to track down some of this fabric and make her one too. So neat! Thanks for sharing!
ReplyDelete~Alicia
http://www.feltwithlovedesigns.com
Beautiful---it looks cuddly and good enough to eat!!! The buttons are very pretty, too.
ReplyDeleteOh, Cheryl, this is adorable!!! Thank you so much for sharing it! It is hard to come by a free girls pattern these days...I am sure many people will be grateful to you.
ReplyDeleteI want one!!! LOVE LOVE LOVE IT!!
ReplyDeleteLOVE! So adorable.
ReplyDeletetoo cute!!! that fabric is just adorable!! also, featuring at my weekend Create Link Inspire features.. I've spread the news all around my social media and tagged you ;o) Would love a reshare or two ;o) Emily@nap-timecreations.com
ReplyDeleteThis is so sweet! Pinned! Thanks for being part of our party. Please come and show off on Monday at 7 pm. We would love it. http://loulougirls.blogspot.com/
ReplyDeleteHappy Saturday! Lou Lou Girls
Thank you - PURRfect for my animal-loving grand-daughter!
ReplyDeleteThank you - PURRfect for my animal-loving grand-daughter!
ReplyDeleteIt's so cuddly - she will love it. I've got to get making a new one now that we've outgrown this one!
DeleteHaha, I am the fabric exporter, welcome to visit my website, we accept small order quantity, we have this fabric in many colors
ReplyDeletewww.jadeplushfabrics.com