
Today's sewing project is a bit on the unusual side: a patchwork feedbag tablecloth. I know it sounds totally random. Since we live in the suburbs it kind of is...but it's something newly tried. Plus, some of the things I learned may be helpful if you're ever faced with a weird, not really meant for sewing, kind of material yourself.
A little backstory: My kids are in 4-H thanks to a nearby university-extension training farm. It's a full working farm set on 160 acres that is practically across the street from a giant mall. This means our citified kids get to participate in caring for animals, growing a garden and running their own farm stand, amongst other things. It's a really great place and a wonderful opportunity for the kids to learn responsibility and some real hands-on physical skills. Their club leader was looking for someone who could sew to try to create a tablecloth from leftover feedbags for the farm stand table. Of course I volunteered - never having made anything even remotely like that before. How hard could it be, right?
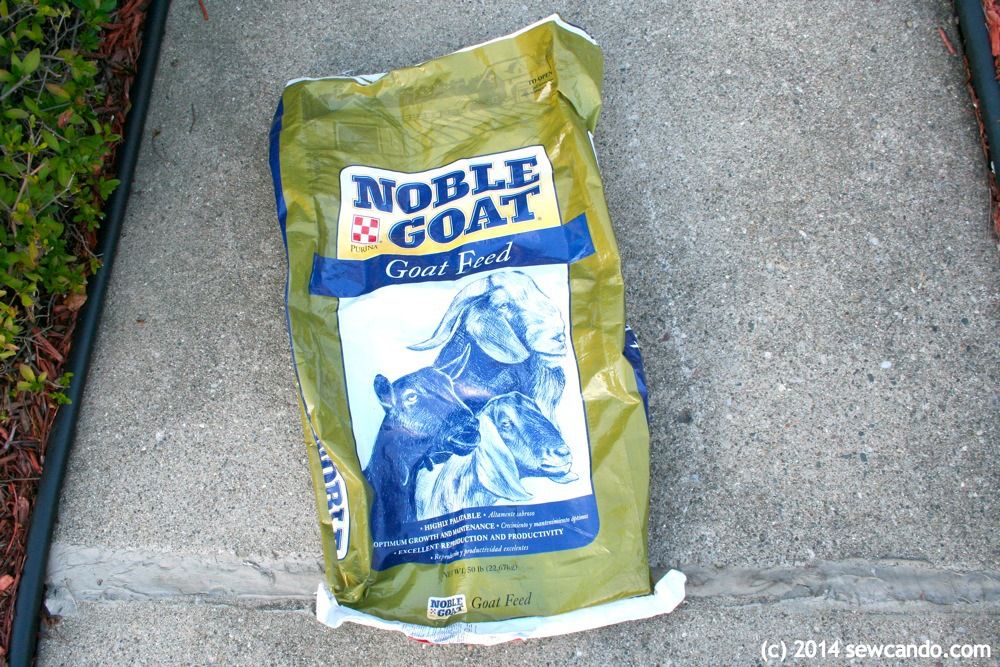
I naïvely assumed feedbags were still made of fabric like cotton or burlap, so I figured this would be a really quick & easy project. I was a little stumped on how to proceed when I was handed a pile of 3 foot tall, giant, woven plastic sacks. Some still had bits of feed left in them!
I cut tops & bottoms off the sacks and then cut out big panels from the front & side of each bag. I did it outside so feed dust and crumbles didn't end up all over my house - my own lil' animals (I mean kids) do enough food mess making around here, thanks. Not all the sacks were the same size so I had to trim a bit to get roughly the same dimensions on each one. With these being plastic the usual easy rotary cutter or fabric shears were out of the question.
Handy tip #1: Use an old pair of kitchen shears (the kind for cutting chicken) for tough plastic material like this. We have a pair we use for opening packages & non-food stuff. They got right through a double layer of this stuff on the first pass.
The bags were pretty crumpled, but being plastic I knew ironing wasn't an option. I laid everything out on my front drive and smoothed them down as much as I could with my hands + a little walking over them to flatten. My neighbors probably thought I was crazy carefully arranging giant feed bags...or were afraid we were buying a goat or two and ready to call the subdivision association on us. I decided to sew them two bag pieces together first - the bottom of one to the top of the other.
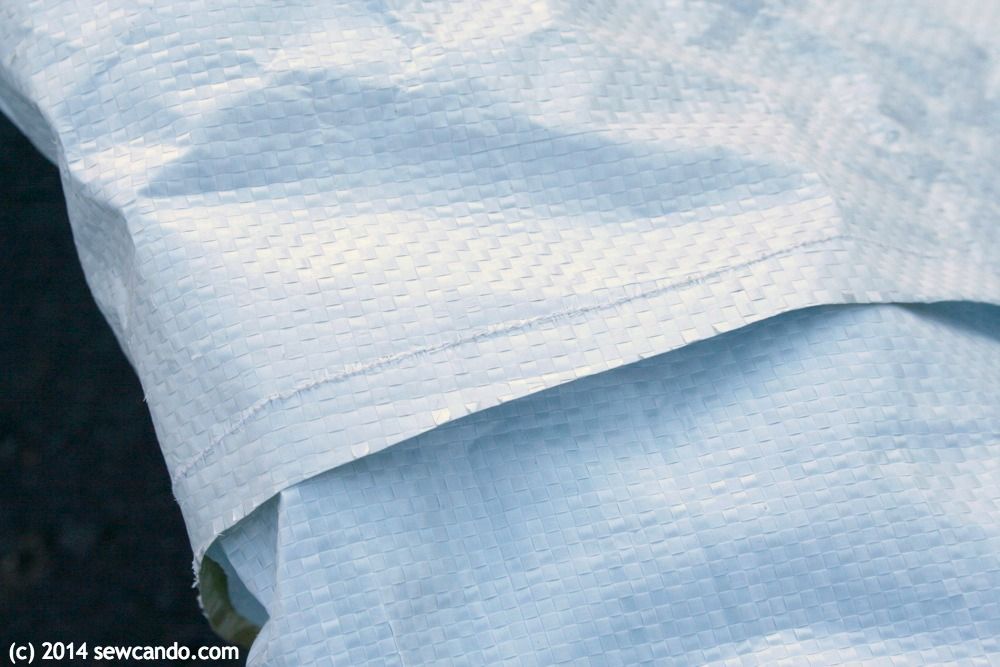
Handy tip #2: Use a heavy duty needle, heavy duty thread & a walking foot when dealing with super tough material - especially if it'll be subject to a lot of wear like this tablecloth will.
Each of these panels was several feet long. I'd probably have run out of pins and was afraid to leave a bunch of pinholes anyway, so I used a mix of my hands and a few clips to hold 'em together while I sewed. This stuff was super crunchy, kind of like sewing with some really stiff potato chip bags. It didn't want to nicely fold out of the way, so it was a bit tricky to keep things straight. Hence the giant seam allowances to help stay on track.
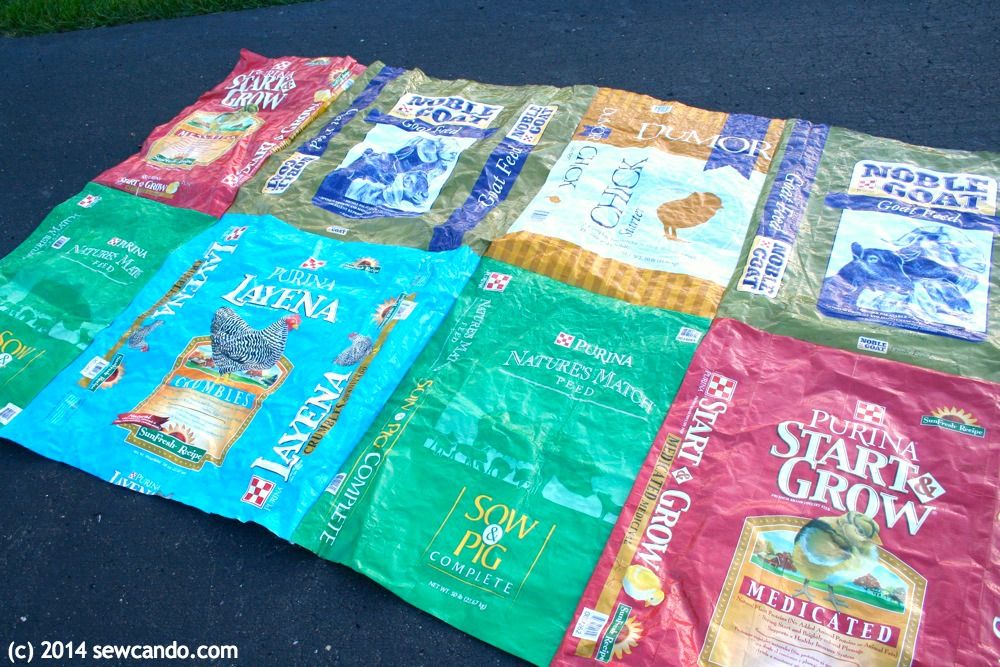
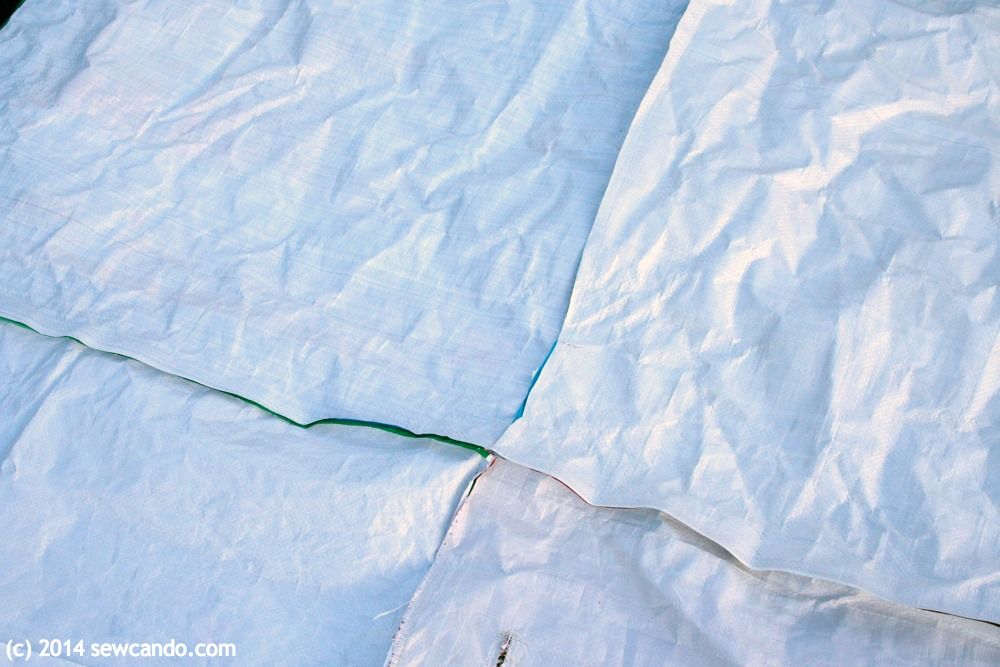
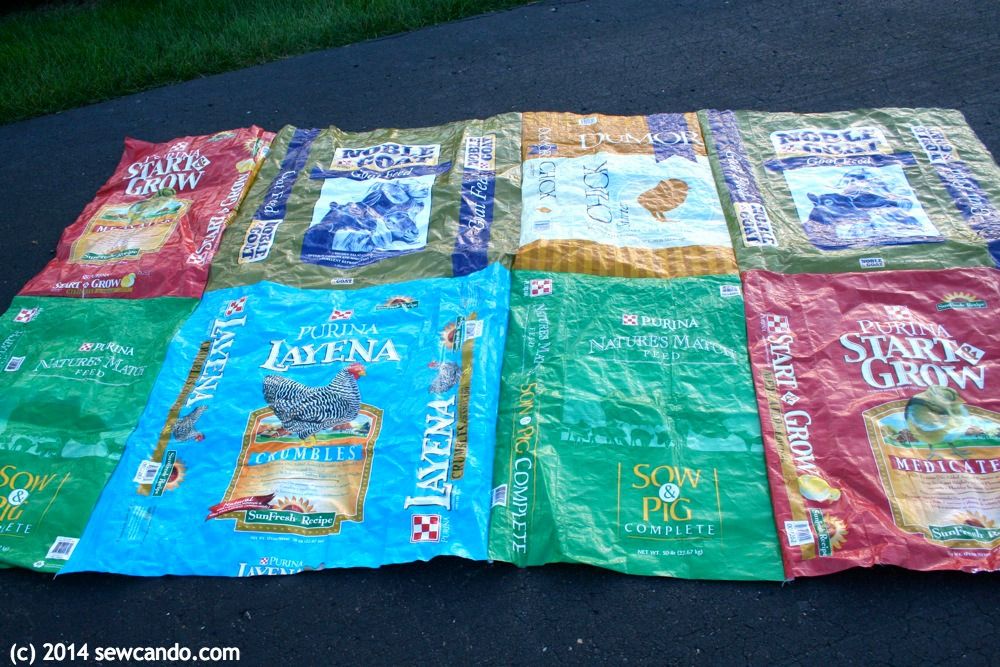
Then I sewed each pair's sides to another pair, until all eight bags were now a giant rectangle. Then I was able to fold the whole thing in half and use a yardstick & marker to mark it a bit to even the edges with a little scissor trimming.
Originally I planned to finish off the sides with a hem & make a slightly more elaborate patchwork design. Then we lost power for 4 days, right when I planned to work on this, so I had to keep it simple to make sure it would be ready in time. I literally took this photo as soon as I finished - the night before I had to bring it to our weekly meeting:
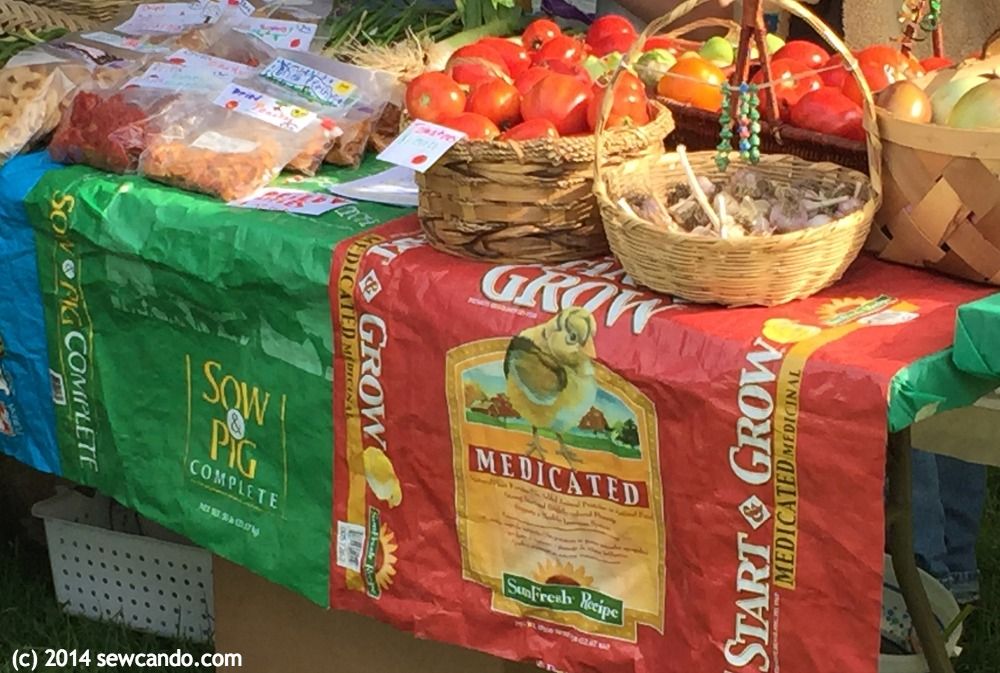
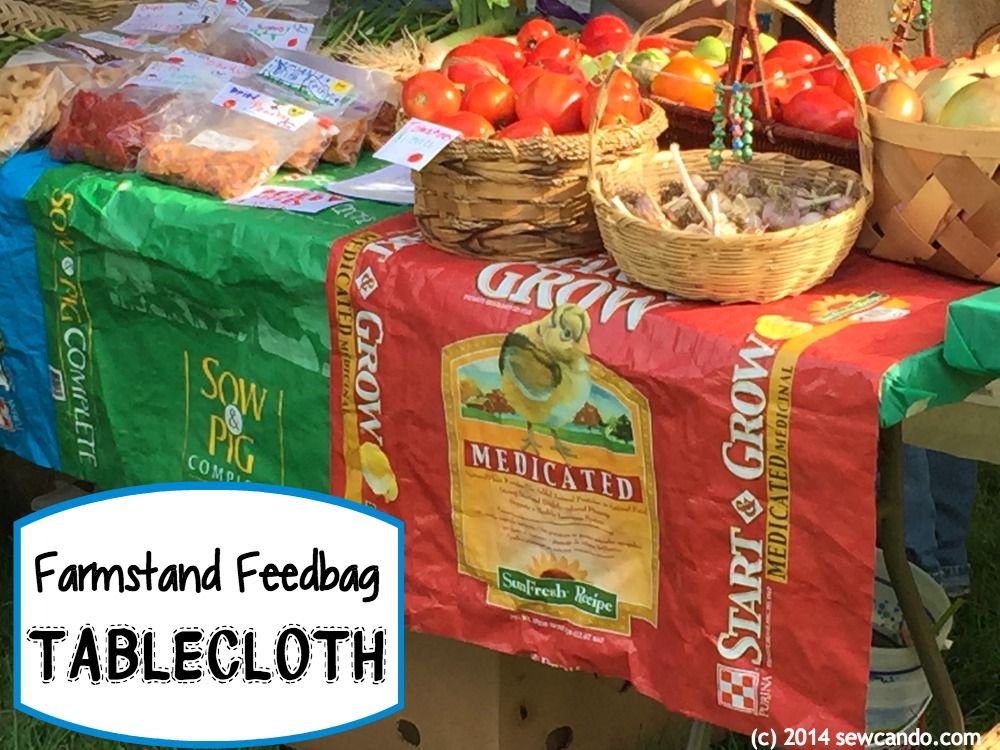
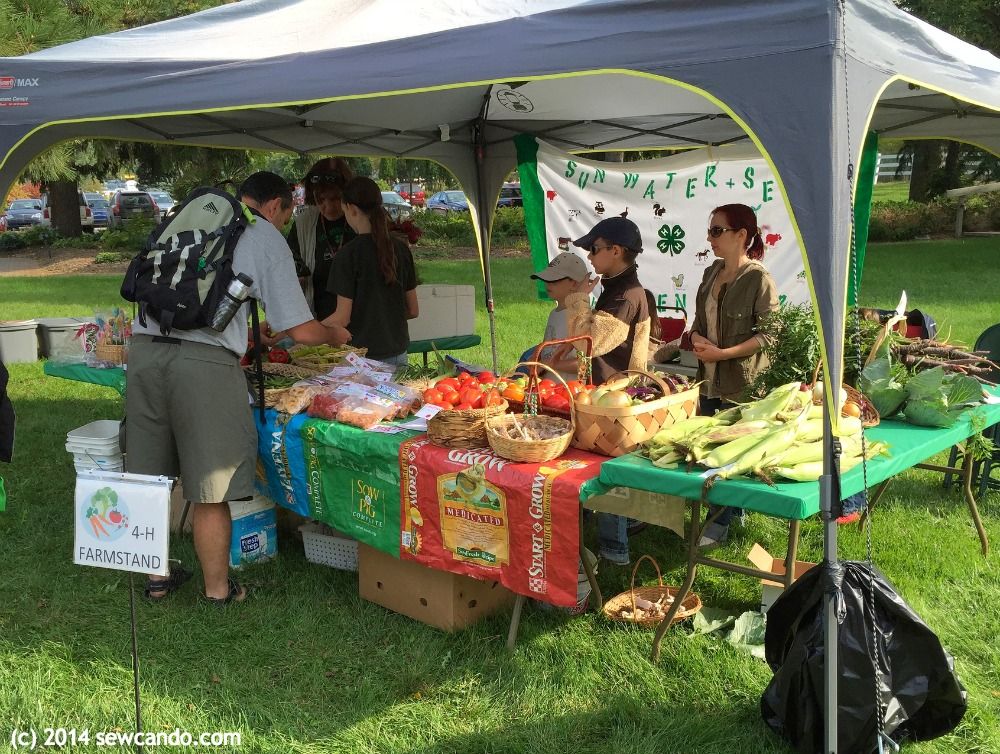
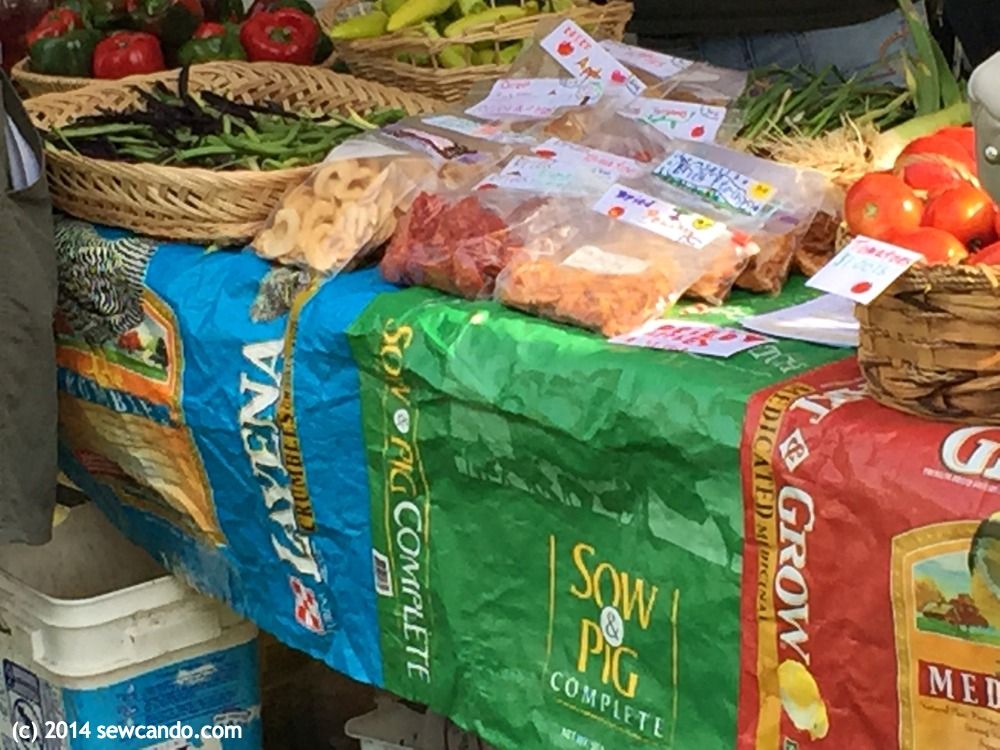
The farm stand weekend was a few days later, during the big Fall festival at the farm:
I wish the pics were a little clearer, but I had to rely on my husband's phone for them and wasn't about to shoo away customers for a tablecloth photoshoot. Even though they're a little fuzzy, you can still get the general effect:
The kids ended up having selling quite a bit of the produce they grew & products they made. I'm glad I could lend a hand with making their stand a little more eye catching and see them working hard to sell their wares.
Now that I've gotten my feet wet sewing with this stuff, their leader's got another project idea in mind, so another wacky feedbag project will be on the horizon!


Very original! :-)
ReplyDeleteThanks Patricia - the general idea was their leaders, but figuring out the how and doing it was my department;)
DeleteWell done Cheryl! Your children are very fortunate to be involved in such a wonderful program :)
ReplyDeleteFor something that looks so simple it was a bit tricky, but you're right Rosie, the program is such a great one to be part of, I didn't mind the challenge!
DeleteSuch a great idea! It came out pretty neat looking, too. I never would have thought to sew those plastic sacks together.
ReplyDeleteErika @ www.rejoicefortheday.com
Thanks Erika. I was surprised it worked so well - definitely durable!
DeleteLooks great, Cheryl!
ReplyDeleteI love this! Thank you for sharing. You are one of the features at The Round-Up from Before & After Wed. Here is the link so you can check out your feature. http://www.thededicatedhouse.com/2014/10/the-round-up-from-before-after-wednesday.html Have a great evening! Toodles, Kathryn @TheDedicatedHouse
ReplyDeleteThanks so much Kathryn. Heading over now!
DeleteGot lots of bags to sew a tarp to cover a hoop house. Loved your tips for sewing them together.
ReplyDeletedid you wash the bags first? people think they will attract ants?
ReplyDeleteYes, the bags definitely were washed to remove dust & residue. There was no issue with ants as they were cleaned of any food remains.
Delete