Friday, October 31, 2014

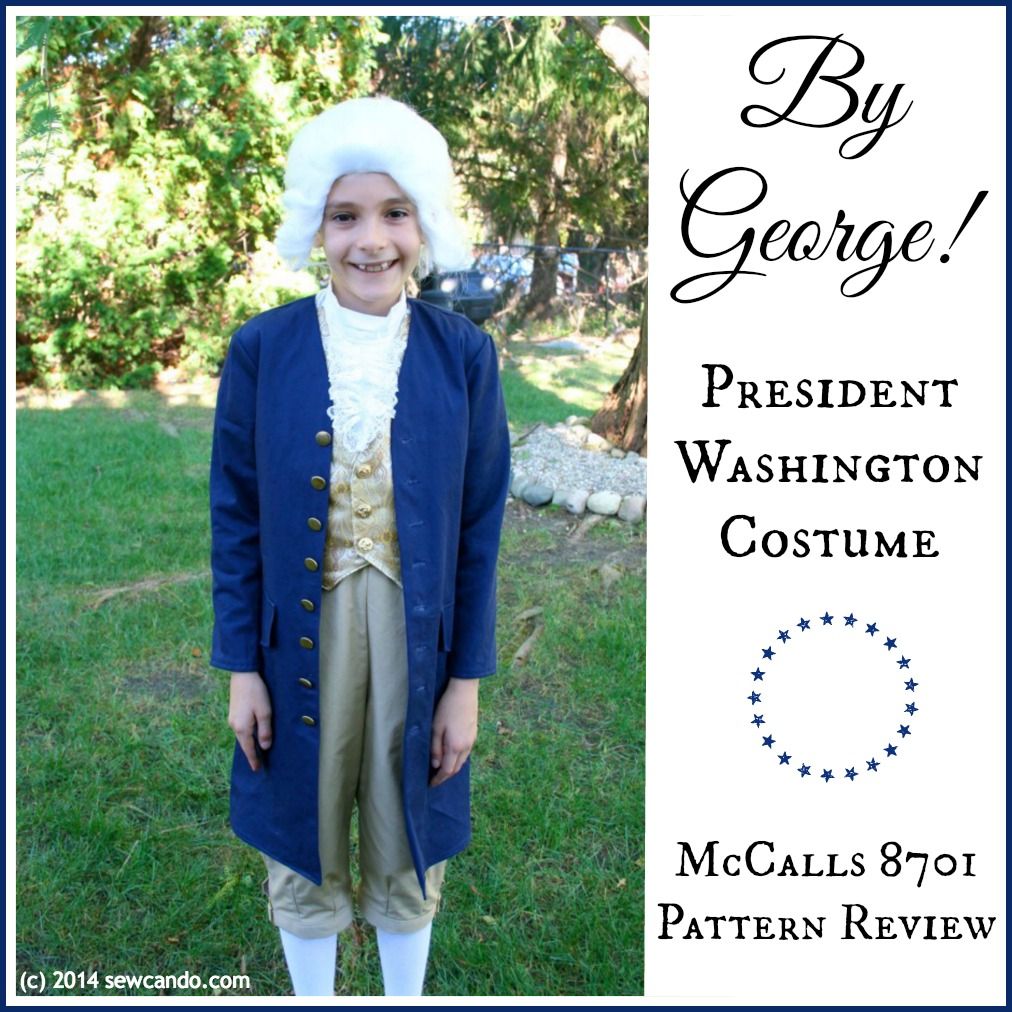
Halloween George Washington & McCall's 8701 Pattern Review


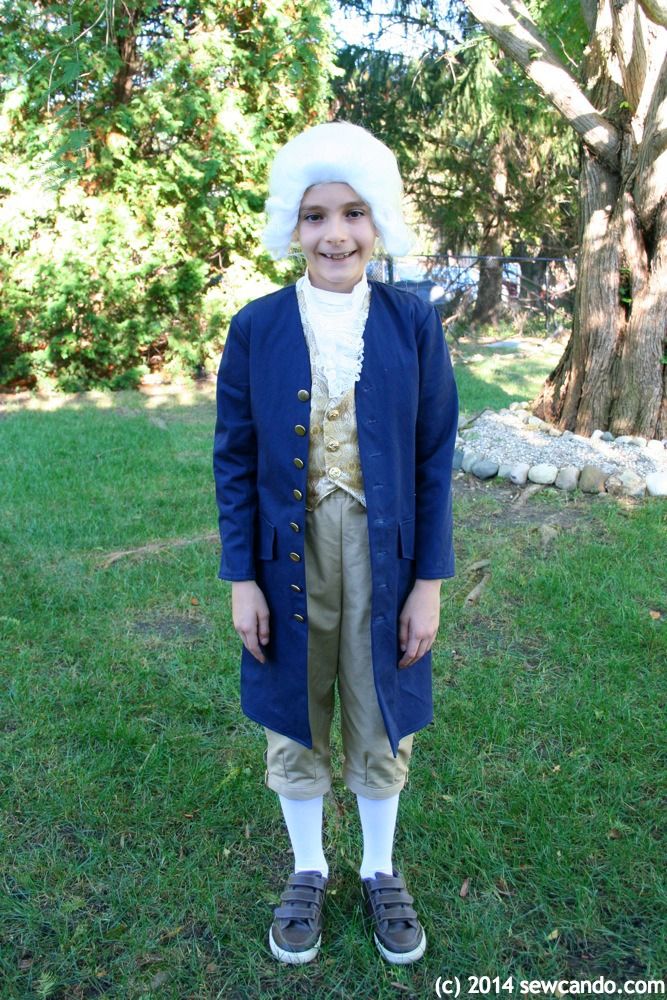
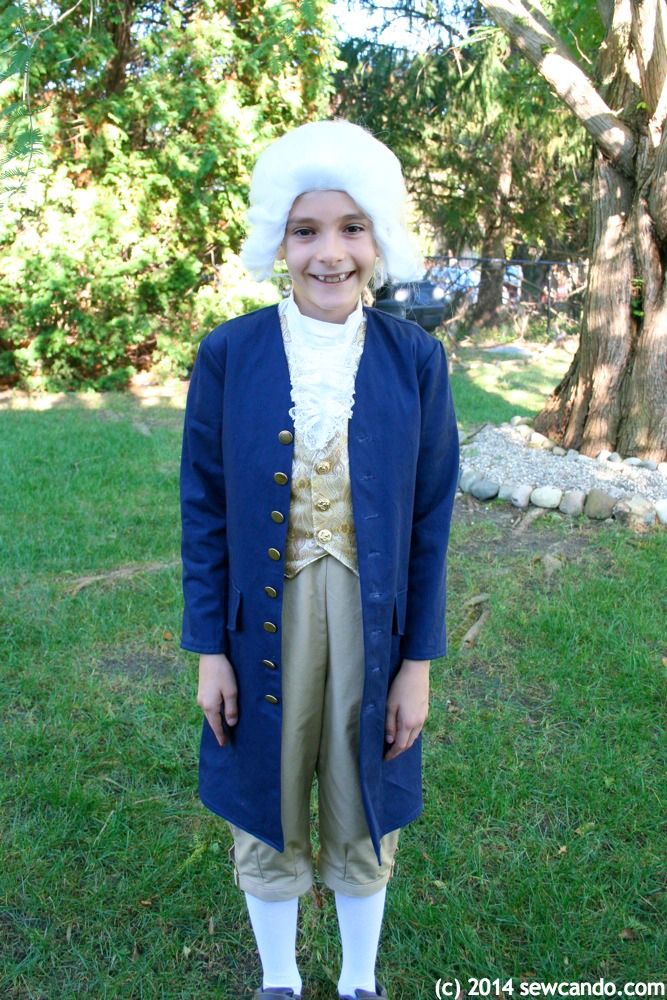
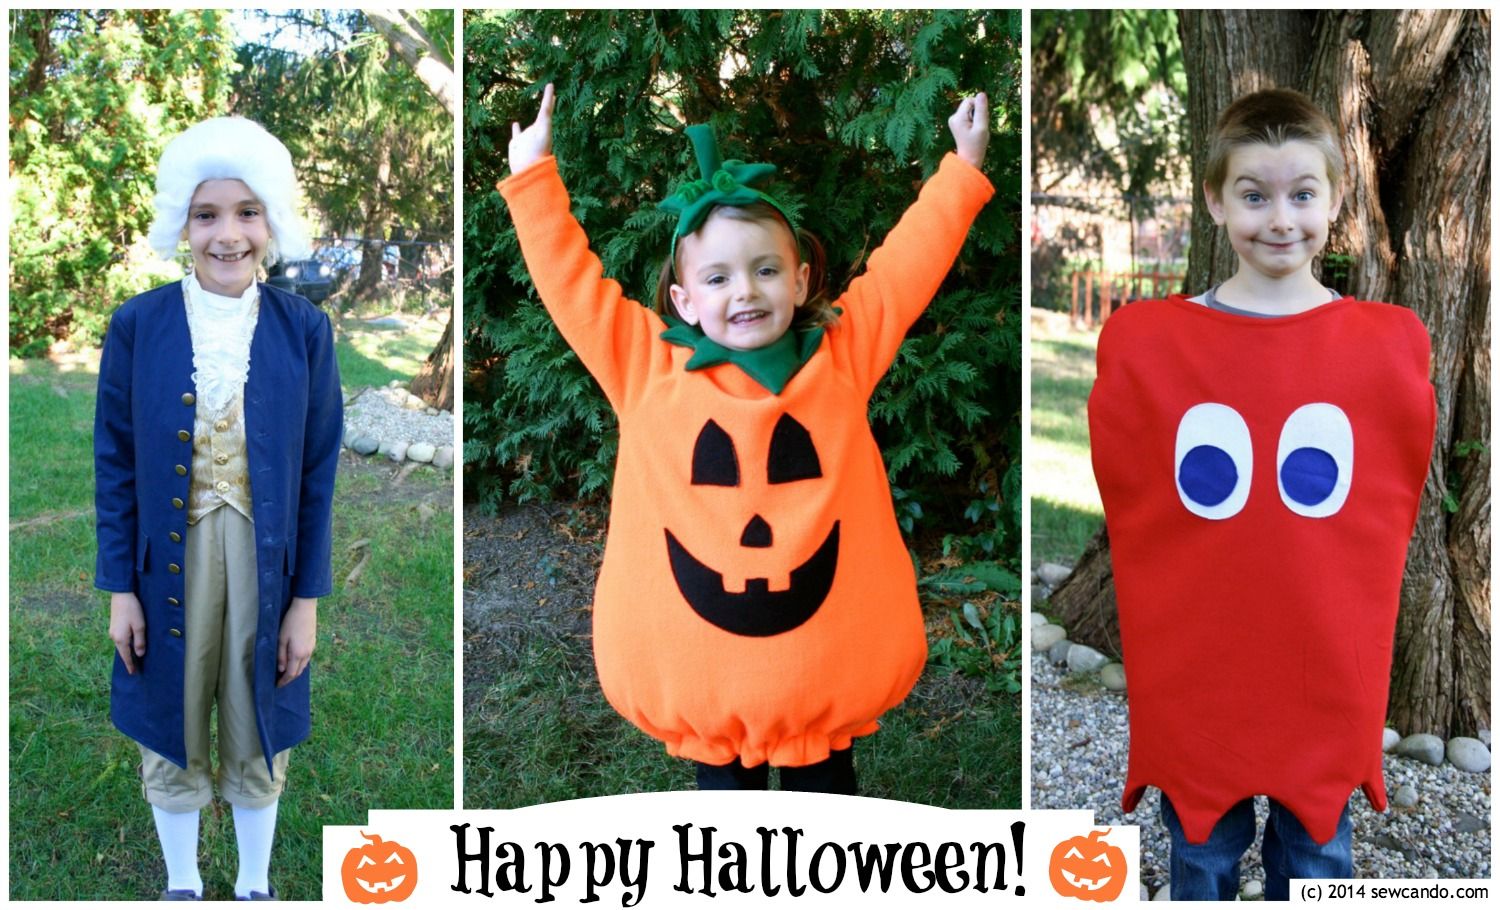
Happy Halloween Everyone!  Today I'm sharing the last of the costume's I made for my kiddies this year:  President George Washington.  It was the only one where I used a store-bought costume pattern.  It's a bit unusual for me (some weird part of me likes the challenge of designing them myself), and I suppose I could have cobbled something together, but this was the most elaborate costume of the three I made (you can find my DIY posts on the other two here: Pac-Man Ghost & Cuddly Pumpkin).  By pure luck, my husband had already bought McCall's 8701 ages ago, in a $1 sale at Jo-Ann's, so no extra design time required.  Yay!  


The pattern is out of print now, but still available online.  It offered the knicker pants, long coat, vest and lacy cravat for a colonial look (as well as variations for Abraham Lincoln, the Statue of Liberty & Uncle Sam).  


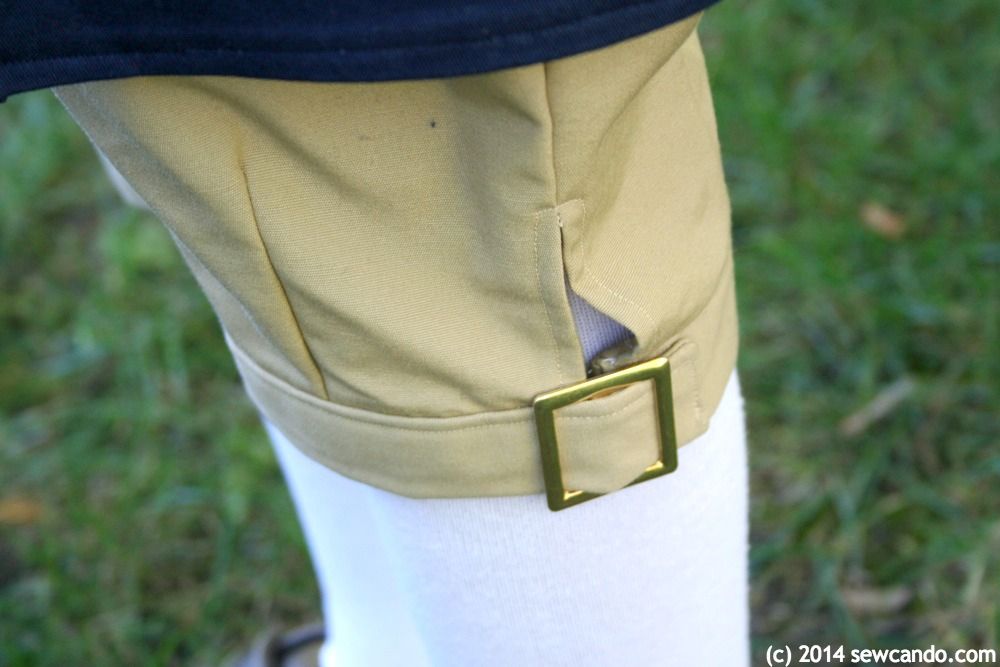
As far as big 4 patterns go it was pretty simple to put together (I did it in a weekend) and had a lot of nice details like the little buckles on the cuffs of the pants:


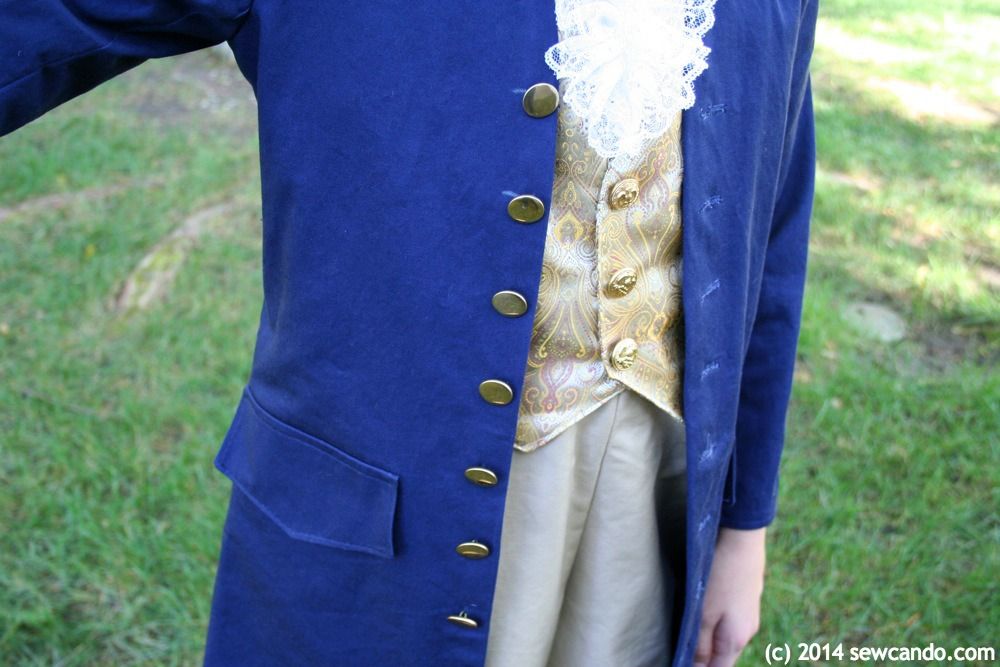
The vest is actually just a faux front that ties in the back, which made it a bit faster to put together than a full working vest.  I just wish it was a little longer - you can see the waistband of the pants as he moves around because it's a bit too short in design.  If I were making it again I'd have added a few inches to the length.


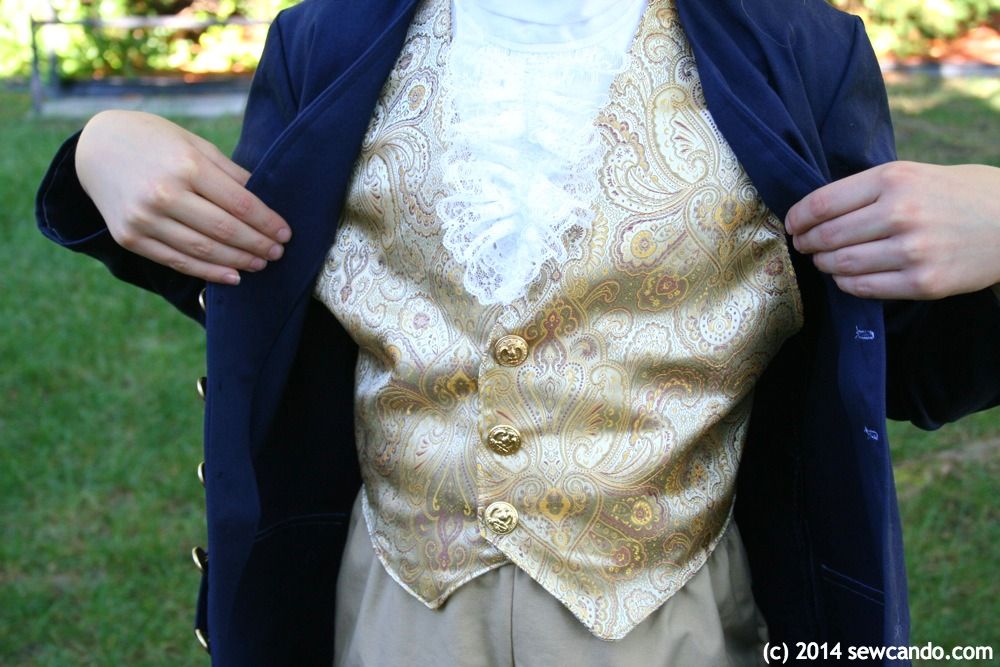
I used golden brocade fabric for the vest and finished it with some eagle buttons I found in my grandma's old button stash.  They were nice & presidential looking:


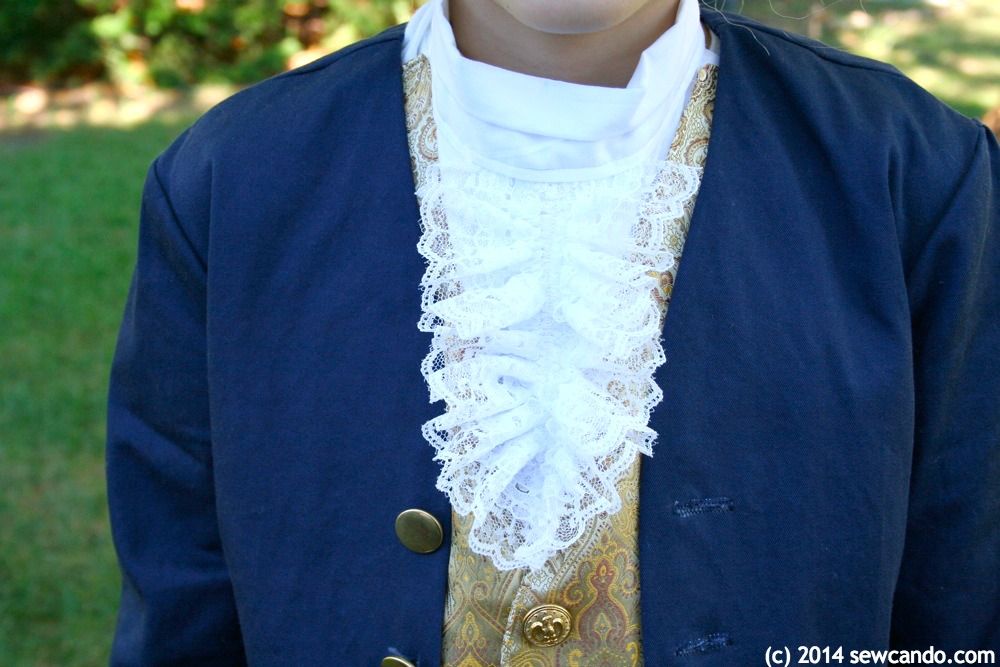
The cravat is actually sewn onto the vest which is handy.  You can wear just about any shirt underneath and it won't show, which is nice.  The only challenge was it called for 4 inch wide lace and my local Jo-Ann's didn't have any.  Since I only needed a 3/8yd piece I wasn't about to order some (the shipping alone would have cost more than the tiny bit of lace), but I got smart and bought twice as much in the available 2 inch wide and stitched them together to get the right width.  When gathered, you totally can't tell it's not one wide piece:


We bought the wig on Amazon for something like $10.  Yes, I could have tried to be crafty and make some faux hair, but the wig was easy, cheap and accurate looking right off the bat.  


True Story Time: The kids all wore their costumes to a Halloween party this week and another mother, who doesn't know me (or that I sew at all) said something to the effect of "Don't tell me you made that" as she was looking at his costume.  When I said I'd made all their costumes she seemed really wowed.  I was so proud.  Then she burst that balloon by asking how I did the wig. When I explained that was the one bought thing, she was actually disappointed - that was what had impressed her.  Not that the rest of all 3 costumes were made by hand, just the wig part.  Gee, thanks lady!  At least it made me laugh.  Luckily the real reasons I make our costumes are to make my kids Halloween dreams come true, stay warm while trick or treating and save my wallet a little $ on costumes.  I think I hit the bullseye with those goals, so I'm happy with them:)   


Tuesday, October 28, 2014

StraightGrain PDF Pattern & Cloud 9 Fabric Giveaway


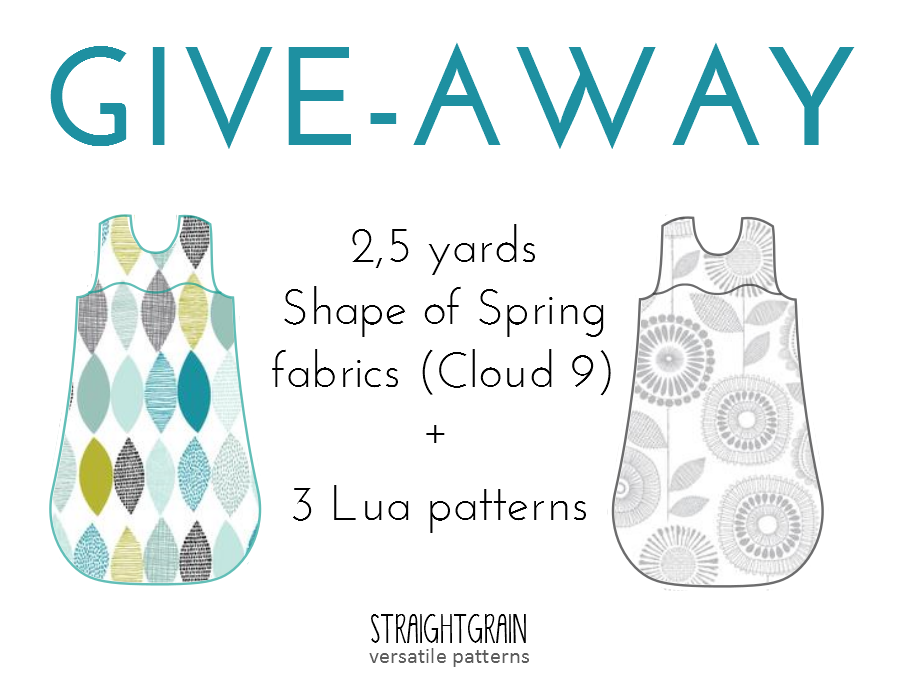
Today I've got an extra special treat - a new fabric + pattern giveaway!  I love organic fabrics & using PDF patterns, so today I've got a giveaway for both (with THREE winners too) thanks to the lovely blog StraightGrain:


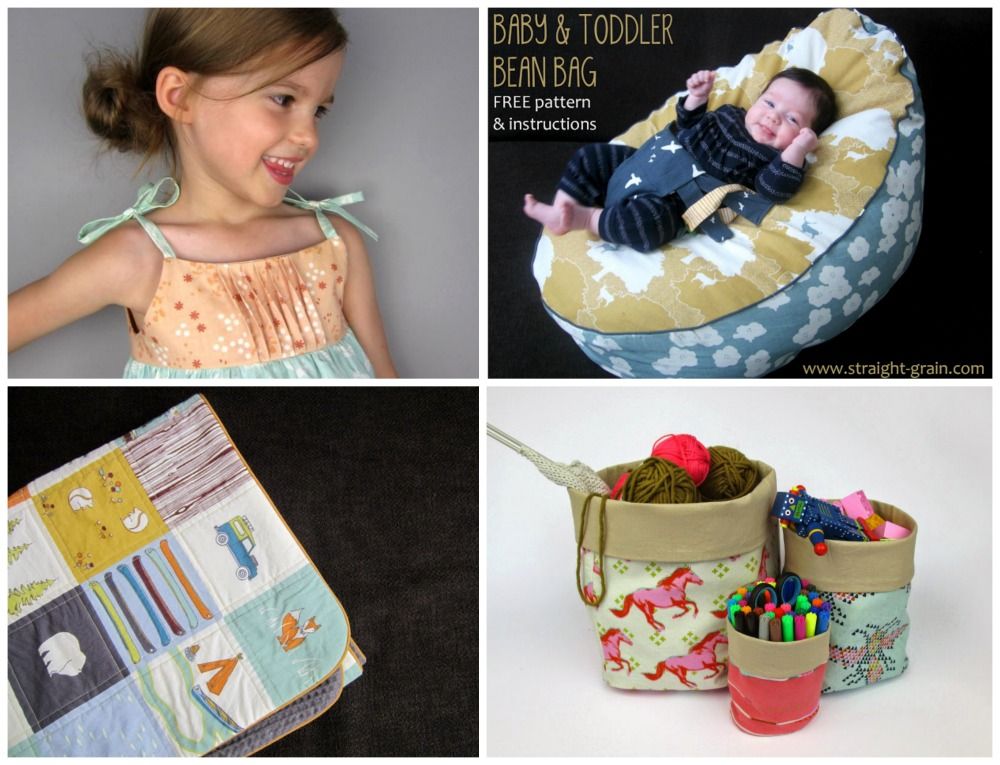
StraightGrain is the creation of An, a pattern designer, sewing enthusiast and mother of two. She offers great sewing tutorials and some very cute PDF patterns over there:

A few StraightGrain free tutorials

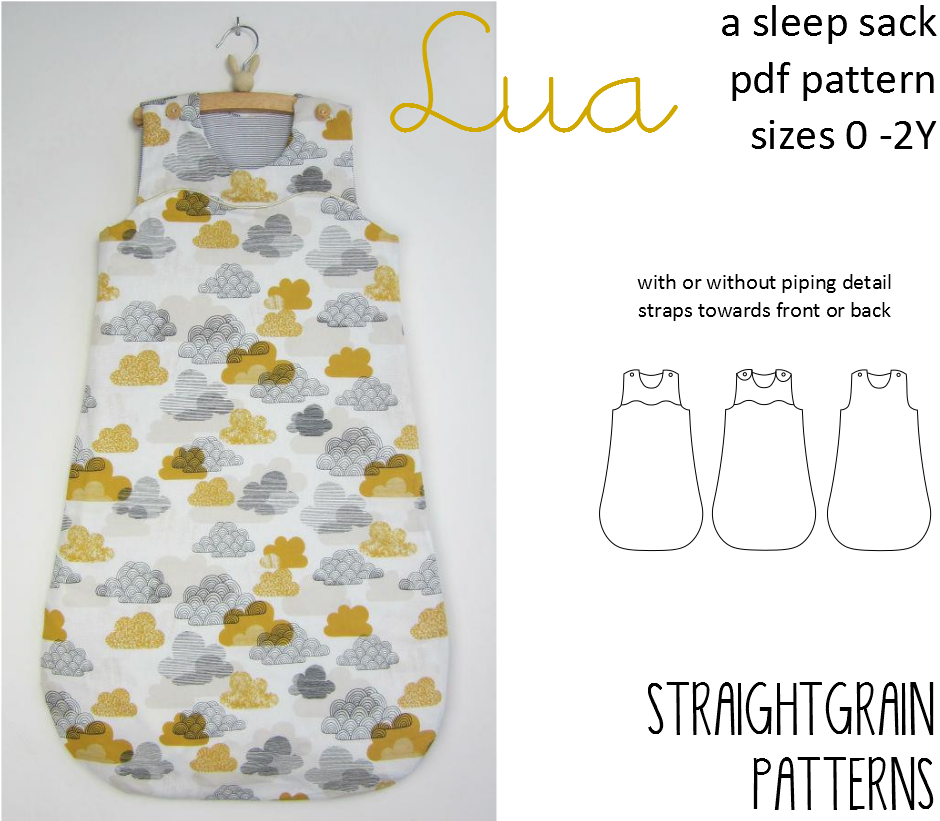
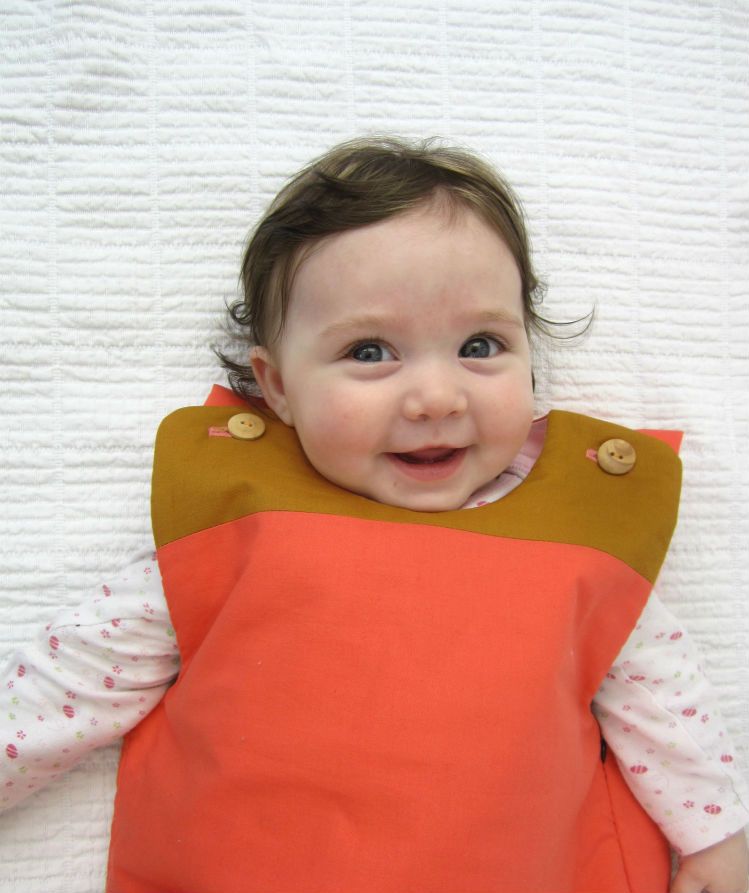
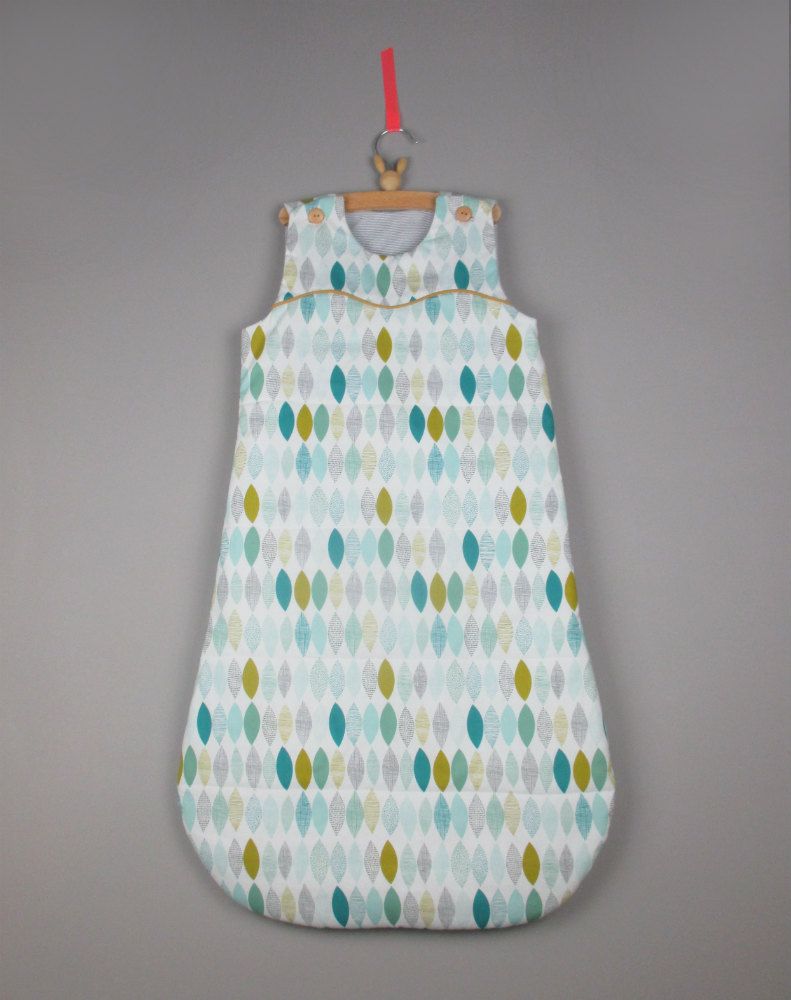
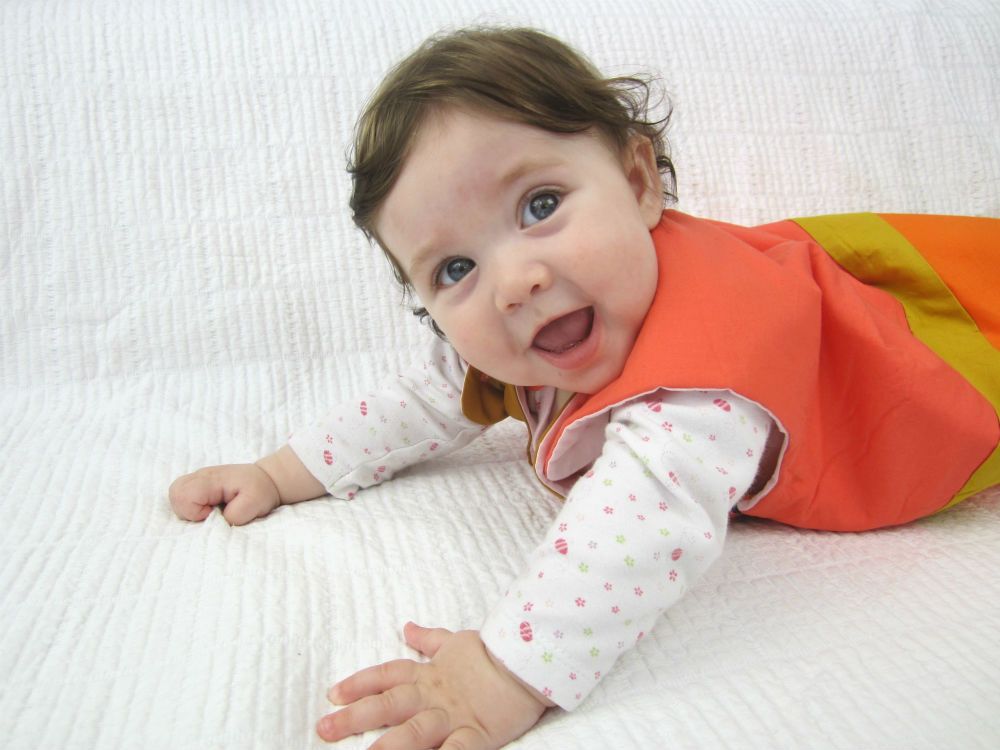
An has just released a new sleep sack PDF pattern, the Lua.  I used sleep sacks with my kids when they were younger and they were very handy in keeping them safely covered at night. And even if you don't have little ones, this would make a beautiful handmade gift for a new baby or baby shower:


Lua is a versatile pattern which helps you create beautiful and safe baby sleep sacks. The sleepsack closes with an invisible zipper at the side, and straps at the shoulders. This pattern comes in three sizes (0-6m // 6m-1y // 1-2y) and has options for decorative piping and straps closing at front or back.  


The pattern comes with very detailed instructions that teach you a number of techniques which will be useful for other projects: inserting a blind zipper with lining, adding piping, safely sewing on buttons, etc.  This makes the pattern suitable for beginning seamstresses, as well as those with years of experience.


Other pattern features include:

- quick and easy project (ideal baby shower gift)
- very economical in use of fabric
- digital pattern designed to cover just 11 pages
- easy-to-follow sewing instructions with full-color pictures of each step 
- details for pattern assembly, yardage & materials needed, cutting diagrams, and sizing
- all measurements are provided in inches/yards and in centimeters


And An also has some lovely children's wear patterns as well, like this adorable Tinny Dress pattern:


StraightGrain is also offering 
20% off purchases (through Nov. 4, 2014) 
Using the code: SEWCANDO


Good Luck Everyone!


Sunday, October 26, 2014

October's Last Craftastic Monday Link Party!


Can you believe this is the last week of October and Friday is already Halloween? I can't - Fall is really flying by (thank goodness we're gaining an hour next weekend!!).  Now that all my costumes are done, I'm focusing a bit on some selfish sewing and finally getting to some projects I've been procrastinating about. I've also got a special fabric & pattern giveaway starting tomorrow, so be sure to come back then.
~~~~~~~~~~~~~~~~~~~~
Grab some FREE advertising for your blog/shop!

After linking your latest project posts below, head over to the Sew Can Do Facebook page to join in the Craftastic Monday Mixer.  It's a way to let even more people see your site or its FB page and find some new sites you might love at the same time.


How It Works:
Instead of a specific post, share your blog, crafty shop or Facebook page link on the Sew Can Do FB page.  More exposure for your crafty site every week!  Click HERE to go link up now!
~~~~~~~~~~~~~~~~~~~~
Now let's see some Craftastic picks..

The Inspired Wren made this fun foam robot costume that looks cool and is comfy too:


A lovely crochet butterfly purse from Annasimplecrochet:


Find out how to make delicious baked churro bites over at Lou Lou Girls:


Can't wait to try these apple fritter muffins from Cookin and Craftin:


If you're one of this week's features, be sure to grab my Featured On button over on my Buttons Page to share the good news.  

I also feature these projects on Sew Can Do's Craftastic Picks Pinterest board 
AND share each of them on Twitter too for even MORE exposure!

Follow me there to see more great projects (and see if yours is one of them)!   
  
Follow Me on Pinterest


Ready to link up your crafty creations?


Party rules are simple:
  • As long as it's crafty, and made by you, it's Craftastic (no links to giveaways, shops, link parties or other people's work).  Add the link to your specific post (not the main page of your blog).
  • Grab my party button & put it on your post or blog somewhere.  The code can be found HERE.
  • Check out some of the other fabulous links and share some crafty comment love.  We all love getting comments!!


    An InLinkz Link-up
   

Wednesday, October 22, 2014

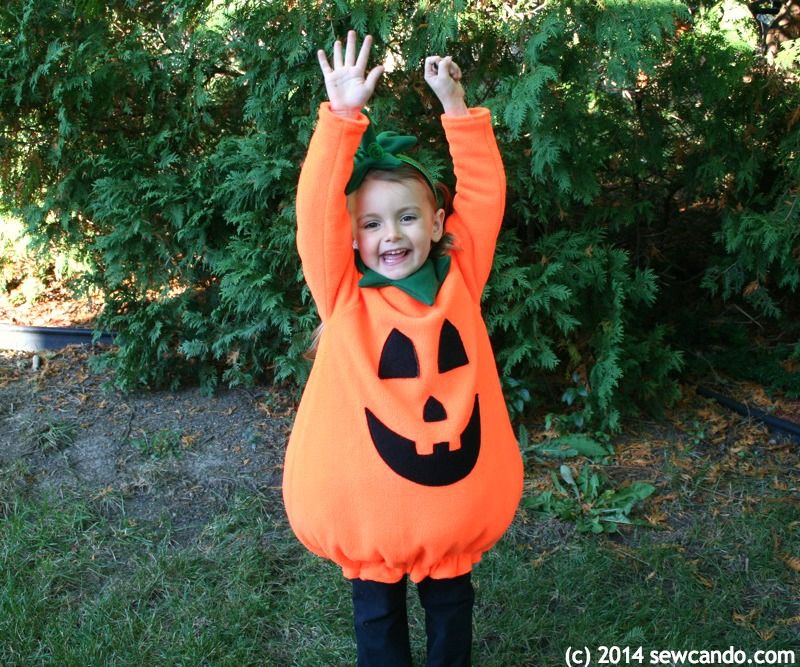
Make A Cuddly Cute Pumpkin Costume Without A Pattern


This year my daughter was very matter-of-fact that she wanted to be a pumpkin for Halloween - months in advance - and never wavered from it.  I'd been certain she'd have picked a My Little Pony (her obsession) or the girls from Frozen (thanks to it's constant bombardment on everything everywhere we go), but no, she stuck to "I want to be a pumpkin".  Last year she picked being a ghost, so she definitely prefers traditional.  And I'll take that any day over the borderline vixen-style costume looks that keep getting pushed at little girls these days.  


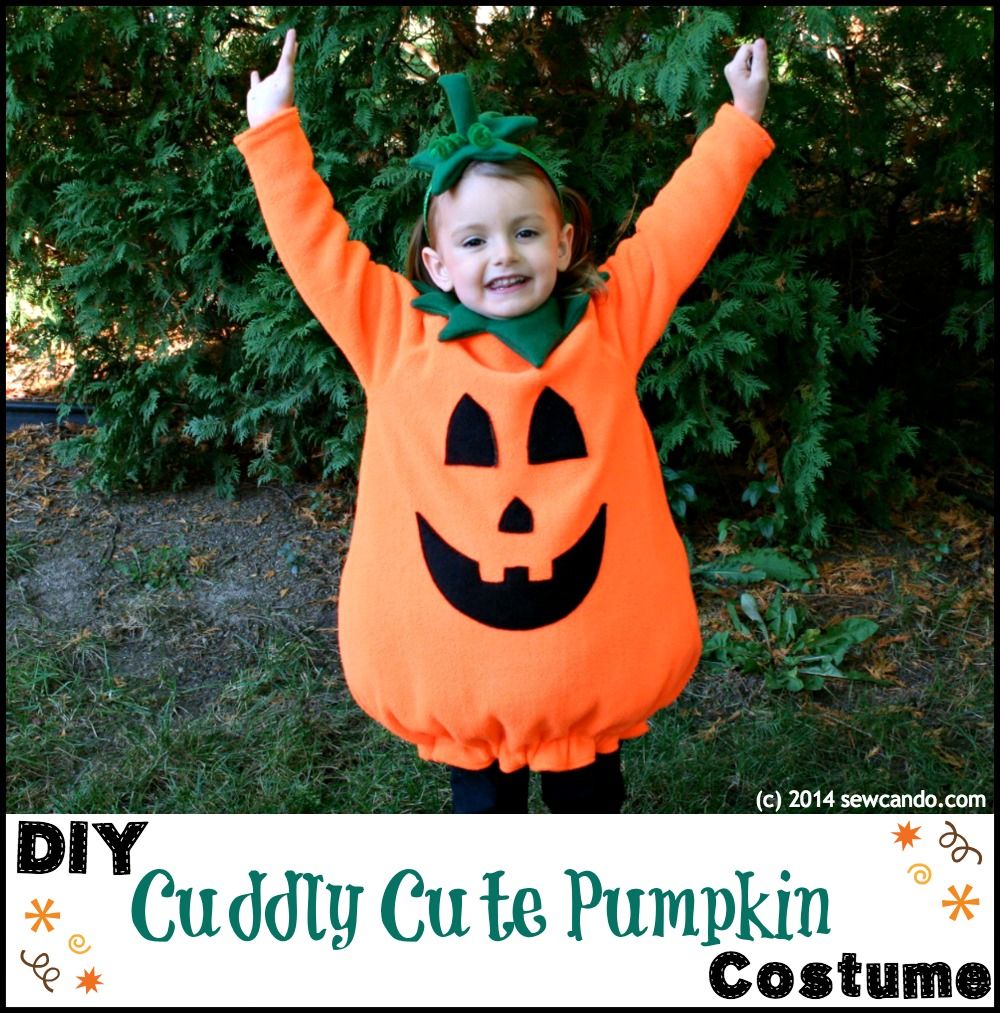
I didn't want to have to buy a pattern (out of a combination of pride & thriftiness), so I came up with this DIY design instead.  It's got all the festive features - jolly jack o' lantern face, and plump pumpkin shape as well as all the practical necessities - easy to slip on & off, wide opening for walking and being fully lined in cozy fleece for a warm trick or treat experience. Plus a cute green stem on top:


I'm pretty happy with how it turned out and thought it would be helpful to share how I did it.


To get the overall shape and sizing right I used a raglan-sleeved A-line dress my daughter had in her closet.  


I traced around the front, back and sleeves and added a seam allowance to all edges (adding about 4 inches extra length at the bottom.  To get the rounded shape I used my French curve design ruler and expanded the sides a bit further out and then curved them inward.


Now I had my main pattern pieces ready to go.  I cut out two fronts, two backs and 2 pairs of sleeves.  I cut two of everything so there would be a full set of pieces for the outer AND for the lining. 


For the jack o'lantern face I used some black fleece scraps and cut some slightly rounded triangles for the eyes and nose.  For the mouth I grabbed a dinner plate to make a perfect crescent shape and cut out some teeth.


I used a little spray adhesive on the backs of the pieces to hold them in place while I appliqued them onto a front piece.  I just edge stitched around.


Next, with right sides facing, I stitched the sleeves to the fronts and backs of my outer and my lining.


Then stitched down the sides from sleeve end to hem to complete things.


At the center of the back, I clipped a straight line down about 2 inches on both outer & lining.  I repeated all those steps with the lining pieces.


Then I turned the lining right side out and inserted it into the outer and pinned around the neck hole, adding a small loop of elastic at one of the corners. 


I stitched them together with a 1/4 inch seam allowance. Then I clipped around the edges and turned so the right side of outer pumpkin was on the outside.  


I hand stitched a button to the corner opposite the elastic loop for my neck closure.


I inserted the lining sleeves into the outers, folded the raw edges inward about 1/2 inch and topstitched them together.


I folded the raw edges of the hem inward the same way and topstitched, but left a gap about 3 inches wide.  This was for adding some fiberfill to plump out the pumpkin shape.  After I got a good amount evenly around I made sure none was too close to the hem and topstitched all the way around about 2 inches from the bottom to create my casing.


Next I cut a piece of 1 inch elastic about 4 inches wider that my daughter's waist and snaked it through the casing, sewing the ends together and then stitching closed the gap.


The neck hole was a little wider than I wanted (I didn't want the collar of her clothes underneath the costume to show) so I also made a green stem collar.  This was a bit of a design-as-I-go affair.


I started by cutting a pair of curved green pieces several inches wider and longer than a basic collar from a pattern in my daughter's size (that I had on hand).  I tried it on her and trimmed it a bit as needed.  I folded it in half and hand cut the pointed edges.  


With right sides facing I stitched all the way around with a 1/4 inch seam allowance, leaving one end open and then trimmed down the raw edges with pinking shears.  A knitting needle helped poke out the points and I slipstitched the opening closed by hand.  I used sewn-in hook & eyes for the closure.


For a festive little stem headdress I grabbed a green glitter headband from the $1 section at Jo-Ann Stores as my base and made a sort-of star-shaped stem bit.  Again just eye-balled the points and I stitched the right sides together with a small gap to turn.  


The stem top was just a tall rectangle, folded in half & stitched down the side, then pulled so the top seam would be perpendicular to the side seam and a bit curved.  


I tucked the open end under and inserted a curled a small pipe cleaner (done by winding around a knitting needle tucking the fold under the stem).  


slipstitched it to the base, then hand sewed that to the headband and it was done.


Truthfully, I was a little nervous when she finally tried it on.  I had the horrible last-minute thought that she'd not like it being so plump & round.  Several of the big 4 pumpkin patterns were basically sparkly orange dresses or fluffy tulle tutus to better compete with the glitzy girly costumes.  I started to think maybe that's what she was picturing and would hate that it wasn't frilly or pumpkin princess-y.  A lot of 5 yr old girls can be like that.  Not this one though. The moment she put it on she had a big smile with a laugh said "I'm a fat pumpkin!". I love this kid:)


LinkWithin

Related Posts with Thumbnails