Today I'm sharing a quick project that's simple enough for a beginner to do and is a big hit with the kids: My Easy Convertible Sleeping Bag.
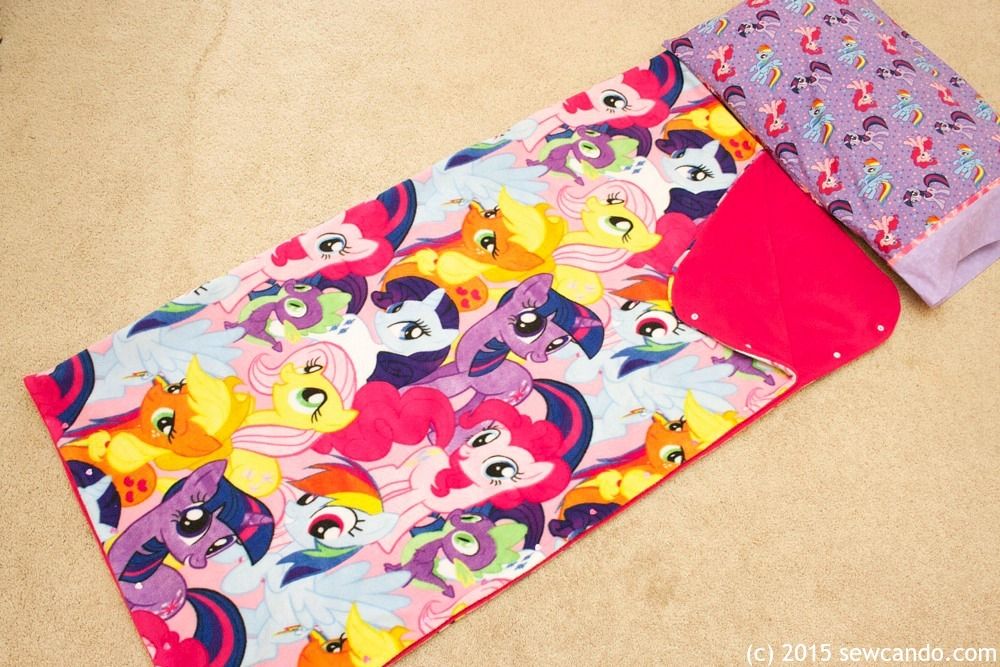
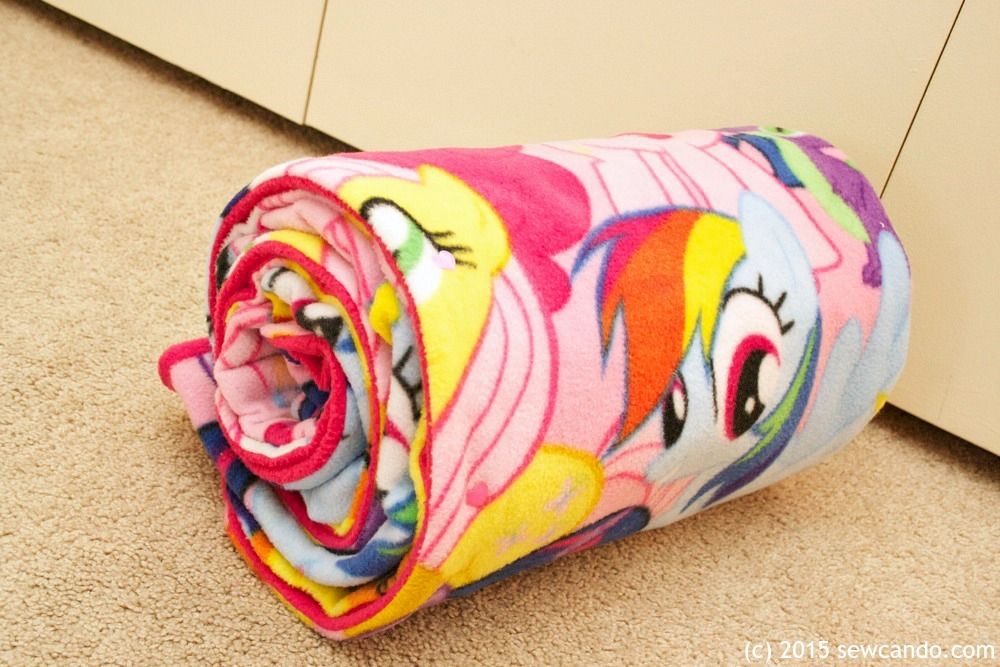
It's just the right size for kids to be comfy, but can also be opened up for a bed-sized blanket thanks to it's snap closures. No tricky giant zipper to install (or for the kids to get fabric caught in). Converting it from bag to blanket is literally a snap!
And there's some hidden detailing on the solid side so it's reversible, but not boring:
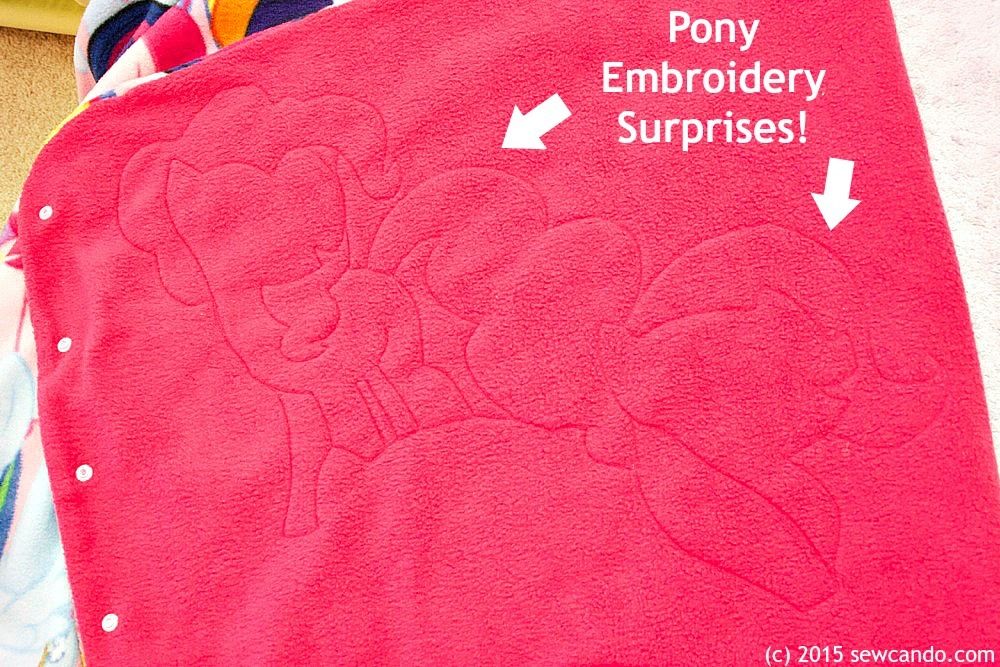 |
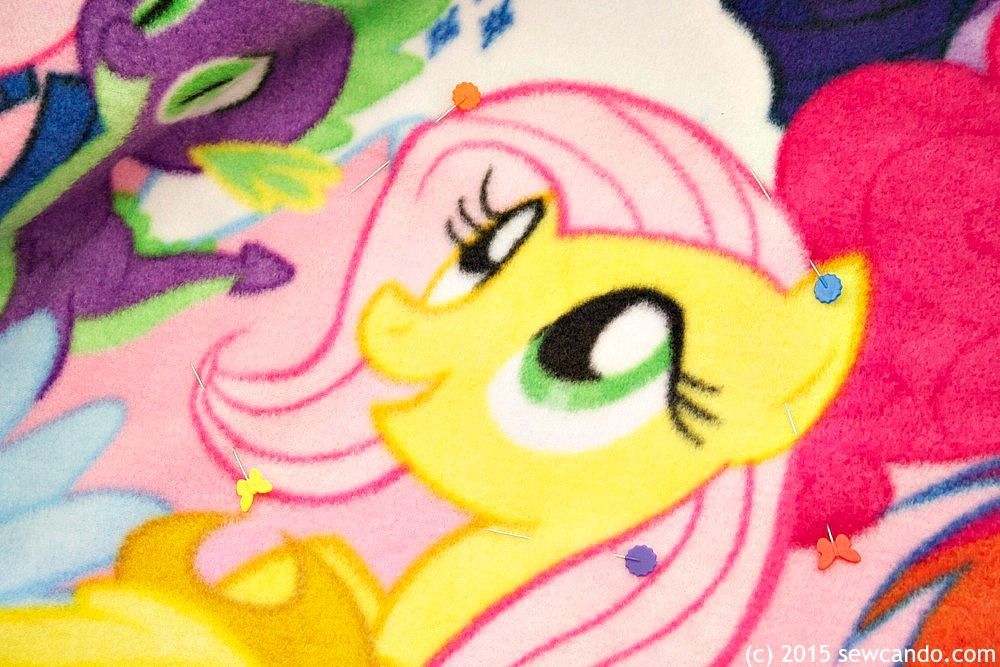
| Hey look - It's Pinkie Pie and Fluttershy! |
Project Background: I bought this fabric for my My Little Pony fanatic 5 year old. It had all of the "Mane 6" ponies AND Spike the dragon, so I knew it would be much loved. Since the print was really large I bought enough to make a blanket, but then I kept postponing doing anything (aka Fabric Hoarding) because I didn't want it to be just a boring rectangle. Since I started my fabric hoarding reformation a few months ago, I finally decided it was time to put this to use instead of staring at it on the shelf and just piling more fabric on top of it.
~~Time to Make The Sleeping Bag!~~
- 1 1/2 yds of each anti-pill fleece (1 print, 1 solid)
- Pins, rotary cutter, hand sewing needle, matching color thread, pinking shears
- 19 Plastic snap sets + setting tool (I use a snap press)
I started by folding my fabrics in half, widthwise and stacking one on top of the other. This makes cutting them exactly the same a breeze. If you wanted a bit of insulation/loft, you could also cut a layer of batting, but since ours is more for snuggling indoors than camping, I left it out.
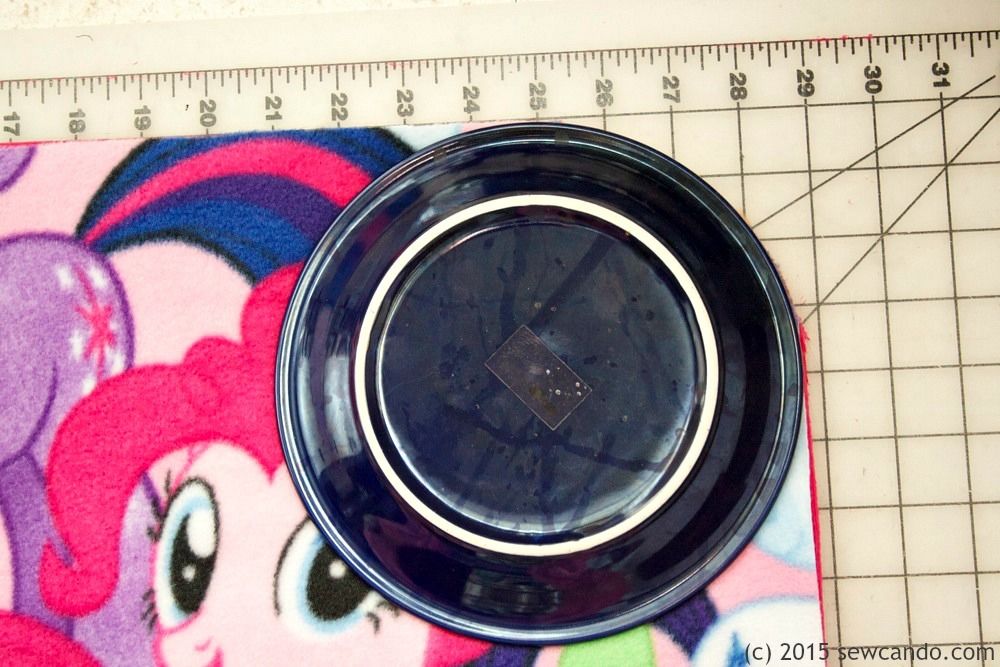
I opened up my fabrics and, with right sides facing, pinned them together all the way around. Then stitched with a 1/2 inch seam allowance, leaving a 3 inch gap at the bottom edge for turning. I trimmed the curves with pinking shears close to the stitching:
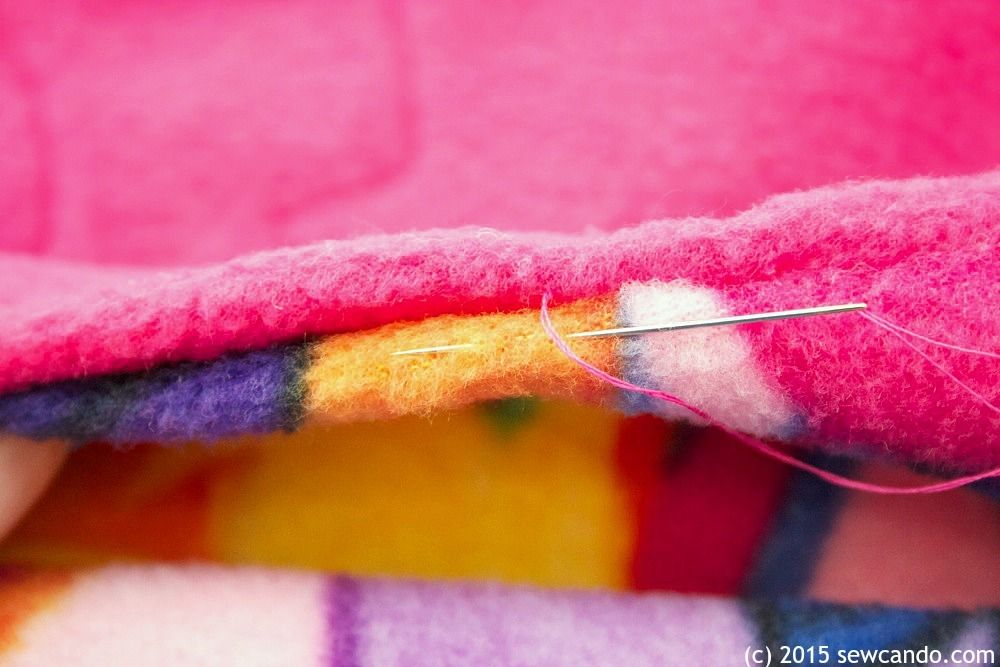
After turning, I slipstitched the gap closed.
Now, the hidden detailing part. I opened the blanket up so the layers were nice and flat and pinned them together around some of the characters.
Then I topstitched around the outlines with bobbing thread to match the bottom fabric. It can be a little tricky turning such a large piece and not bunching the fabric, so the pinning is key.
I did just the silhouette of each of the characters, so on the reverse we had these:
 |
| A little Rainbow Dash |
It definitely keeps the theme going on the solid side, but in an understated way:
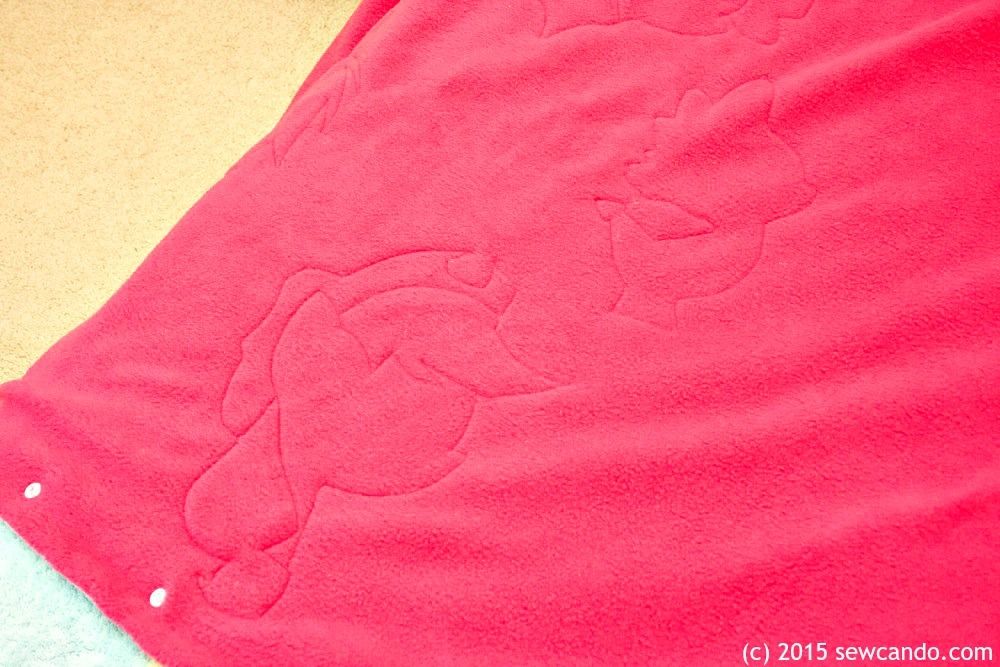 |
| Adding Apple Jack and Spike |
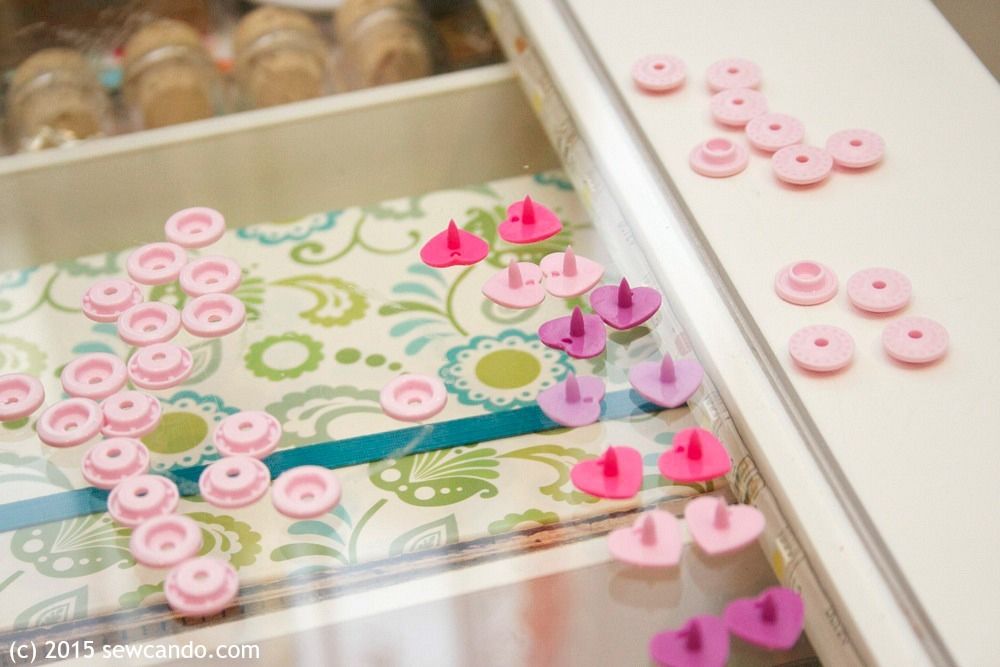
Then it was time to set the snaps. I folded my sleeping bag in half again and measured 3 inch spacing on the open side and bottom and pinned each spot. I used some cute heart shaped snaps from an assortment I'd bought a few months back and picked out the colors that were My Little Pony-esque. I laid them out in pairs for the backs and fronts.
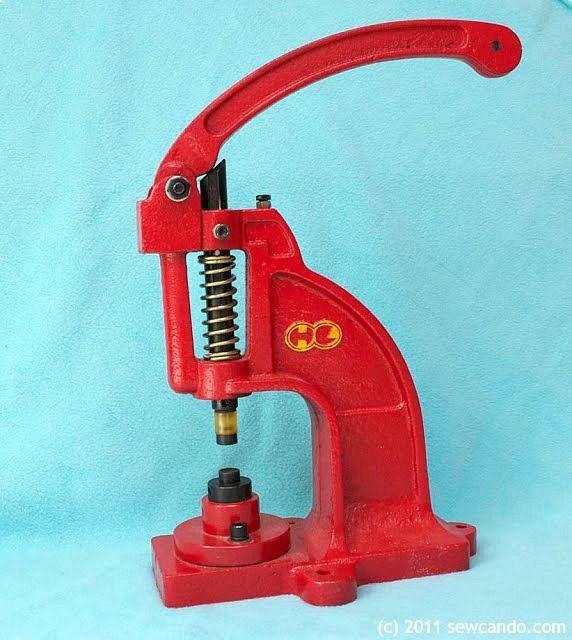
Side note: I used my snap press to set them. It costs a little more to buy a press (rather than pliers or those kits you hammer in), but if you sew for kids, plastic snaps can become a best friend for easy closures on clothes, cloth diapers, bags, etc. and the press is a lot easier to use. I've had Big Red here for almost 5 years and have used it loads. Plus the snaps hold up way better than any others and look super cute. I've got more info on how to use a snap press in my Crafty Gear 411 post here.
I alternated the colors for a pretty pattern and set them 1 inch in from the edge:
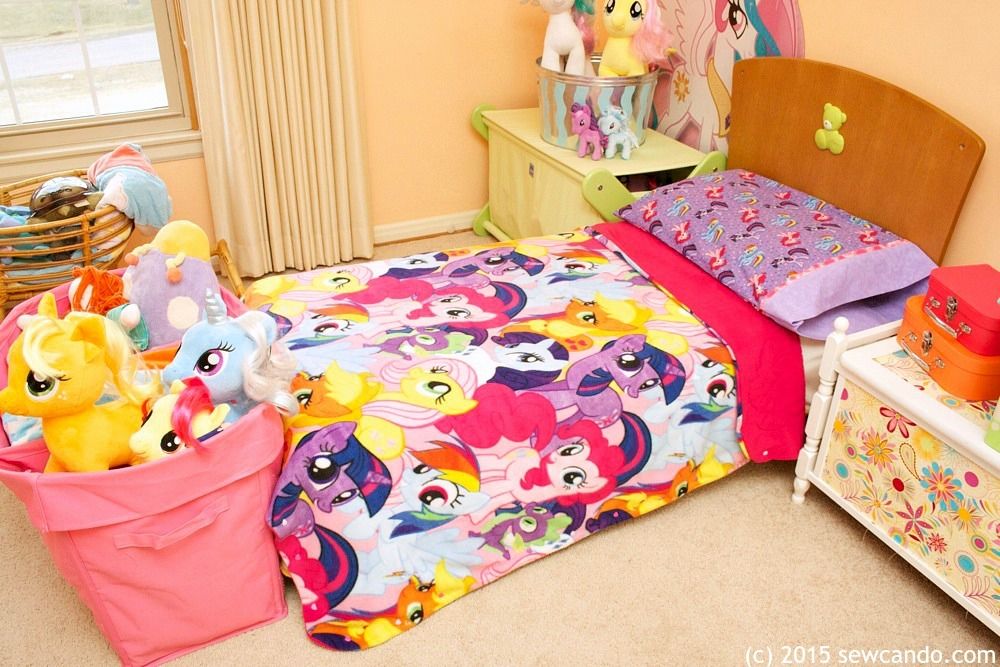
I also decided to make a matching pillowcase with some MLP quilting cotton I'd bought around the same time. I did not want to start fabric hoarding by characters/prints, which was starting to happen with these, so this was an ideal use 'em up project.
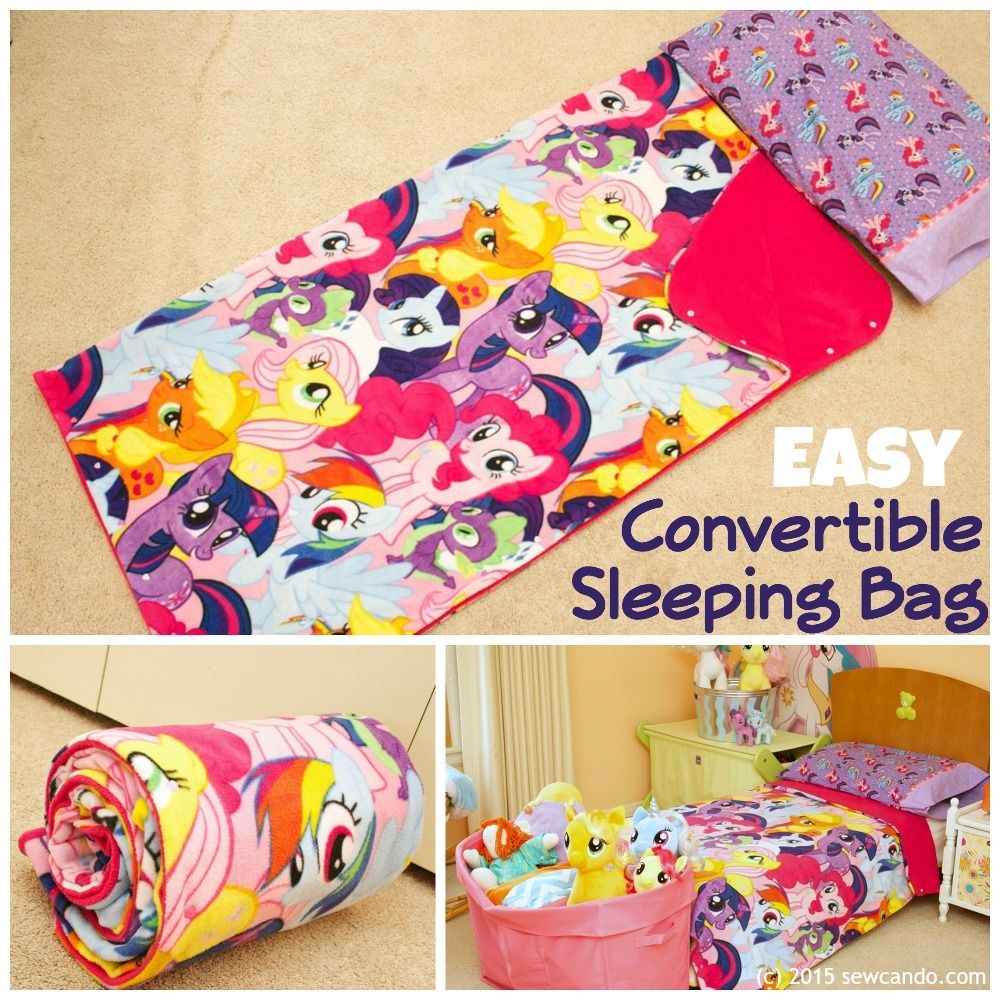
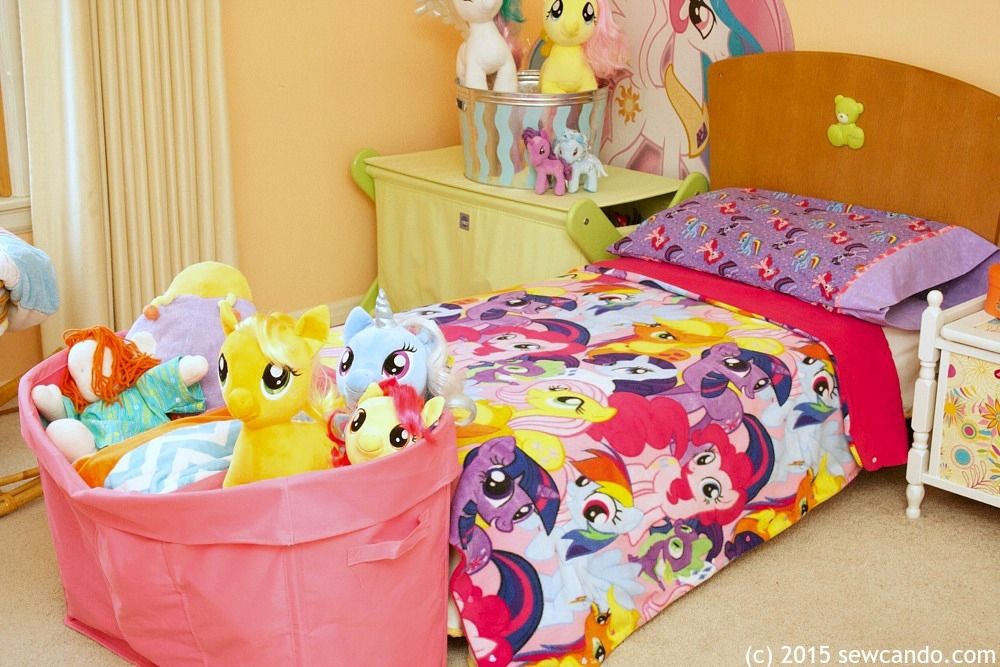
Now my little lady has some fun My Little Pony bedding to cuddle up to every night:
And a fun sleeping bag to relax in the rest of the time:







Great tutorial for a sleep set that will delight any My Little Pony fan. Great set that is sure to be much used and much loved!
ReplyDeleteWhat a neat idea! And multipurpose, too. It's always nice to need one less thing.
ReplyDeleteMy thoughts exactly Carley!
DeleteThis is so great!! I've got a Craft Gossip post scheduled for this afternoon that links to your tutorial:
ReplyDeletehttp://sewing.craftgossip.com/tutorial-convertible-fleece-sleeping-bag-and-blanket/2015/03/20/
--Anne
Thanks so much Anne:)
DeleteWow! I have to do this for my little guy, I'm thinking Spiderman! Thanks for this
ReplyDeleteI hope you do Kim. Would love to see it when you do:)
DeleteMy kids would love something like this to use on their beds on those cold winter nights....we sometimes make a "sandwich" with a large blanket, but this would be so much better, now I know what to make for chanukah presents next year! Thanks so much for sharing on craft schooling Sunday!
ReplyDeleteGlad it gave you a good gift idea - thanks for hosting too!
DeleteI spotted you project at the Show Off Saturday Linky Party on SewCanShe. This is my first time to read your blog. I'm very impressed with your tutorial writing style. Very clear and straightforward. The sleeping bag blanket is already on my list for a couple of rascals I know come next Christmas.
ReplyDeleteThanks!
What a wonderful compliment! I try to make things easy to follow and see in steps, because that's how I like to learn too. Please share them if you do:)
DeleteReally cute! I need one with Frozen fabric for my daughter! Thanks for sharing at Submarine Sunday!
ReplyDeleteI am making crib rail covers for my DIL. The top fabric is cotton, then two layers of thin cotton batting and the back is just cotton muslin. I was thinking of fastening the cover over the rails using KAM snaps. Could you give an idea as to what size snap I would need? And would I need long shank or short? Thank you so much for your assistance.
ReplyDeleteI typically use size 20 - it's ideal for almost everything. I'd recommend the regular shank, not the short, since you're going through 4 layers of fabric. And then whatever extra snaps you have left can be used on almost any other project:)
DeleteThank you, Cheryl.
DeleteAre you selling these sleeping bag/blankets? The Little Pony one would be so great for my two granddaughters. I'm no craft person though. lol If you sell them, let me know. I'm at momndaughtersavings@hotmail.com Thanks!
ReplyDeleteI don't sell them Jody - just share how to make them:)
Delete