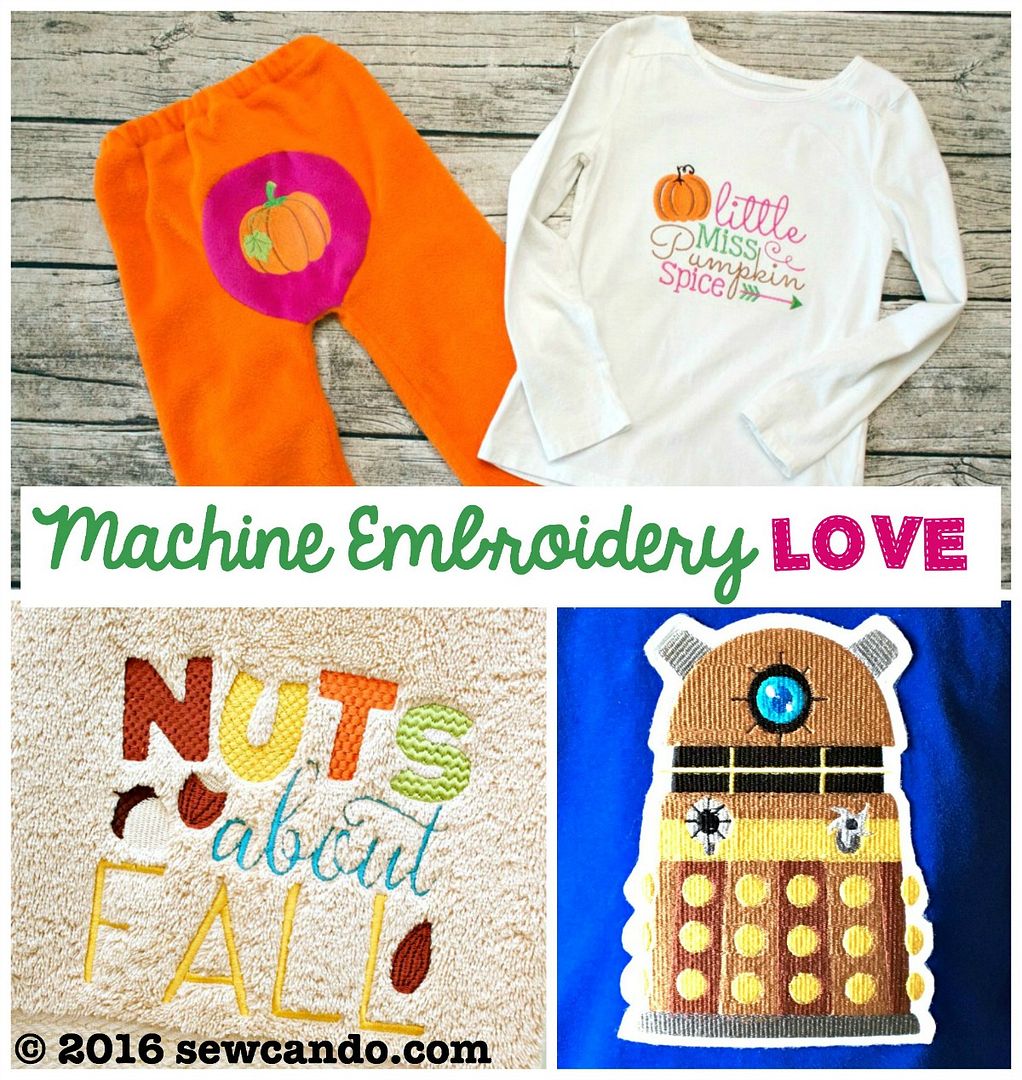
I'm always looking to expand my crafting horizons and acquire new skills. I've spent the past couple of months honing my latest crafting love & finally got my act together to share it: Machine Embroidery.
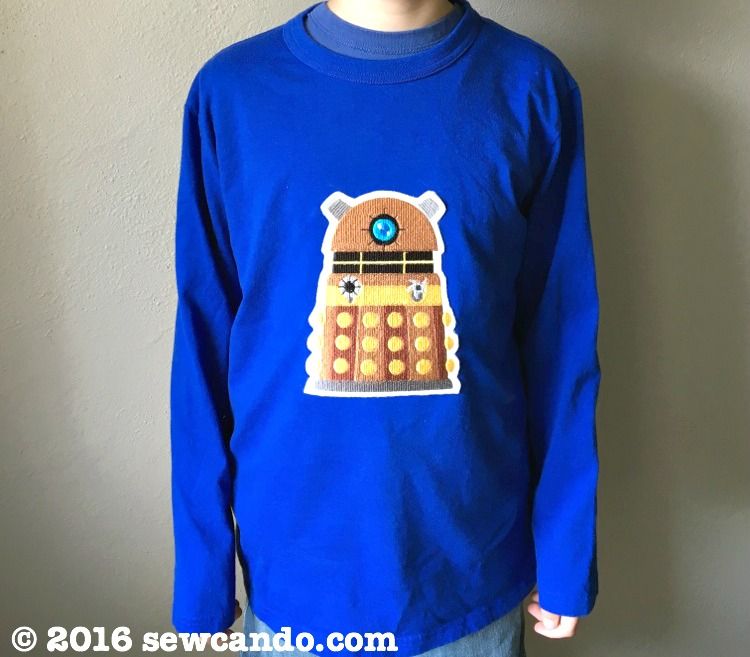
Yes, that is a giant Dalek I embroidered on my little guy's shirt. He LOVES it. In between my other usual sewing/crafting projects, I've been busy making lots of machine embroidered lovelies like these:
and these:
It's become super addicting! Not only is it lots of fun to do, it feels so good to be able to create such professional looking things in my own little craft room. It's really gotten my creative juices flowing with more project ideas too!
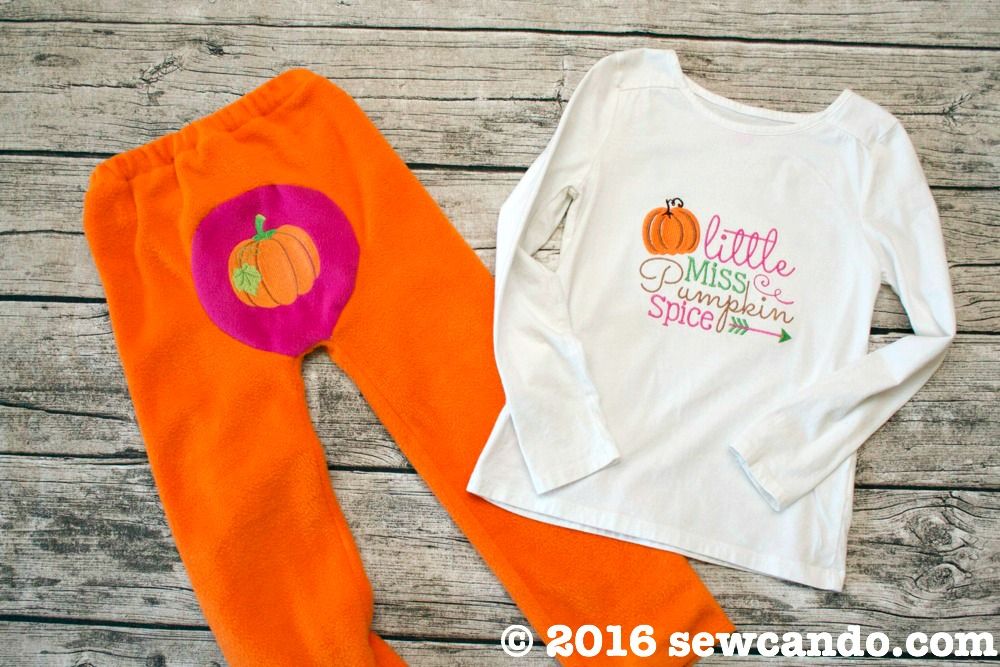
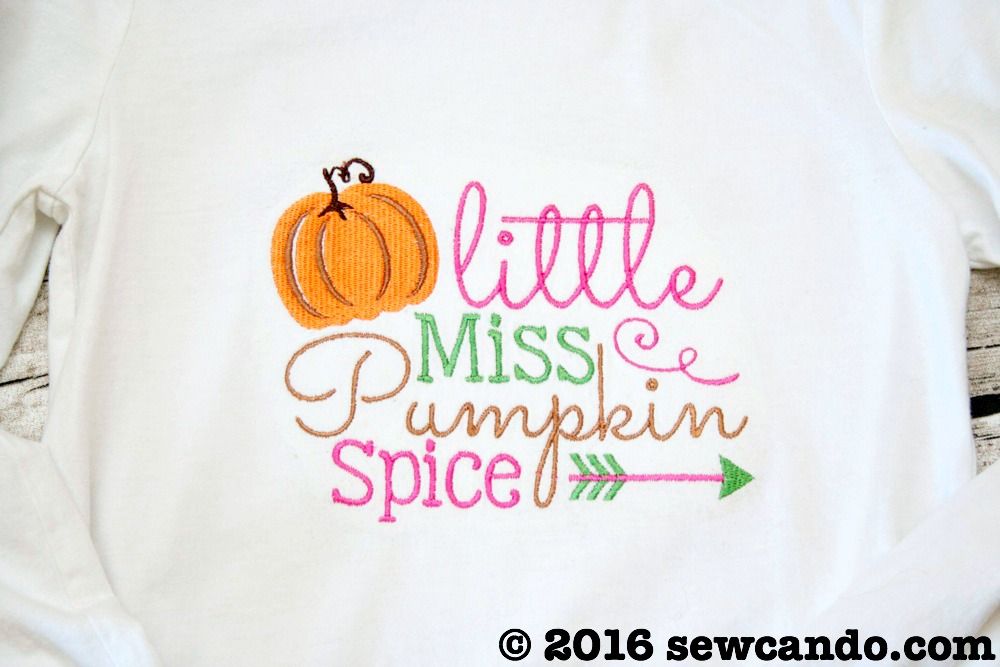
What I'm loving most though, is how I've been able to make cute things that rival what's in the shops, but for a fraction of the price, and in my own preferred color schemes to turn blank shirts & the like into goodies like this:
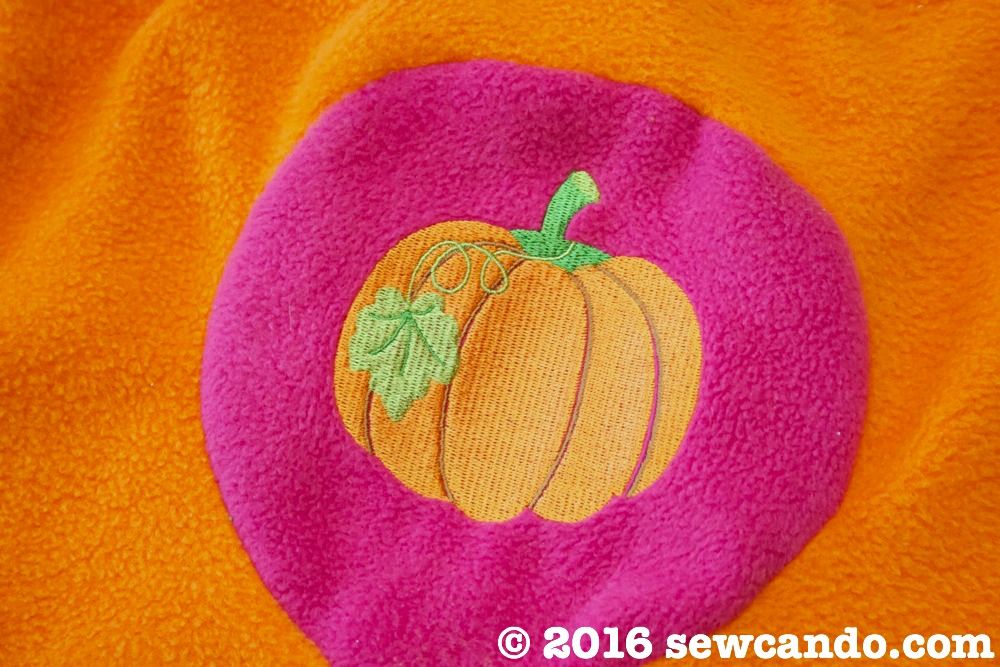
I've created custom matched goodies from scratch as well, like these fleece pants with a fun embroidered pumpkin bum:
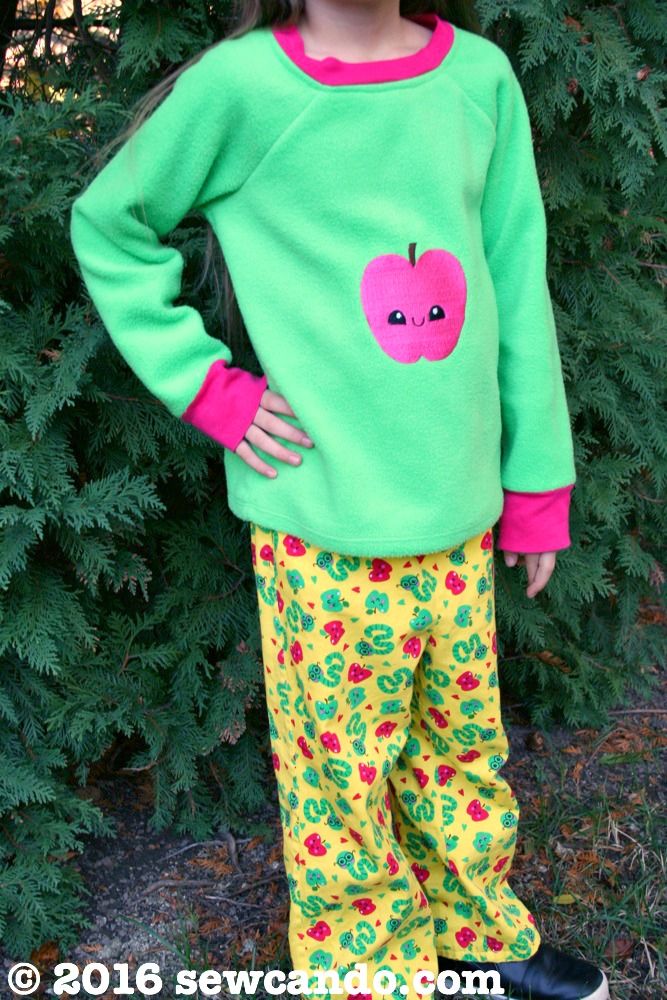
It's also come in handy when trying to work with tricky fabric prints too. I'd bought this worm & apple fabric a few years back, but the color scheme was hard to pair with anything... until I found a kawaii-style apple embroidery design. I made the fabric into some pants and whipped up a fleece shirt for the apple design to turn it all into a matching outfit. The embroidery totally kicks sewing projects up a notch:
My Embroidery Backstory: My very first sewing machine from 8 years ago was a hybrid Brother sewing/embroidery machine (originally an SE 270-d, now SE400). In fact, the idea of doing machine embroidery was what drew me in to even trying to sew in the first place. Yet, it seemed intimidating and still took me a few years to finally try some pre-programmed designs on the machine:
They turned out pretty nice and I gained some basic know-how (shared here), but I did have a few flops and frustrations that held me back. I always felt like I was tempting fate trying to do more & was pretty baffled at out how to wriggle a store-bought item onto my hoop without disaster. Plus, I was limited by the size it could do (nothing bigger than 4in x 4in), so I kind of paused my machine embroidery dreams.
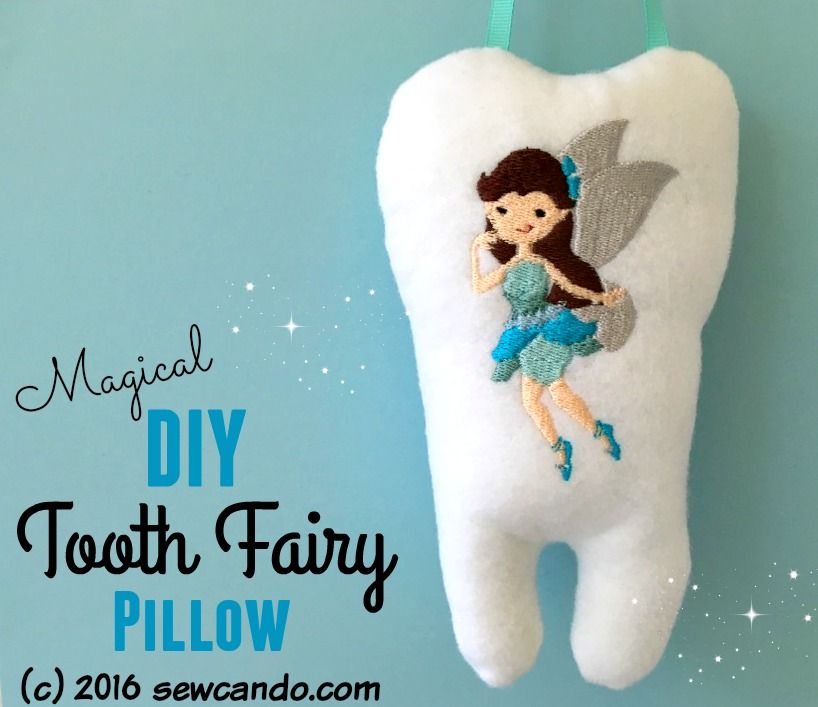
Then a couple of months ago I made my impromptu little Magical DIY Tooth Fairy Pillow and I got the itch to try embroidery again:
I thought maybe if I had a machine that did bigger designs, I could get serious about putting in effort to getting better at it and then just make all the kinds of fun stuff couldn't find in stores or that just cost too much. I saved up a bit & decided to take the plunge and get this lovely Brother PE-770:
This machine wasn't too pricey and had all the key features I wanted - namely, minimal learning curve, can do 5x7 hoop size and the ability to upload design files. Nearly all the cheaper models only do the smaller 4x4 like I had or required expensive (and limited choice) design cards. I nearly fell over when I saw how many 5x7 or bigger machines go for over $1,200 or a require a serious several thousand investment (like multi-needle machines), so this was definitely more my budget speed at this point. Its size also fit in my limited-free-space small craft room a lot better too.
I think the big misconception out there for most crafters is that doing machine embroidery must be expensive or complicated. Sure, it can be, but like any craft, there are many options and for this thrifty crafter, I think it's becoming a money saver. And, you don't even need to know how to sew to do it!
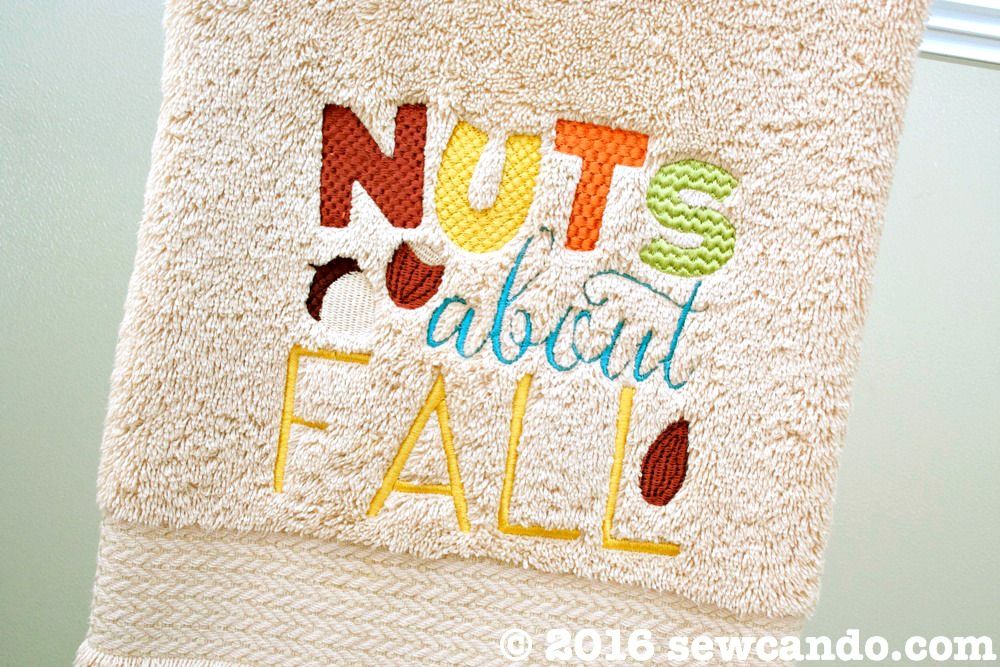
Key example, besides my lack of fun and inexpensive wearables, I couldn't find hand towels in the style & color I wanted (or any good quality decorative ones that were reasonably priced), so I made some instead. It took less than an hour, saved me some $ and wasted shopping time and they're just what I want:
I've been practicing, researching and trying out materials and what's surprised me most is how much key info is pretty hidden if you're just starting out. You can save a lot of time, materials & frustration if you just know how to do things right at the start, but there isn't one key place to easily find it. I've been compiling my findings so I can share them and help make it easier for others starting out. Today's just a bit of a preview, but I plan to do a series of machine embroidery posts with what I've learned and all the crafty know-how, like:
- How to get started machine embroidering
- Ways to use machine embroidery (that save you money)
- What stabilizers give the best results
- Great embroidery-friendly sewing patterns
- Where to find awesome designs (design cards, files, subscriptions for FREE or a bargain price)
- How to embroider on all kinds of materials and shapes
- Where to get blank items for CHEAP
I can't wait to share more & hope I'm not the only one out there all excited about doing embroidery. If you've got any particular questions or info you want to know, let me know in the comments and I'll try to add that in!






Wow, Cheryl! This is super impressive. I love the tooth fairy pillow and could have used it last night! My son lost his first tooth and we had to use a jewelry pouch because bad mom that I am, I was unprepared! Thanks for linking up with me On the Edge!
ReplyDeleteShelbee
www.shelbeeontheedge.com
These are all lovely ideas. You are so creative :) Love the tooth fairy. Thanks for linking up to Creative Mondays last week, you are one of this weeks features :)
ReplyDeleteYour machine embroidery is beautiful and I am very interested in learning more about it! Thanks for sharing and I'm looking forward to more info!
ReplyDeleteWow… all design is superb and attractive. I loved them. Thank you for sharing this blog online. Great Designs ever. We also provide stitch embroidery designs. For this you can get your membership today!
ReplyDelete