Tuesday, October 31, 2017

Halloween Cartoon Cosplay: DIY Darkwing Duck Costume


Halloween 2017 almost bested me.  The costume requests from my kids required some serious time, effort and planning - none of which I had much of this Fall.  Being pregnant and busy with a bunch of other stuff at the same time didn't help.  The tallest order was that of my middle son, to be the signature hero from the 90's cartoon Darkwing Duck.  If they actually made this I'd have just bought one - that's the kind of season it's been - but of course his choice was too obscure for the store bought costume front.

Despite a number of last minute challenges, a little swearing and claiming several times "We're not doing anything this complicated next year!", my husband and I DIY'd the heck out of things to make his costume dream come true.


My husband used his significant foam-smithing skills to turn some pieces of foam flooring squares into a curved duck bill mask and Darkwing's swashbuckling hat.


He also intended to sort out the clothing bit of the costume, but realized this was beyond his skills & available time.  My 11th hour job was to make the double breasted blazer, turtleneck and cape.  In a week, with no perfect pattern to follow.  To say I was feeling panicked is an understatement.


I did a serious chop shop kind of job to pull it off.  I started with a base of a fleece v-neck pullover pattern, KwikSew 2745.  I deepened the v and added an extra overlapping panel to cross over the front to make it a faux double-breasted affair.  I whipped up some lapel pieces, borrowed from McCalls 8701(which I used a few years back to make a George Washington costume for my oldest), and stitched those to the v-neck area.  


I found some giant gold buttons that had been among my late grandma's button stash and added those to the front and sleeves to create the blazer.  


I didn't have the time or inclination to make a full turquoise turtleneck or want to spend hours searching for one I could buy, so I found some leftover teal rib knit in my fabric stash and threw together a sort of dickie to attach to the blazer. 


I literally just cut a rectangular panel to tack to the shoulder seams:


and then made a tube that I stitched to that and the back of the fleece shirt to make the fold down turtleneck:


For the legs, I used a pajama pant pattern to make some white fleece bottoms and dad cut some foam webbed feet to go over his shoes:


The hero's cape was just a basic rectangle out of suede cloth that I hemmed on all sides and made a casing at the top to gather and then pin to the blazer.  I wasn't even planning to hem it (time saving and all that), but of course the fabric frayed like crazy when I cut it so I didn't have a choice.


By some miracle, and a lot of prayer, we got it done just in time.  Our guy is a real ham, so he has been loving the chance to pose it up as his favorite character.  This mild mannered kid transformed himself to become "the terror that flaps in the night!" as the webbed superhero calls himself:


Later this week I'll share another and slightly easier costume done for my teen.  Next year they better take it easy on me!  


Sunday, October 29, 2017

It's A Halloween Craftastic Monday Link Party!


Happy Halloween Everyone!  The big day is tomorrow - are you ready?  I FINALLY got all our DIY costumes done and will try to share them this week.  Now is a great time to link up all those festive projects - costumes, decorations, recipes, anything made by you is welcome.  And if you need a few last minute ideas, this week's features are quick & easy inspiration.

Last week I shared the news that I've got a Sew Can Do baby on the way:)


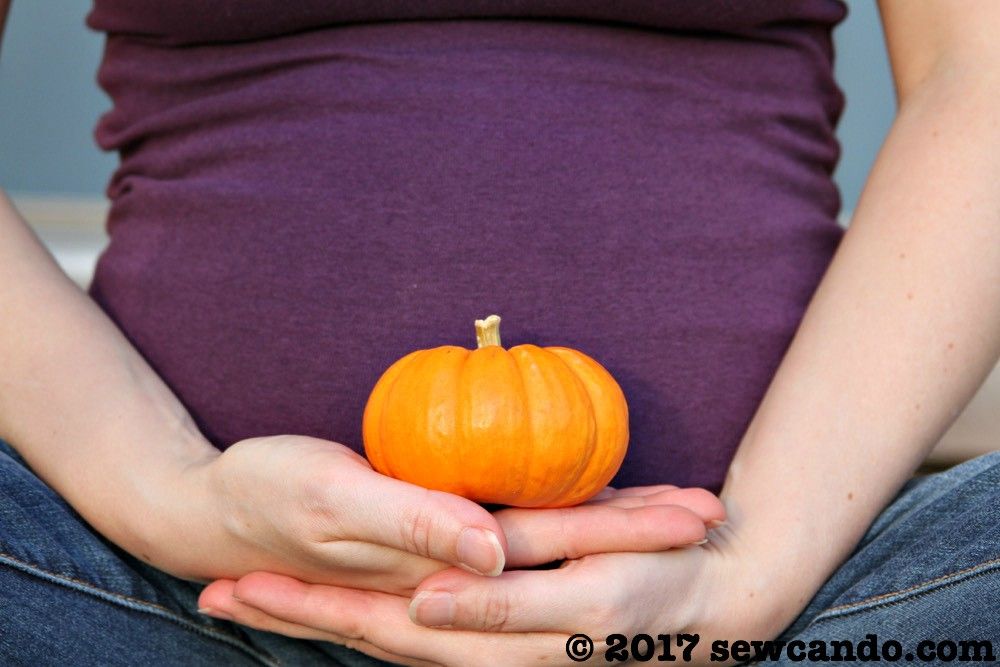
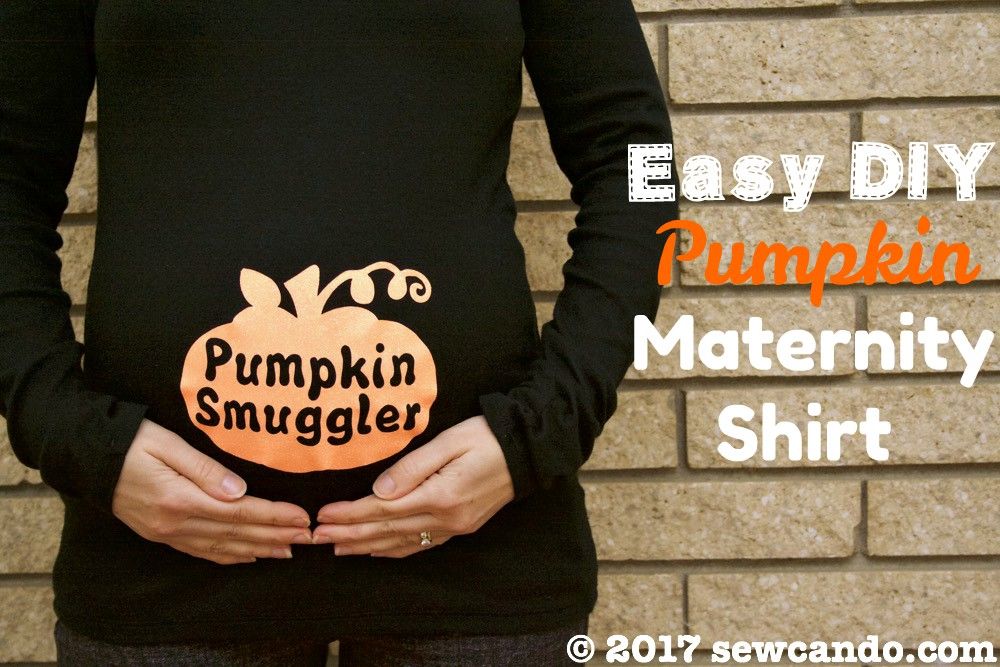
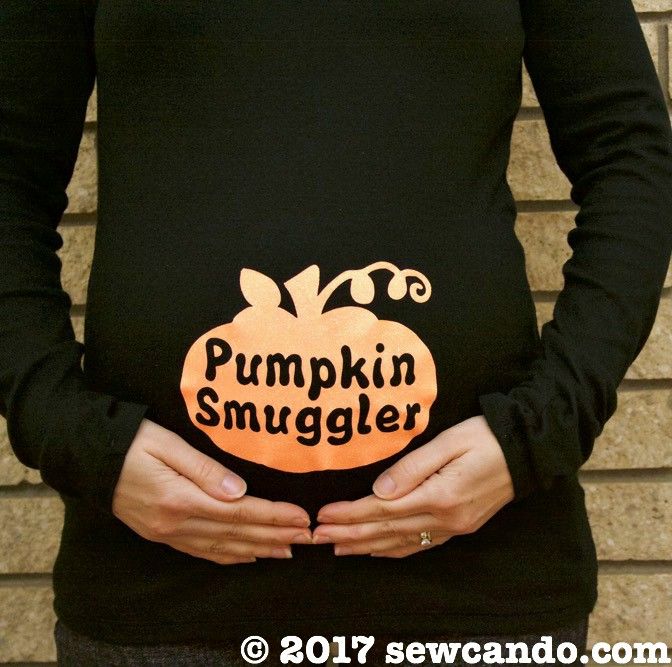
And to go with that, my latest tutorial for a Easy & Cute DIY Pumpkin Maternity Shirt:


~~~~~~~~~~~~~~~~~~~
Now let's see the new Craftastic Picks!!

Vintage Paint and More shared these pretty & simple to make lace pumpkins:


The Scrap Shoppe showed a fun & easy way to decorate the pumpkins - with DIY tattoos!


Happier Than A Pig In Mud made these colorful variegated crinkle cookies:


Sadie Seasongoods turned some old fan blades into fun outdoor ghost ornament decorations:  


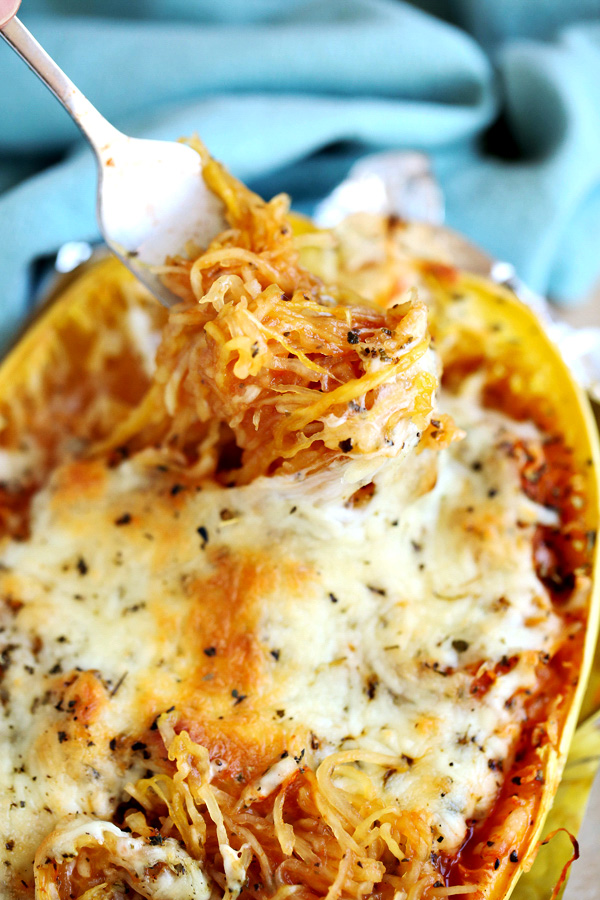
Home Cooking Memories had this tasty sounding 3-ingredient twice baked spaghetti squash recipe:


Abbotts At Home shared how to make this cool kid's tent using pvc pipe:


If you're one of this week's features, be sure to grab my Featured On button over on my Buttons Page to share the good news. 

 
Want a Chance to 
Be Featured Next Week?  

Link back to the party somewhere on your blog.
I can't feature your post if you don't share the party.  
  
I also feature these projects on Sew Can Do's Craftastic Picks Pinterest board 
AND share each of them on Twitter too for even MORE exposure for YOUR blog!

Follow me there to see more great projects (and see if yours is one of them)!   

On Twitter: 
On Pinterest: Sew Can Do

Ready to link up your crafty creations?
 
Party rules are simple: 
  • As long as it's crafty, and made by you, it's Craftastic (no links to shops, link parties or other people's work).  Add the link to your specific post. Product reviews, plagiarized or sponsored posts for random items will be immediately deleted.  
  • Grab my party button & put it on your post, party page or blog somewhere.  If you want the chance to be featured, this is key.  The button code can be found HERE.
  • Check out some of the other fabulous links and share some crafty comment love.  We all love getting comments!!


    An InLinkz Link-up


Wednesday, October 25, 2017

Easy & Cute DIY Pumpkin Maternity Shirt


I had so many plans for Halloween projects this year.  I was going to have lots of posts and be all festive too.  Between an out-of-state craft show, kid birthdays, home renovation planning, complicated costume requests and an unexpected city-wide water issue, most of my ideas got sidelined for more pressing issues.  Halloween's less than a week away and I'm scrambling just to get the costumes done.  UGH.

There's also another new development that's made finding craft time a little trickier and the very reason for today's DIY Cute Pumpkin Maternity Shirt tutorial: 


A new Sew Can Do baby is on its way:)  And that means maternity & baby things are now at the top of my need-to-make list.

Maternity clothes are always a challenge for me since I'm petite and really short.  I tend to start showing pretty fast & very roundly in the bump area, so I can't get by with my regular clothes for very long.  This being baby #4, it's happened even sooner.


I also hate the baggy, blobby "can't tell if I'm really overweight or pregnant" look most maternity tops create on me and the price of a cute maternity top you're only going to wear a couple of months (or even less if it's seasonal/holiday) is almost criminal and nearly impossible to find.  So today I'm sharing how to make cute, bumptastic maternity tops on the cheap.


Materials:
- Stretchy solid t-shirt*
- Heat transfer material (mine is the glitter variety)
- Cutting machine or exact-o and patience.  
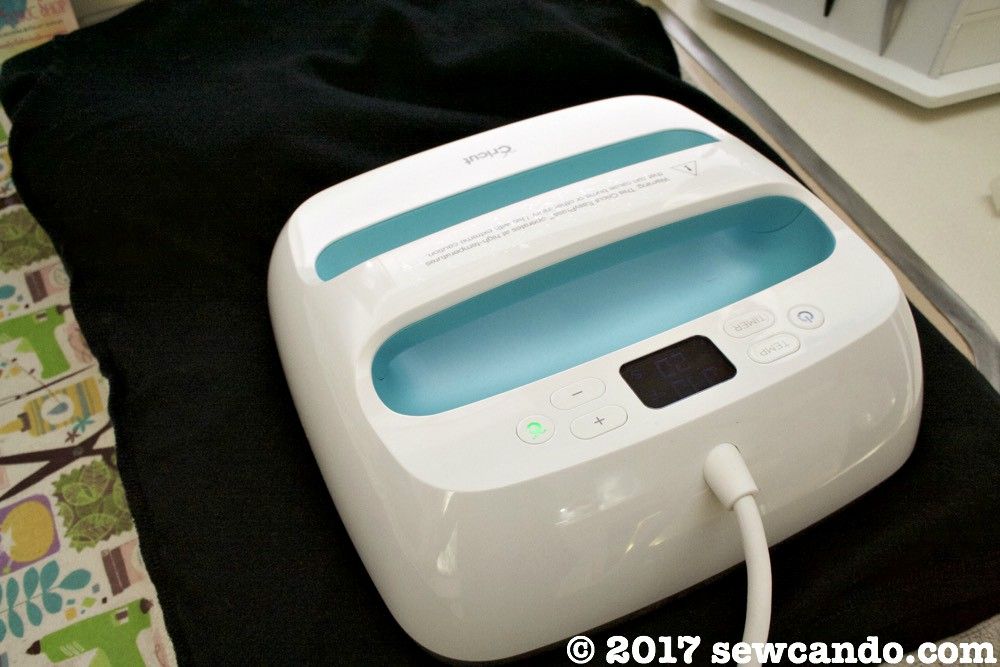
- Iron or heat press.  I used my new Cricut EasyPress.

*A basic, stretchy solid tee is the key base.  There are some maternity versions that aren't too pricey, but I've found the regular size ones at Target work best and are by far the cheapest.  Their old Merona brand or the new A New Day brand (which is the same thing) run about $9 for a long-sleeve, even less for short sleeve or tank style and are good quality. They are super stretchy & ultra soft. Most importantly, they are very long, which is ideal for the growing middle.  I buy them in a size larger than my usual and they're perfect - there's enough give and length to go the whole 9 months.


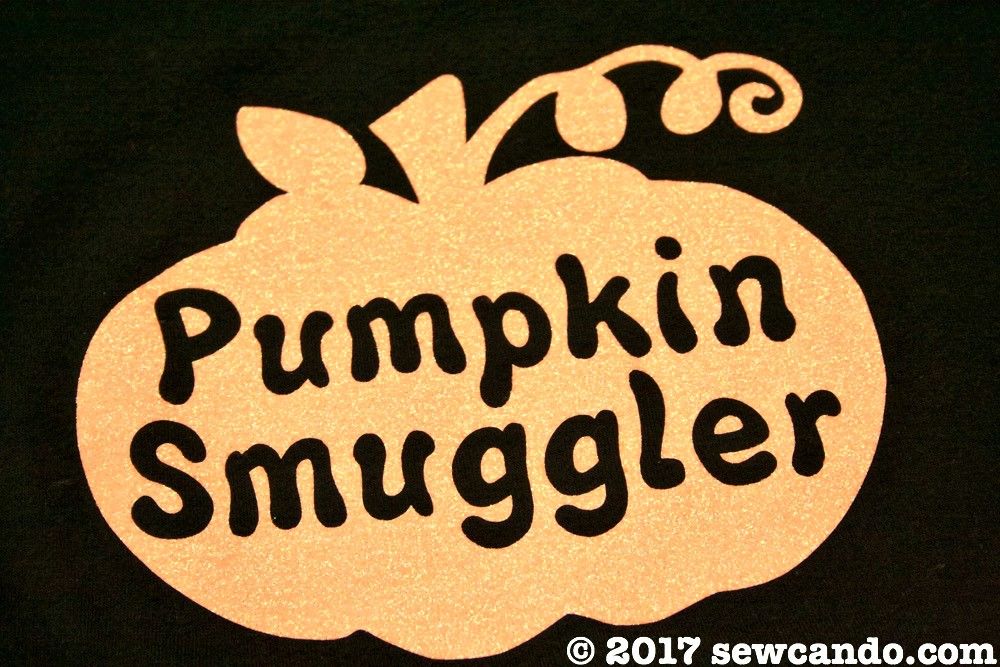
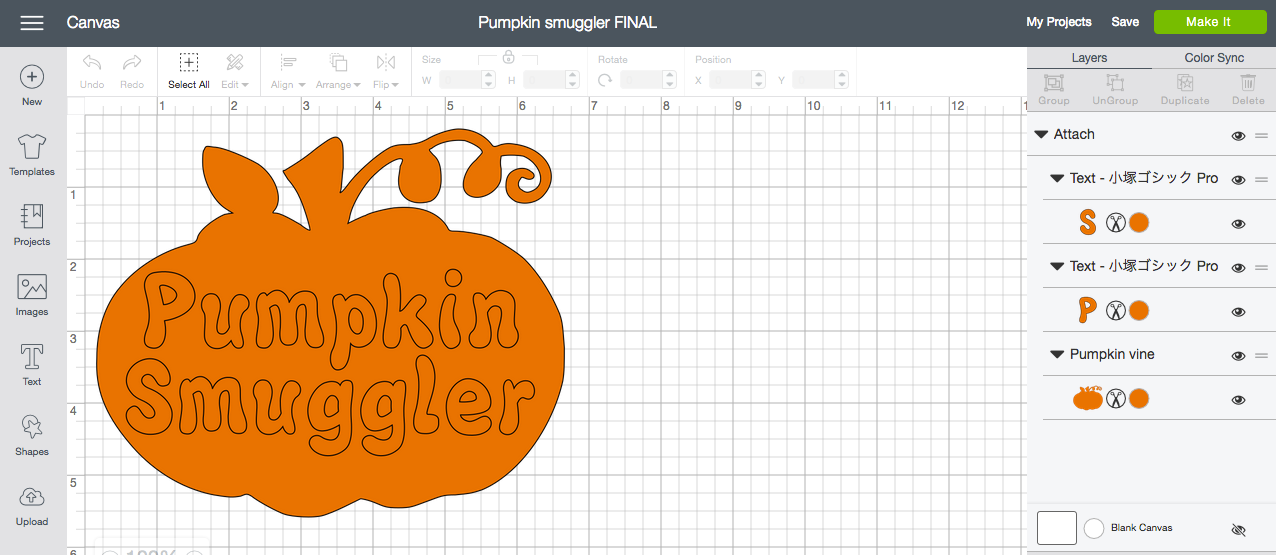
After pre-washing my shirt I got my design together.  I used a pumpkin silhouette image found online and opened it in Cricut Design Space then turned it into a cut file there.  

I added the Pumpkin Smuggler text in a fun font and then had the machine cut it out. Remembering to mirror it before cutting is key since the material is cut face down on the mat. If you don't have a cutting machine you could print out a paper copy to lay over the heat transfer materials and then use an exact-o to cut out the details, but a machine is way easier & faster. 


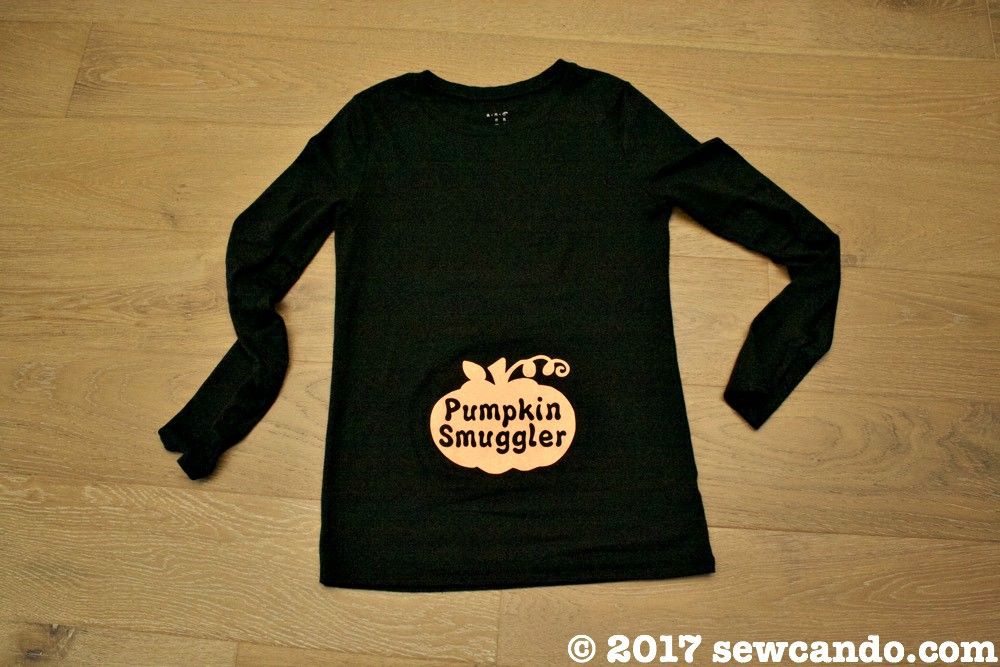
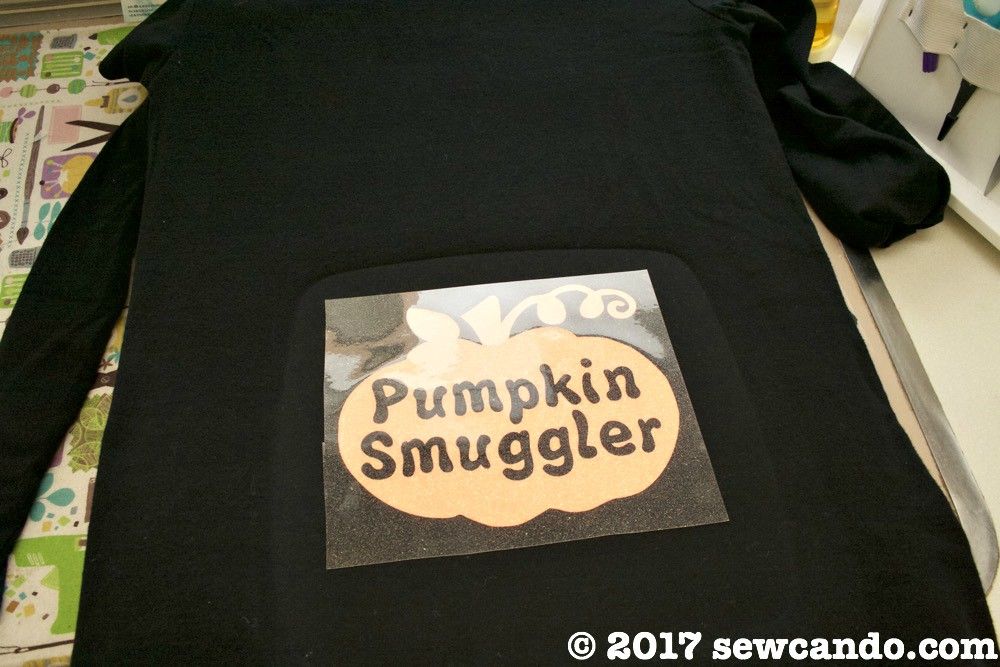
I tried my shirt on and noted the exact spot I wanted my design to be.  After a quick press to warm the fabric up, I placed my heat transfer on it and pressed away according to the directions.  


Once cool, I pressed it again on the wrong side with the shirt inside out and then peeled off the protective cover sheet when completely cool.  I'll be sharing my unbiased, bought with my own money opinions & experiences with the new Cricut EasyPress in a coming post.


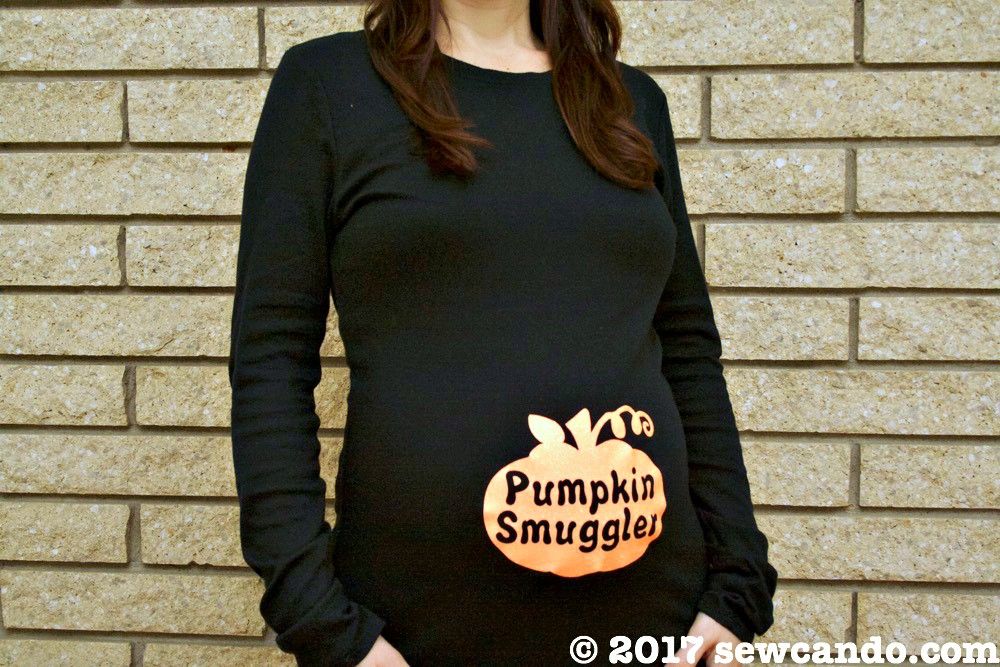
The shirt turned out exactly as I'd hoped and the size of the design means it doesn't pull or distort over my round middle which is key.    The glitter finish adds a glitzy, festive feel too:


I've already worn it 3 times and can't wait to wear it again for several upcoming Halloween activities.  Not bad for a $13 top I made myself!  Now I can't wait to make some fun & thrifty looks for winter, Thanksgiving & Christmas!


Sunday, October 22, 2017

Craftastic Monday Link Party Time!


Happy Monday Crafty Friends!  Can you believe Halloween is only a week away?  With so much on my plate lately I'm trying to get caught up making stuff for the season and hoping I get costumes done in time!  It's time to party, so check out your fellow linkers new seasonal project ideas and add yours below so more people can discover your creations.

Last week I shared my latest adventure at a oddity-themed craft show and what crafts have kept me & mine busy recently:


And it's time to announce the winner of the Double Goody Giveaway for a $20 GC to Heavenly Fabric Shop + $20 GC to Sugar Pink Boutique

~~~ Serena P. ~~~

Congratulations Serena and enjoy your shopping spree for crafty items from our shops.  A big thanks to Sugar Pink Boutique for sponsoring this with me.   Stay tuned for another goody giveaway next month!
~~~~~~~~~~~~~~~~~~~
Now let's see the new Craftastic Picks!!

Lynda Creates shared this adorable felt fox cup cozy:


Dizzy, Busy and Hungry made this flavorful turmeric hummus:


Knitting and So On offered this free pattern for cute pumpkin potholders:


Ana Simple Crochet had this beautiful crochet flower scarf:


Bombshell Bling created this candy corn themed handmade felt letter board:


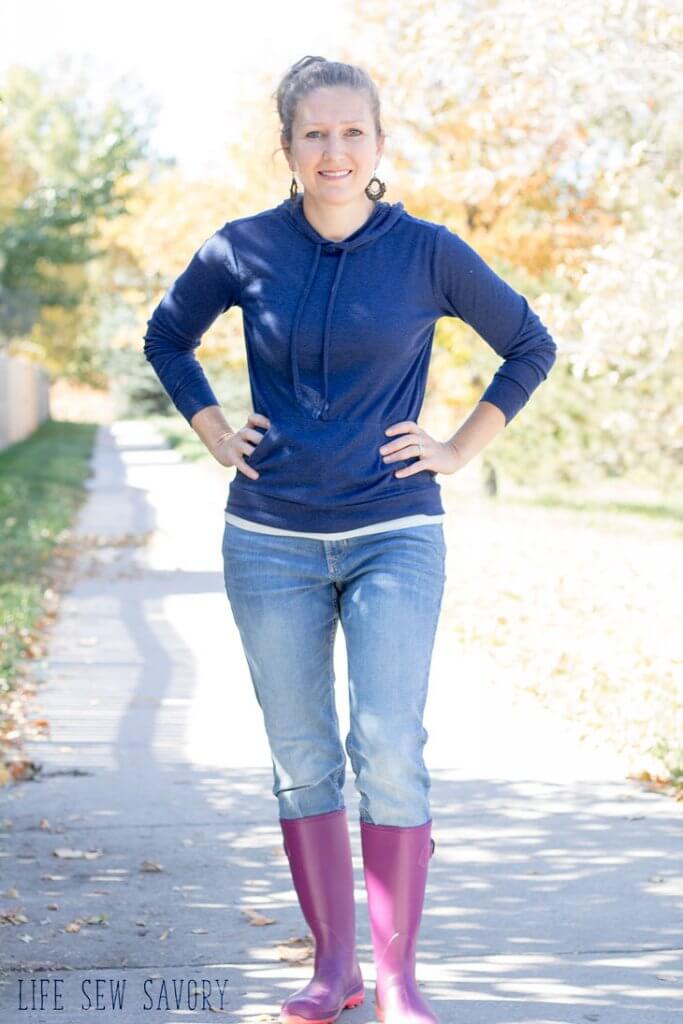
Life Sew Savory shared this fabulous free women's hoodie pattern:


If you're one of this week's features, be sure to grab my Featured On button over on my Buttons Page to share the good news. 

 
Want a Chance to 
Be Featured Next Week?  

Link back to the party somewhere on your blog.
I can't feature your post if you don't share the party.  
  
I also feature these projects on Sew Can Do's Craftastic Picks Pinterest board 
AND share each of them on Twitter too for even MORE exposure for YOUR blog!

Follow me there to see more great projects (and see if yours is one of them)!   

On Twitter: 
On Pinterest: Sew Can Do

Ready to link up your crafty creations?
 
Party rules are simple: 
  • As long as it's crafty, and made by you, it's Craftastic (no links to shops, link parties or other people's work).  Add the link to your specific post. Product reviews, plagiarized or sponsored posts for random items will be immediately deleted.  
  • Grab my party button & put it on your post, party page or blog somewhere.  If you want the chance to be featured, this is key.  The button code can be found HERE.
  • Check out some of the other fabulous links and share some crafty comment love.  We all love getting comments!!


    An InLinkz Link-up
   

Wednesday, October 18, 2017

Craft Shows, Foam Swords & Poo Themed Baby Shoes


It feels like I blinked and October is nearly over despite there being so much I still want to do. It's always a busy month around here with Halloween, fall activities, full-time homeschool and my oldest kid's birthday, but this year we threw a craft show into the mix, which meant even more madness, so instead of working on new projects & tutorials, this is what I was working on:


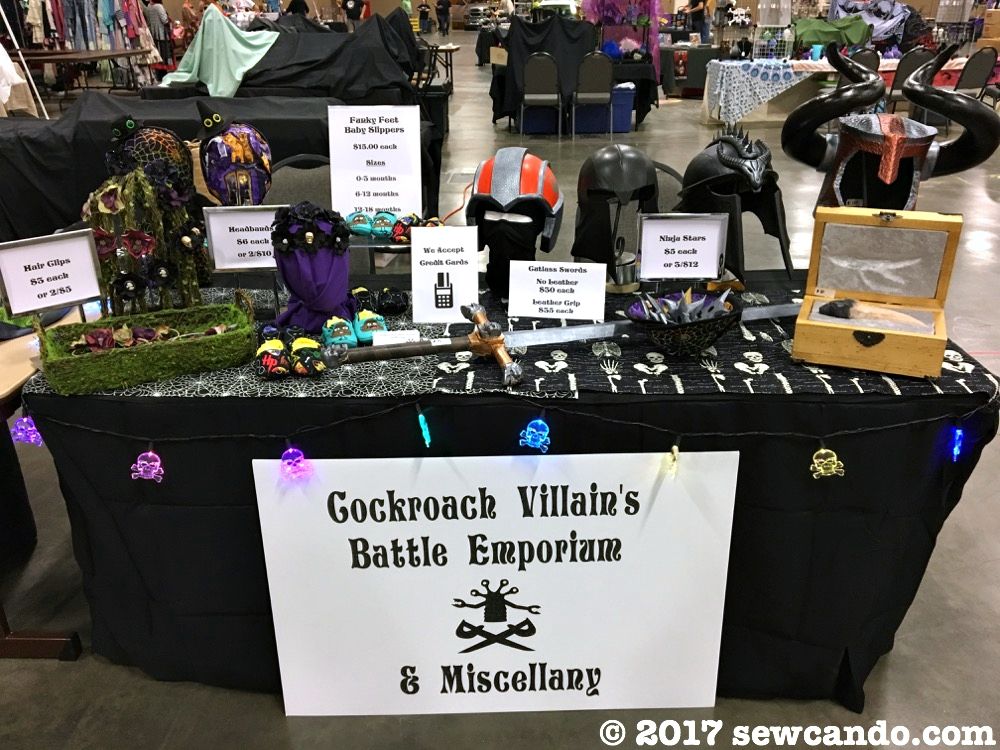
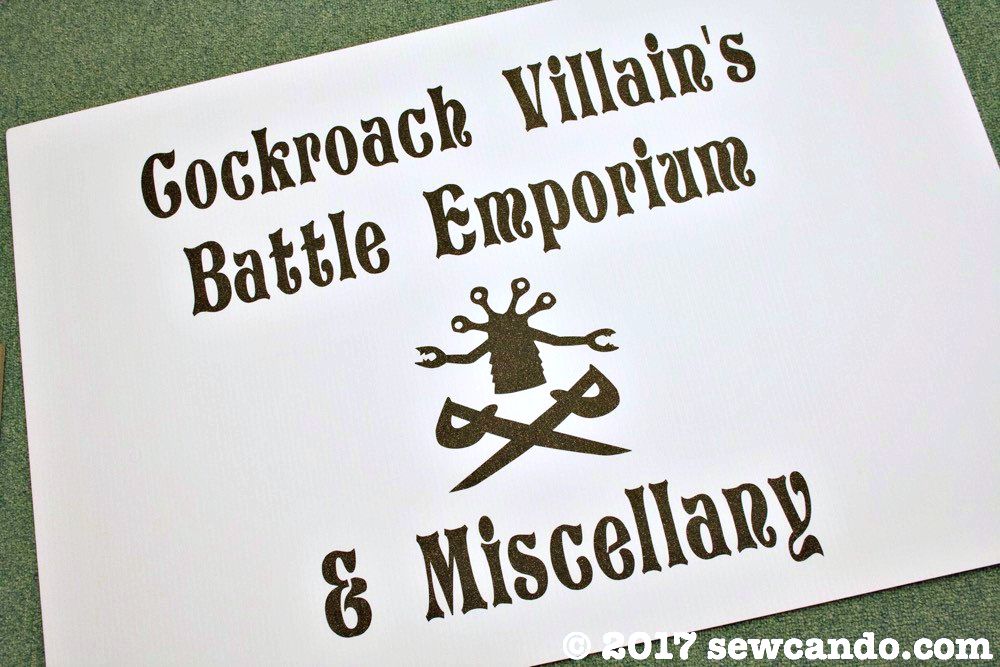
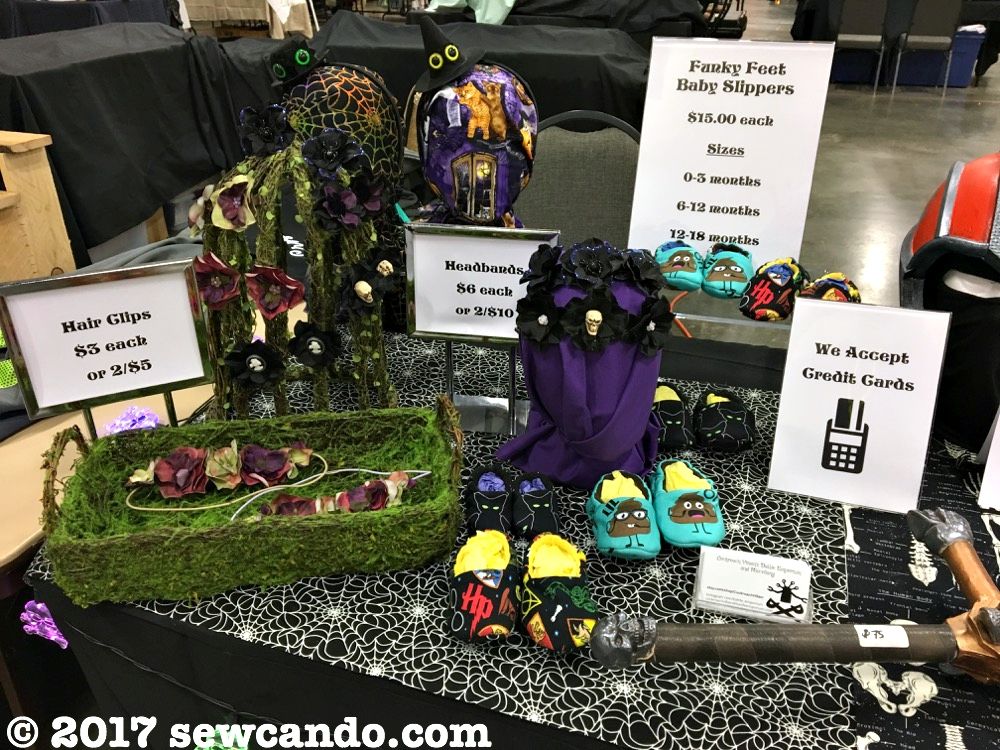
My husband has been doing foam-smithing projects as a hobby  and decided to take it public at a themed craft/cosplay/comic con show this past weekend.  He'd never done a show or sold his creations before so yours truly was in charge of all the show planning, gathering gear, sign making, display and, being a crafter, making a few last minute additions to fill up his booth space.  Last week I shared the trials & tribulations of making his shop sign with glitter vinyl.


He got a lot of positive feedback on his helmets & swords though, enough that in the show's downtime he set up his first ever Etsy shop, Cockroach Villain's Battle Emporium!  

 photo CVBE Logo Framed_zpsg4y8ysxd.jpg


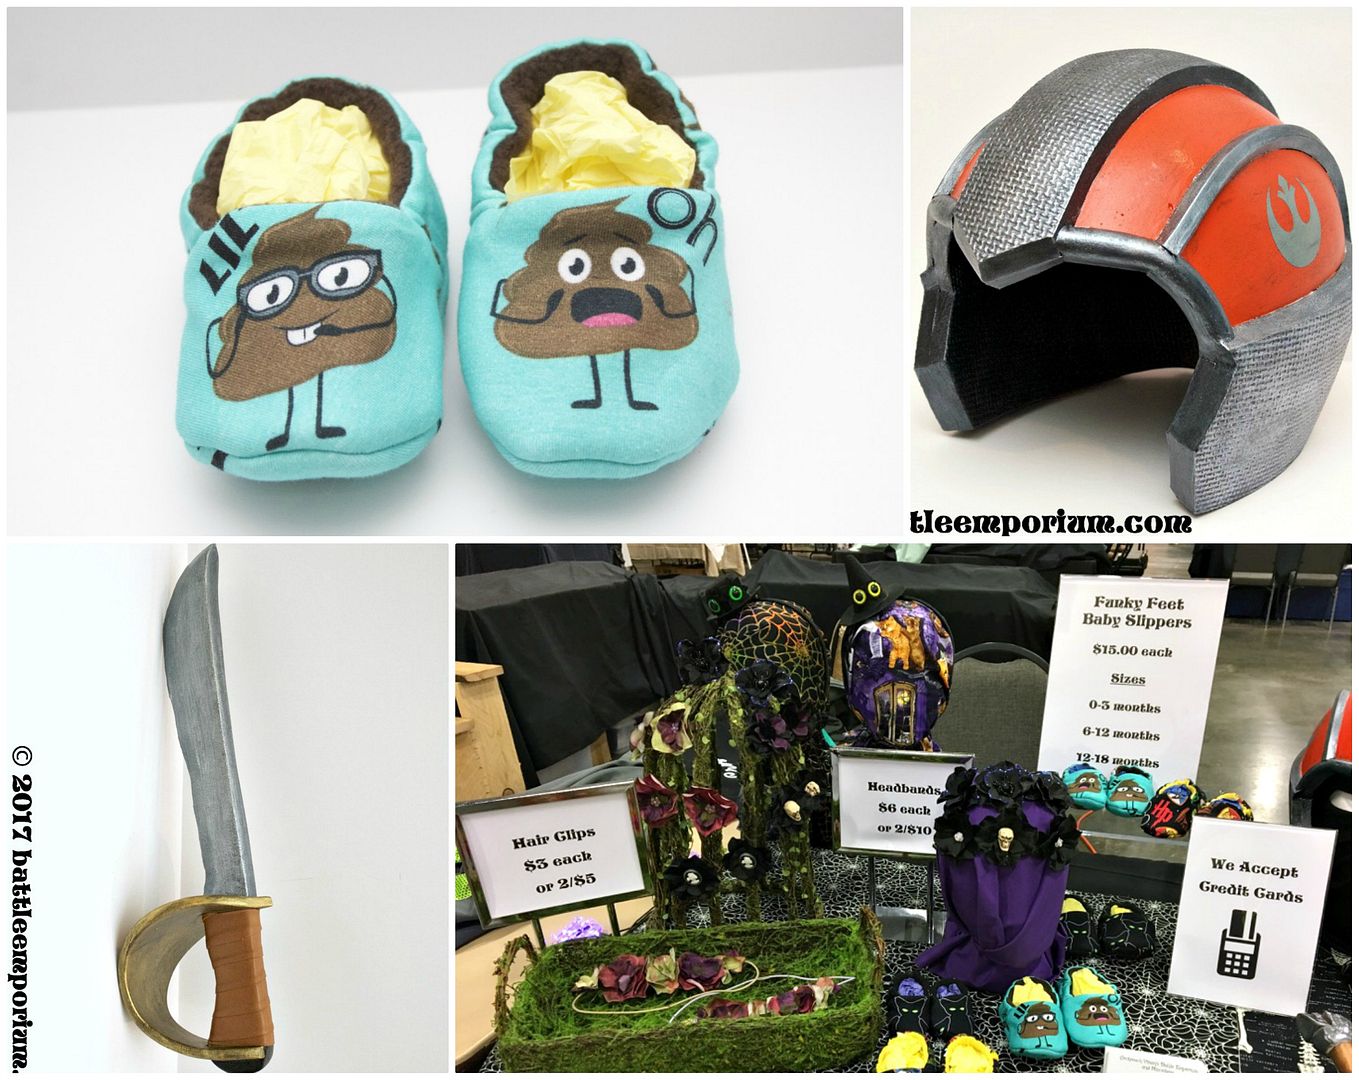
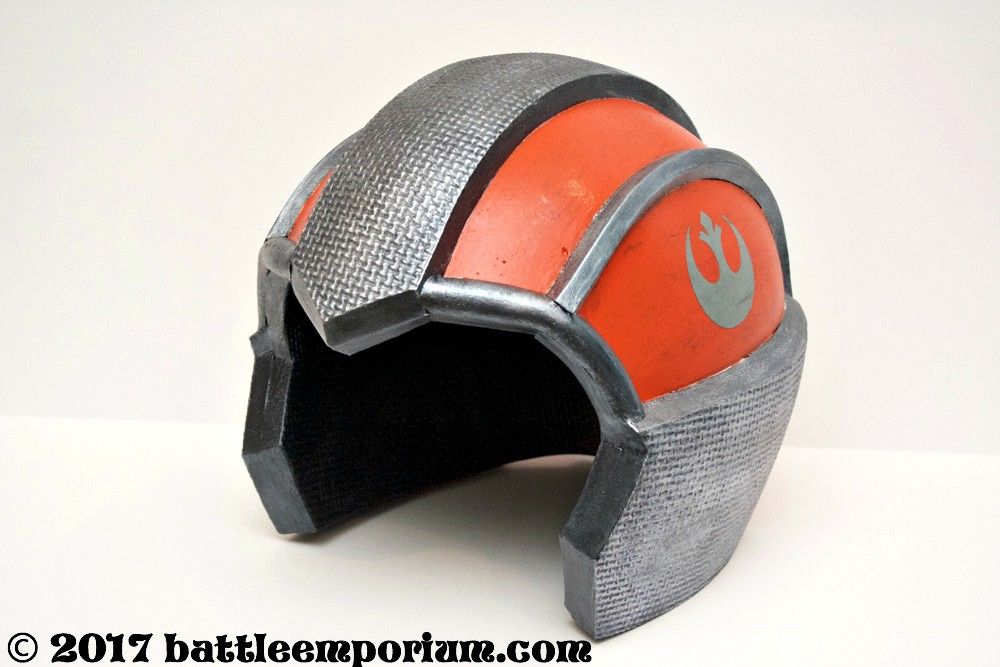
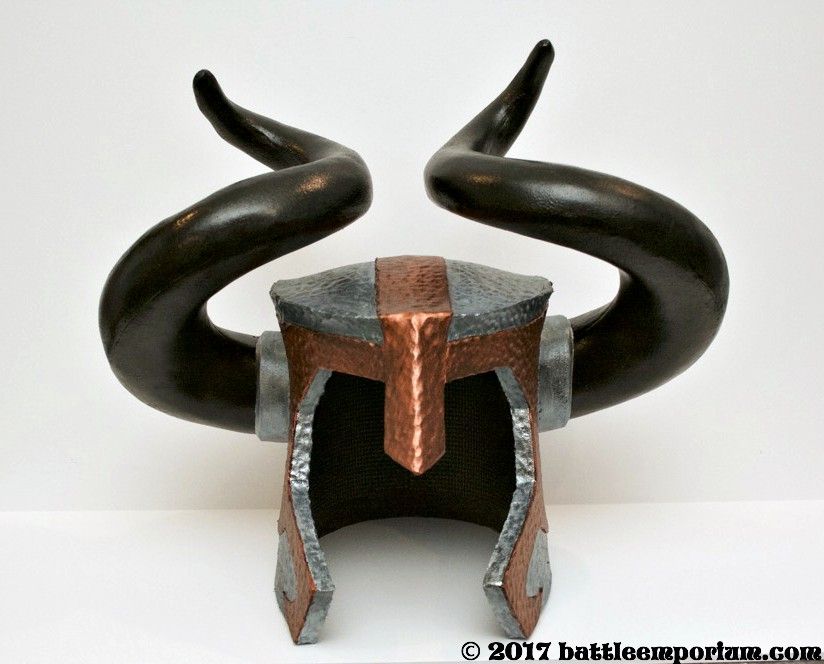
It's named after a toy my middle son calls Cockroach Villain (no idea why since it doesn't resemble a cockroach at all as you can see from the logo), but the shop's got items like these in it:


He makes and sculpts everything out of EVA foam and hand paints all the details so they're realistic, but totally soft and safe.  Good for costumes, cosplay, props and adults or kids.  


Our own kids have heavily test it all for play-ability.  


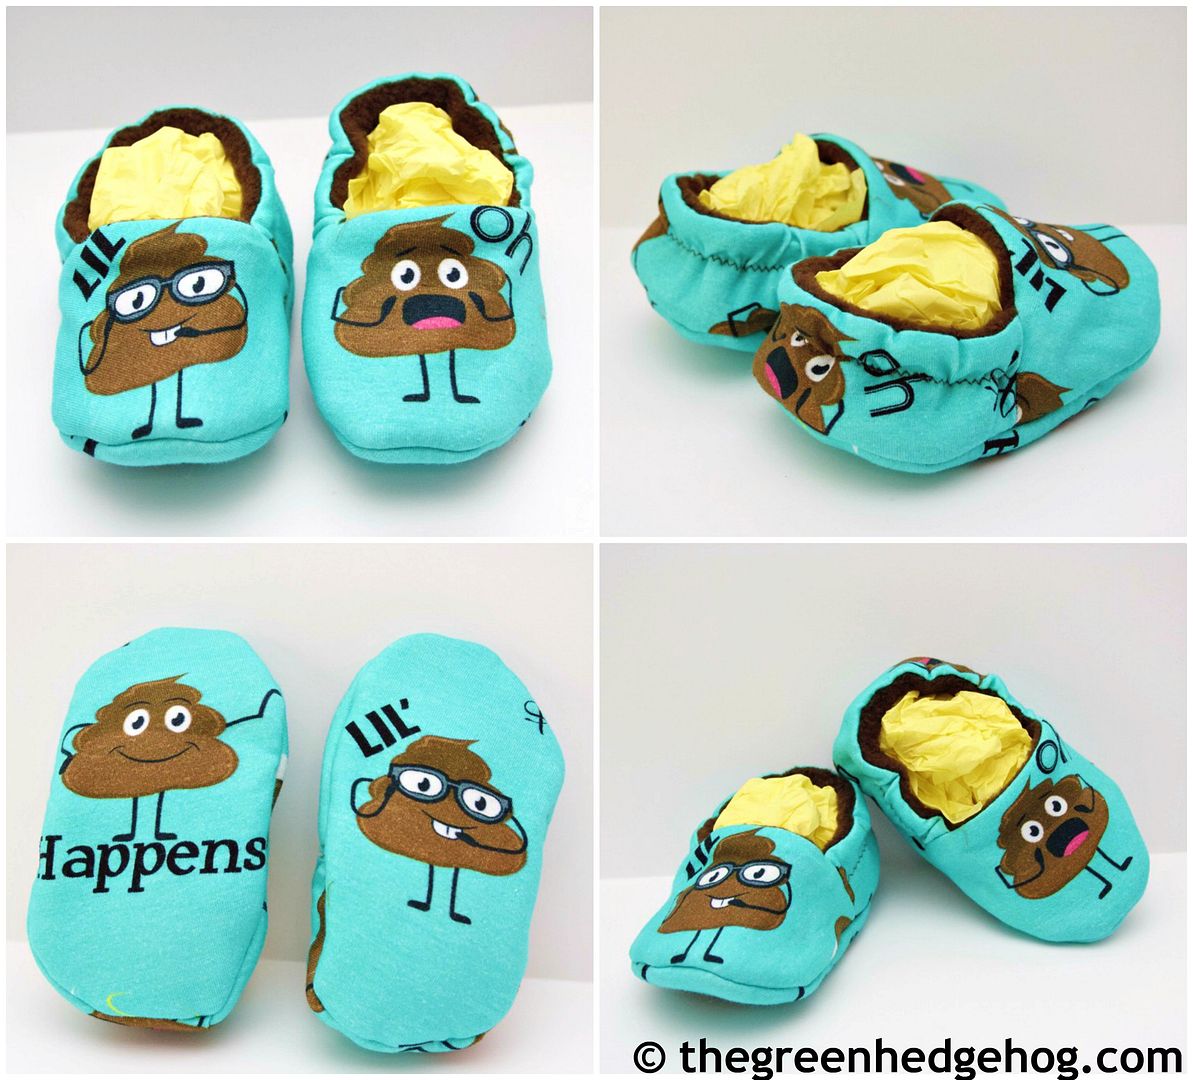
For my contribution I made some Halloween-y floral hair clips & headbands and some soft soled baby shoes in some comic-con friendly themed prints.


I've added the baby shoes I had left to my Etsy shop, The Green Hedgehog.  


They're all made from custom run cotton knit fabric & coordinating fleece lining for some special little footwear for the smallest of feet.


Let me tell you, craft shows are WORK!  Add up all the lead up work, time at the show and driving out of state 2 days in a row, it was exhausting.  It had been a while since I'd done one, but honestly, I'll be good if I never do another.  This particular event was free so there were a lot more people looking for a chance to wear their costumes in public than actually shopping, which was a shame for the vendors.  There's just so much prep and miscellaneous expense and time involved I don't know how people do this kind of thing regularly when it's such a gamble people will even buy your stuff.   


How about you - Do you do craft shows?  Just attend them? Love or Hate? 


SaveSaveSaveSaveSaveSave

LinkWithin

Related Posts with Thumbnails