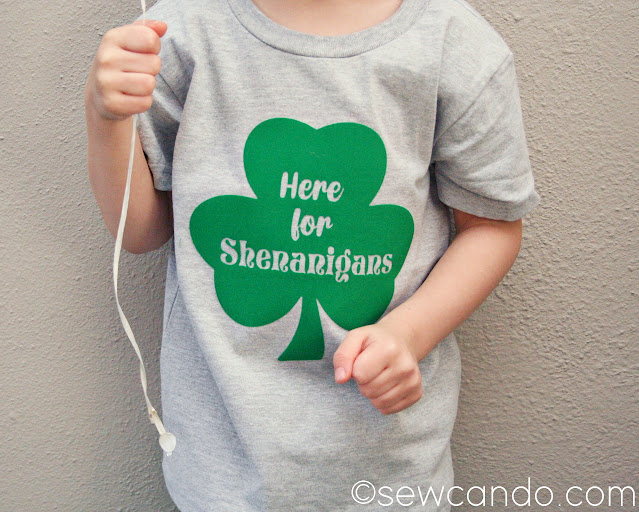
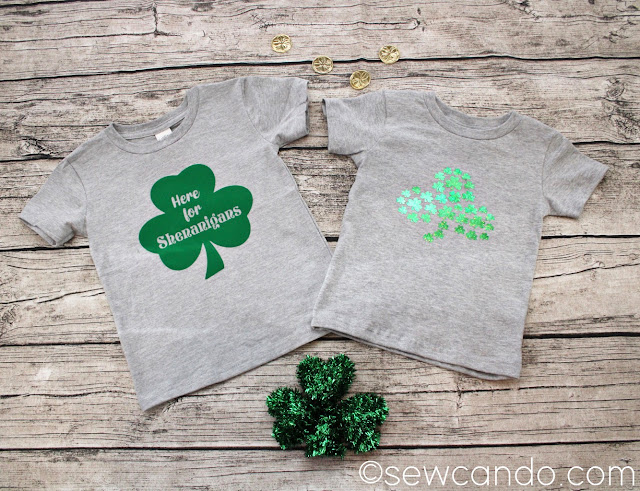
There's something for the little (or big) rascals:
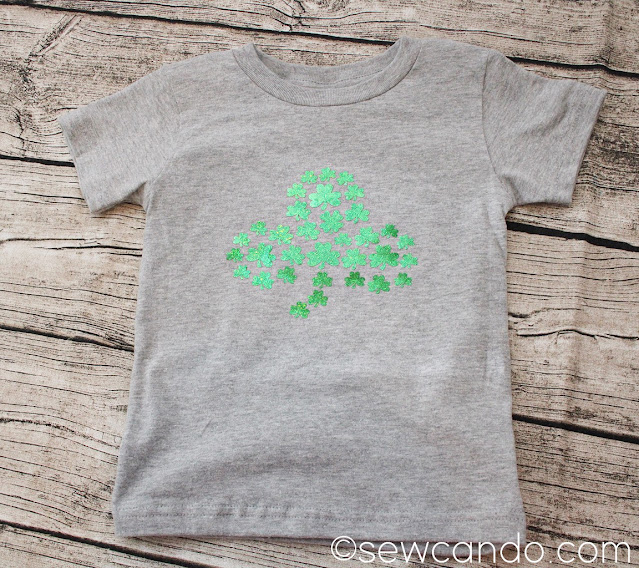
And a whimsical search & find themed Shamrock of Shamrocks design.
Can you find the 4 leaf clover?
As I've mentioned before, I'm a big fan of "holiday" themed wearables that you can still wear well after the actual day is over and these fit the bill for that too.
Now, how to make them!
Here are the FREE designs I whipped up. Just right click to save each png.
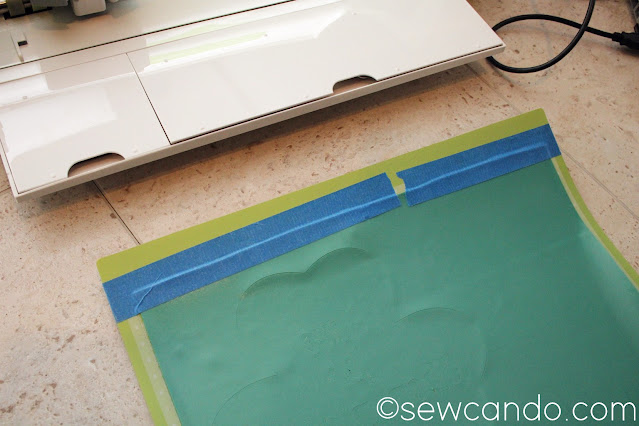
Using Cricut Design Space I turned my designs into cut files and sized them to fit my 2T & 3T sized shirts (I made them 6 and 7 inches wide, respectively).
On the one with lettering, I weeded out the letters, remembering to leave the center bits of the "e's, a's, o & g". Then it was press time!! It's key to check the fabric composition and type of HTV being used to make sure you get the settings right. I read previously that it's best not to wash the shirts first - having that factory sizing in them helps HTV adhere better. Some sites say otherwise, but I've found it helps.
These shirts were both cotton poly blends. I always press mine on a folded fluffy towel too.
The shirts got a 5 second preheat with the press and then I put the heat transfer vinyl on. FYI, if you're new to using htv, you leave the carrier sheet on. Some people even use a Teflon sheet between that & the press, but I've never needed it for the things I've done so far. For the flocked I used my usual formula of 295F, 30 seconds front/15 seconds on back and peeling when cool, which worked perfectly.
The holographic glitter was a different story. The instructions inside the roll listed glitter, foil, shimmer and regular temperatures, but nothing for that particular type. Searches online were also pretty vague. Why would you make a product, but not explain how to use it??
I followed one suggestion to do 330 for 30 seconds/15 seconds and cool peel. When I started to peel away the carrier, the edges of most of the shamrocks were lifting with it. I did another 30 seconds on the front and 10 more on the back, but it still was lifting on some. I raised the temperature to 340 and did 20 seconds and then they seemed to stay. I find it's usually ok to have to repress when this kind of thing happens, but you have to be careful not to go too long or too hot when re-pressing or it'll melt the htv and then it won't stick at all.
For HTV clothing care, I wait 24hrs before washing and always wash them inside out, on cold, delicate and line dry to keep the transfers nice. I've had some shirts like this last for ages by doing all that and since I want my 3yr old's shirt to be wearable for my 2yr old next year, it's worth the extra care. Now my littlest cuties have some fun attire that was reasonable in time & price for the upcoming holiday - and you can too!


Thanks for sharing with us on the Homestead Blog Hop. The patterns are super cute! I hope we see more from you next Wednesday!
ReplyDelete